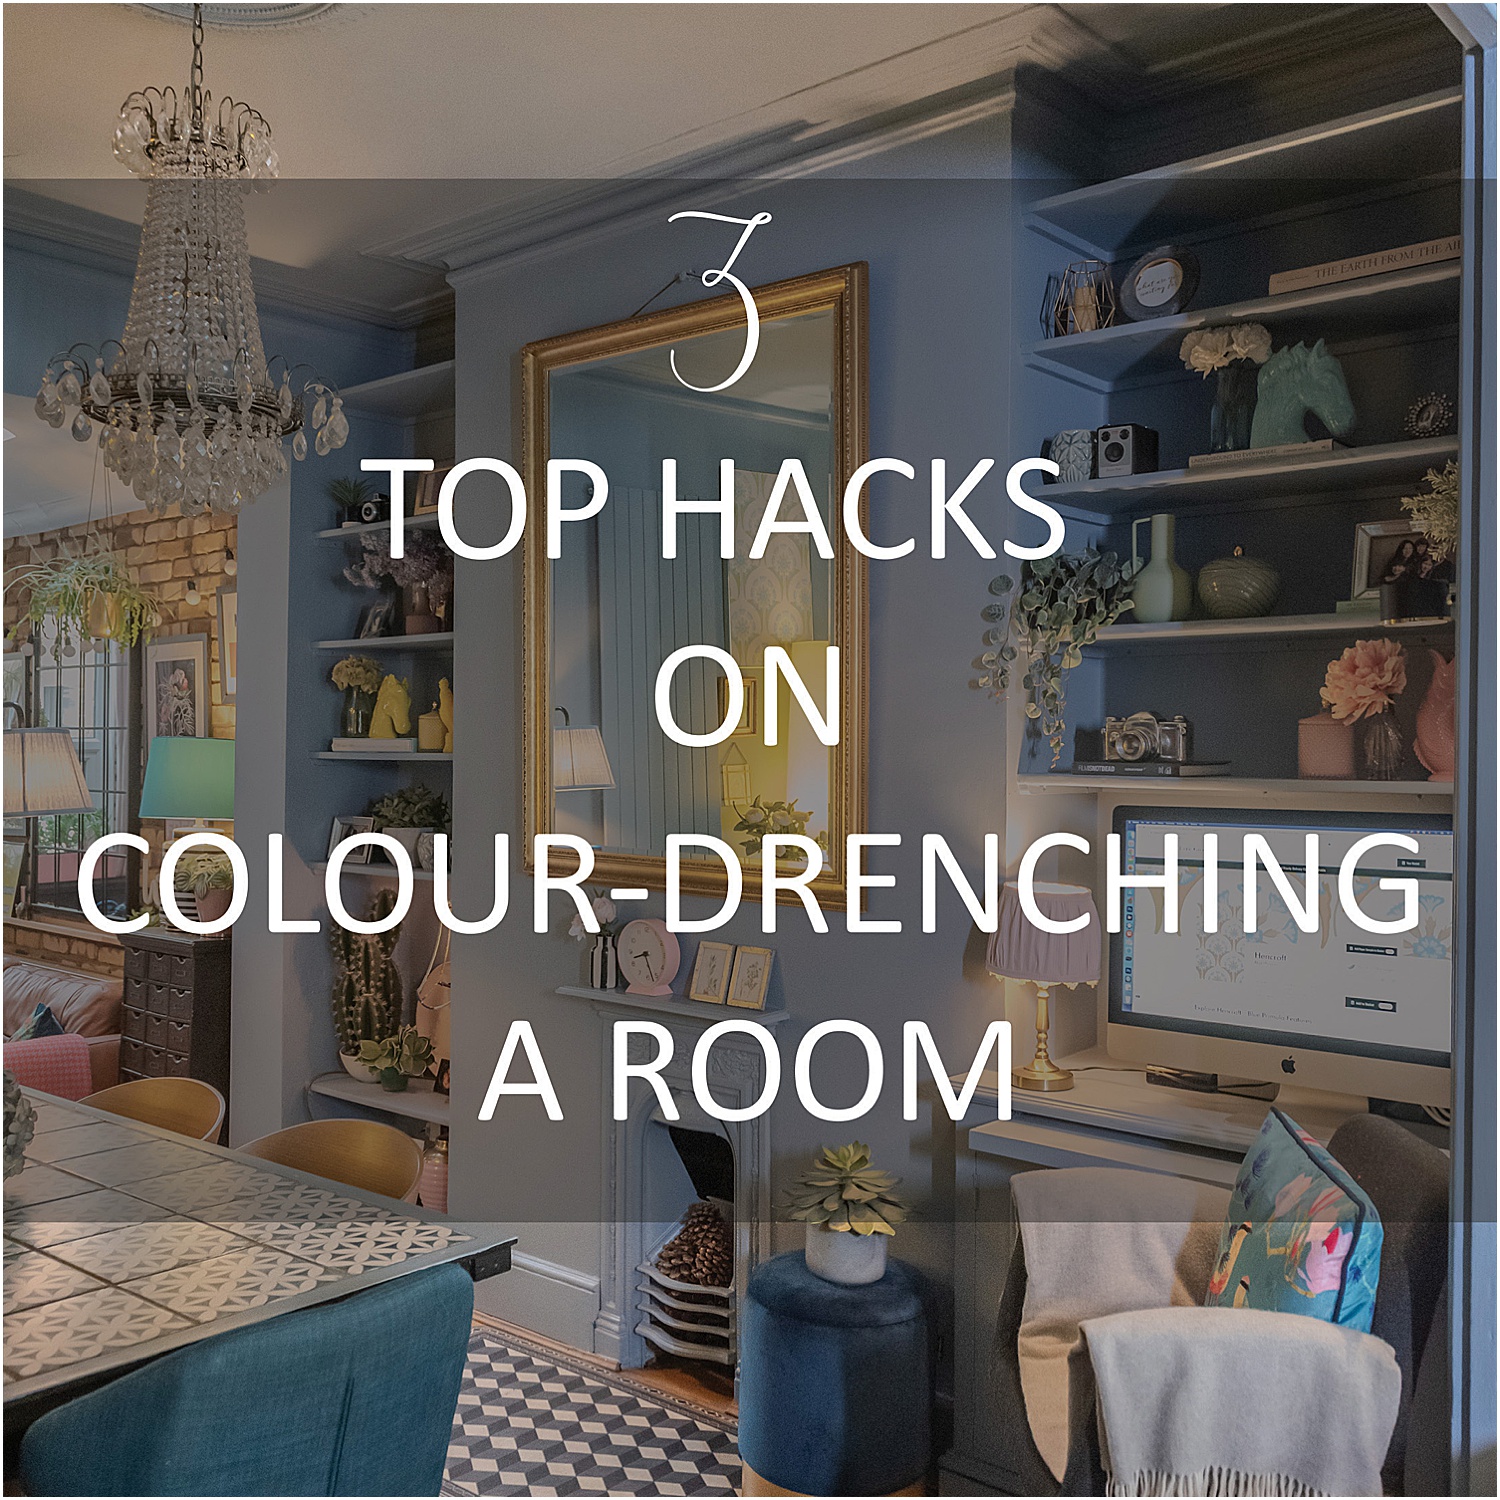
Colour-drenching is all the range. I’ve been wanting to colour-drench my dining room and finally managed to do it last year. Here are my top 3 top hacks on Colour-Drenching a room.
First, here’s a before of my dining room. Actually, this room has had several ‘befores’.
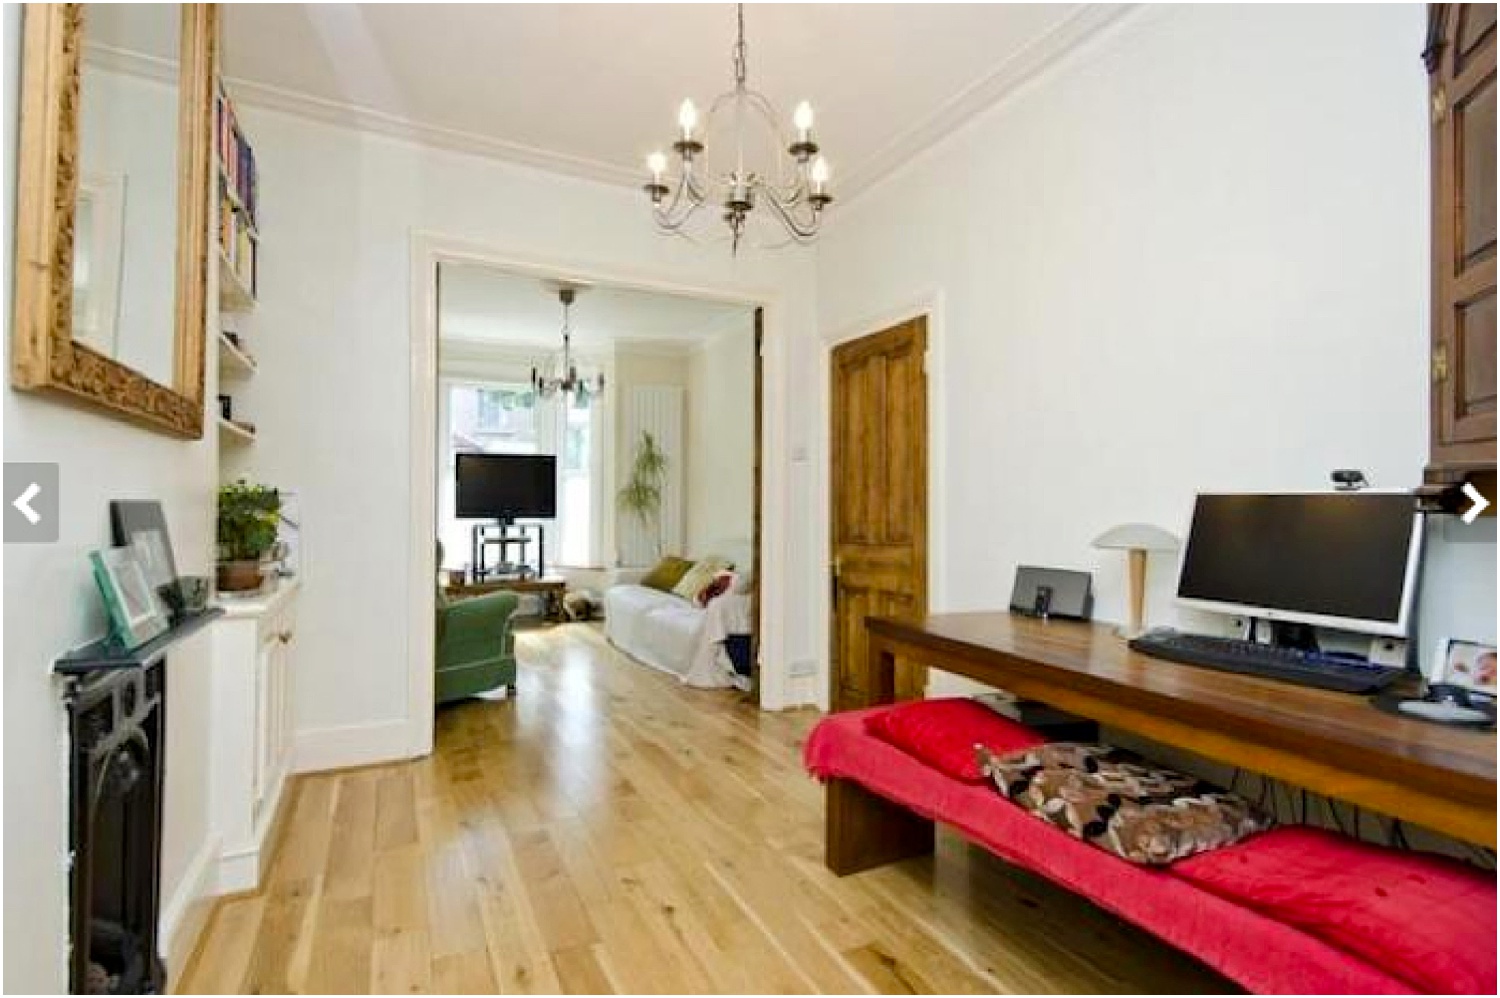
When we moved in, this room was painted in a very light colour and it looked dull all year round. Above is an image from the estate agent and they used flash and a super wide angle lens so the photos look so bright and the room looks big. Don’t be deceived; it’s a small space.
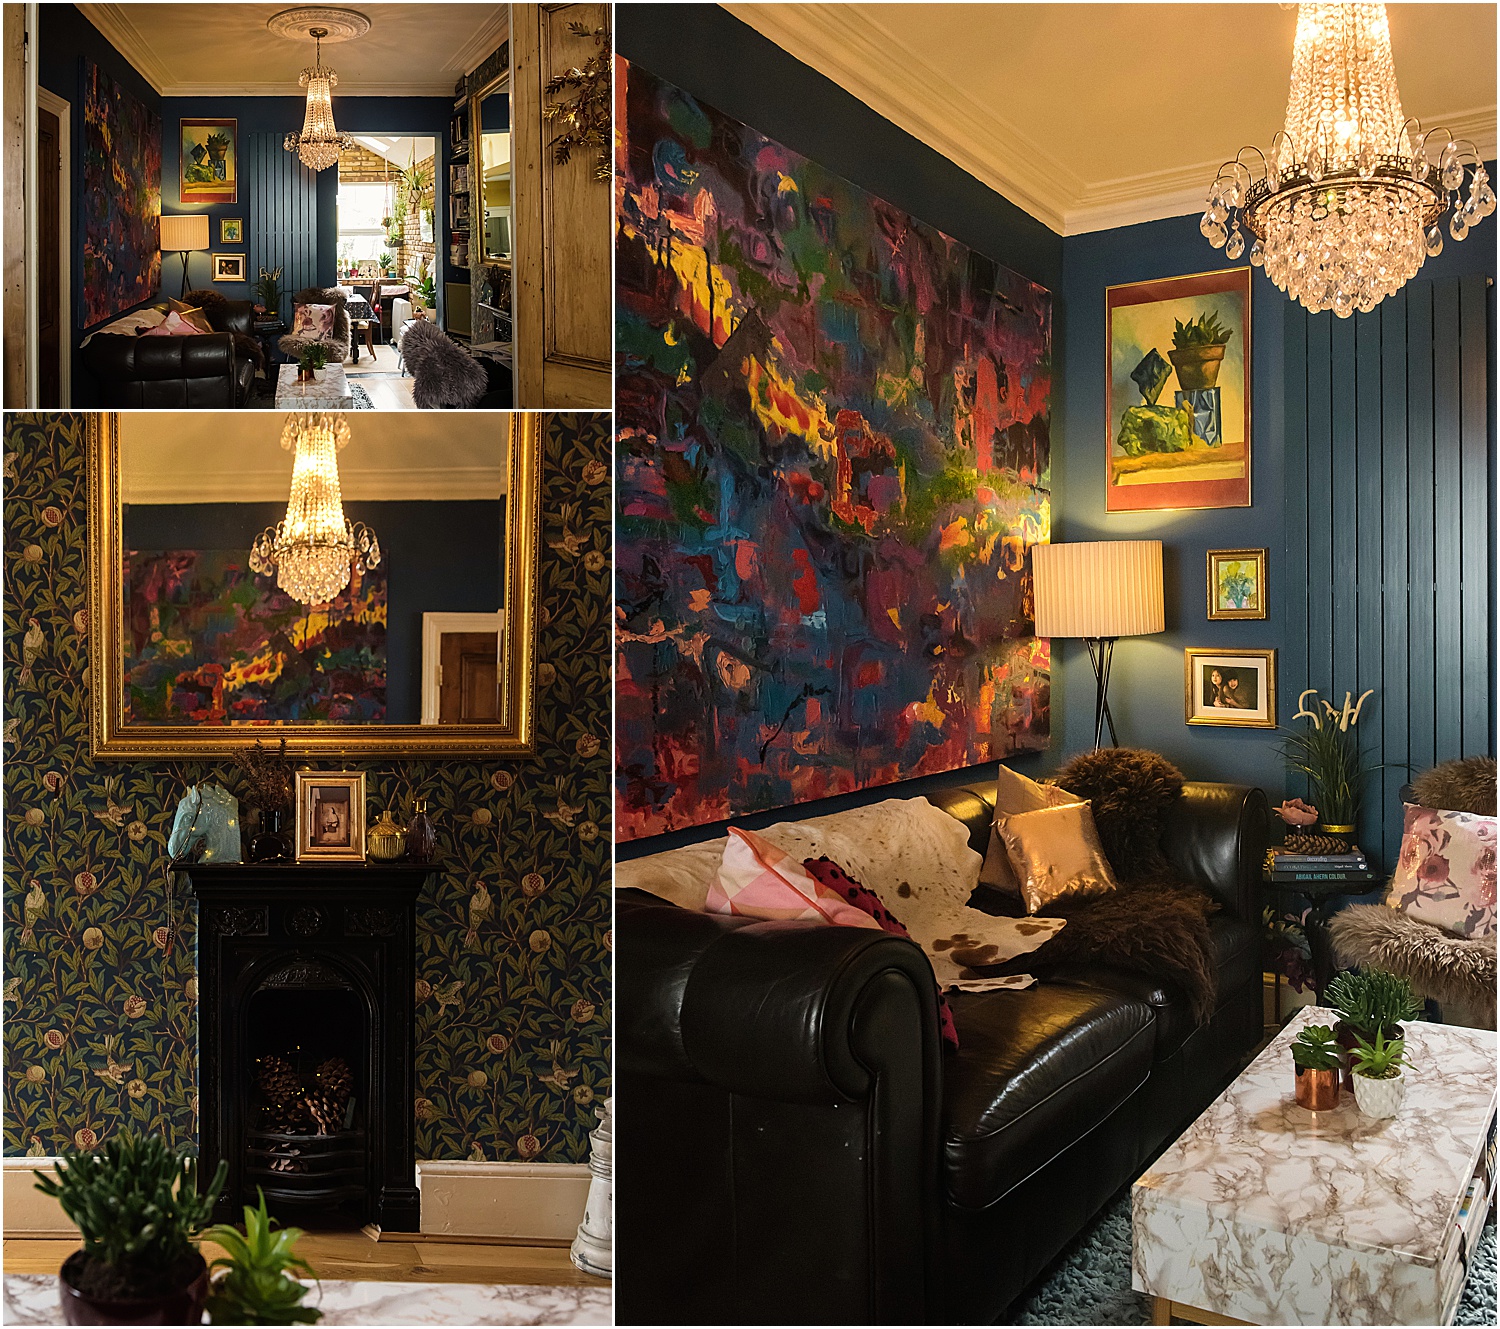
My Victorian house is north-east facing and does not get much sunlight. On the few bright sunny days we get in London, this room gets some natural light spilling from the front room and the kitchen. This room is sandwiched in between. Before I made this into a dining room, it was a second reception room hence you see the sofa in this photo. I experimented with embracing the dark and painted it all dark blue. It looked super dramatic and cosy.
I then experimented with contrast, going for pastel walls and keeping the dark ceiling and trims. That added more interest and felt better as a space as there was enough sharp contrast between the dark and pastel to define surfaces.
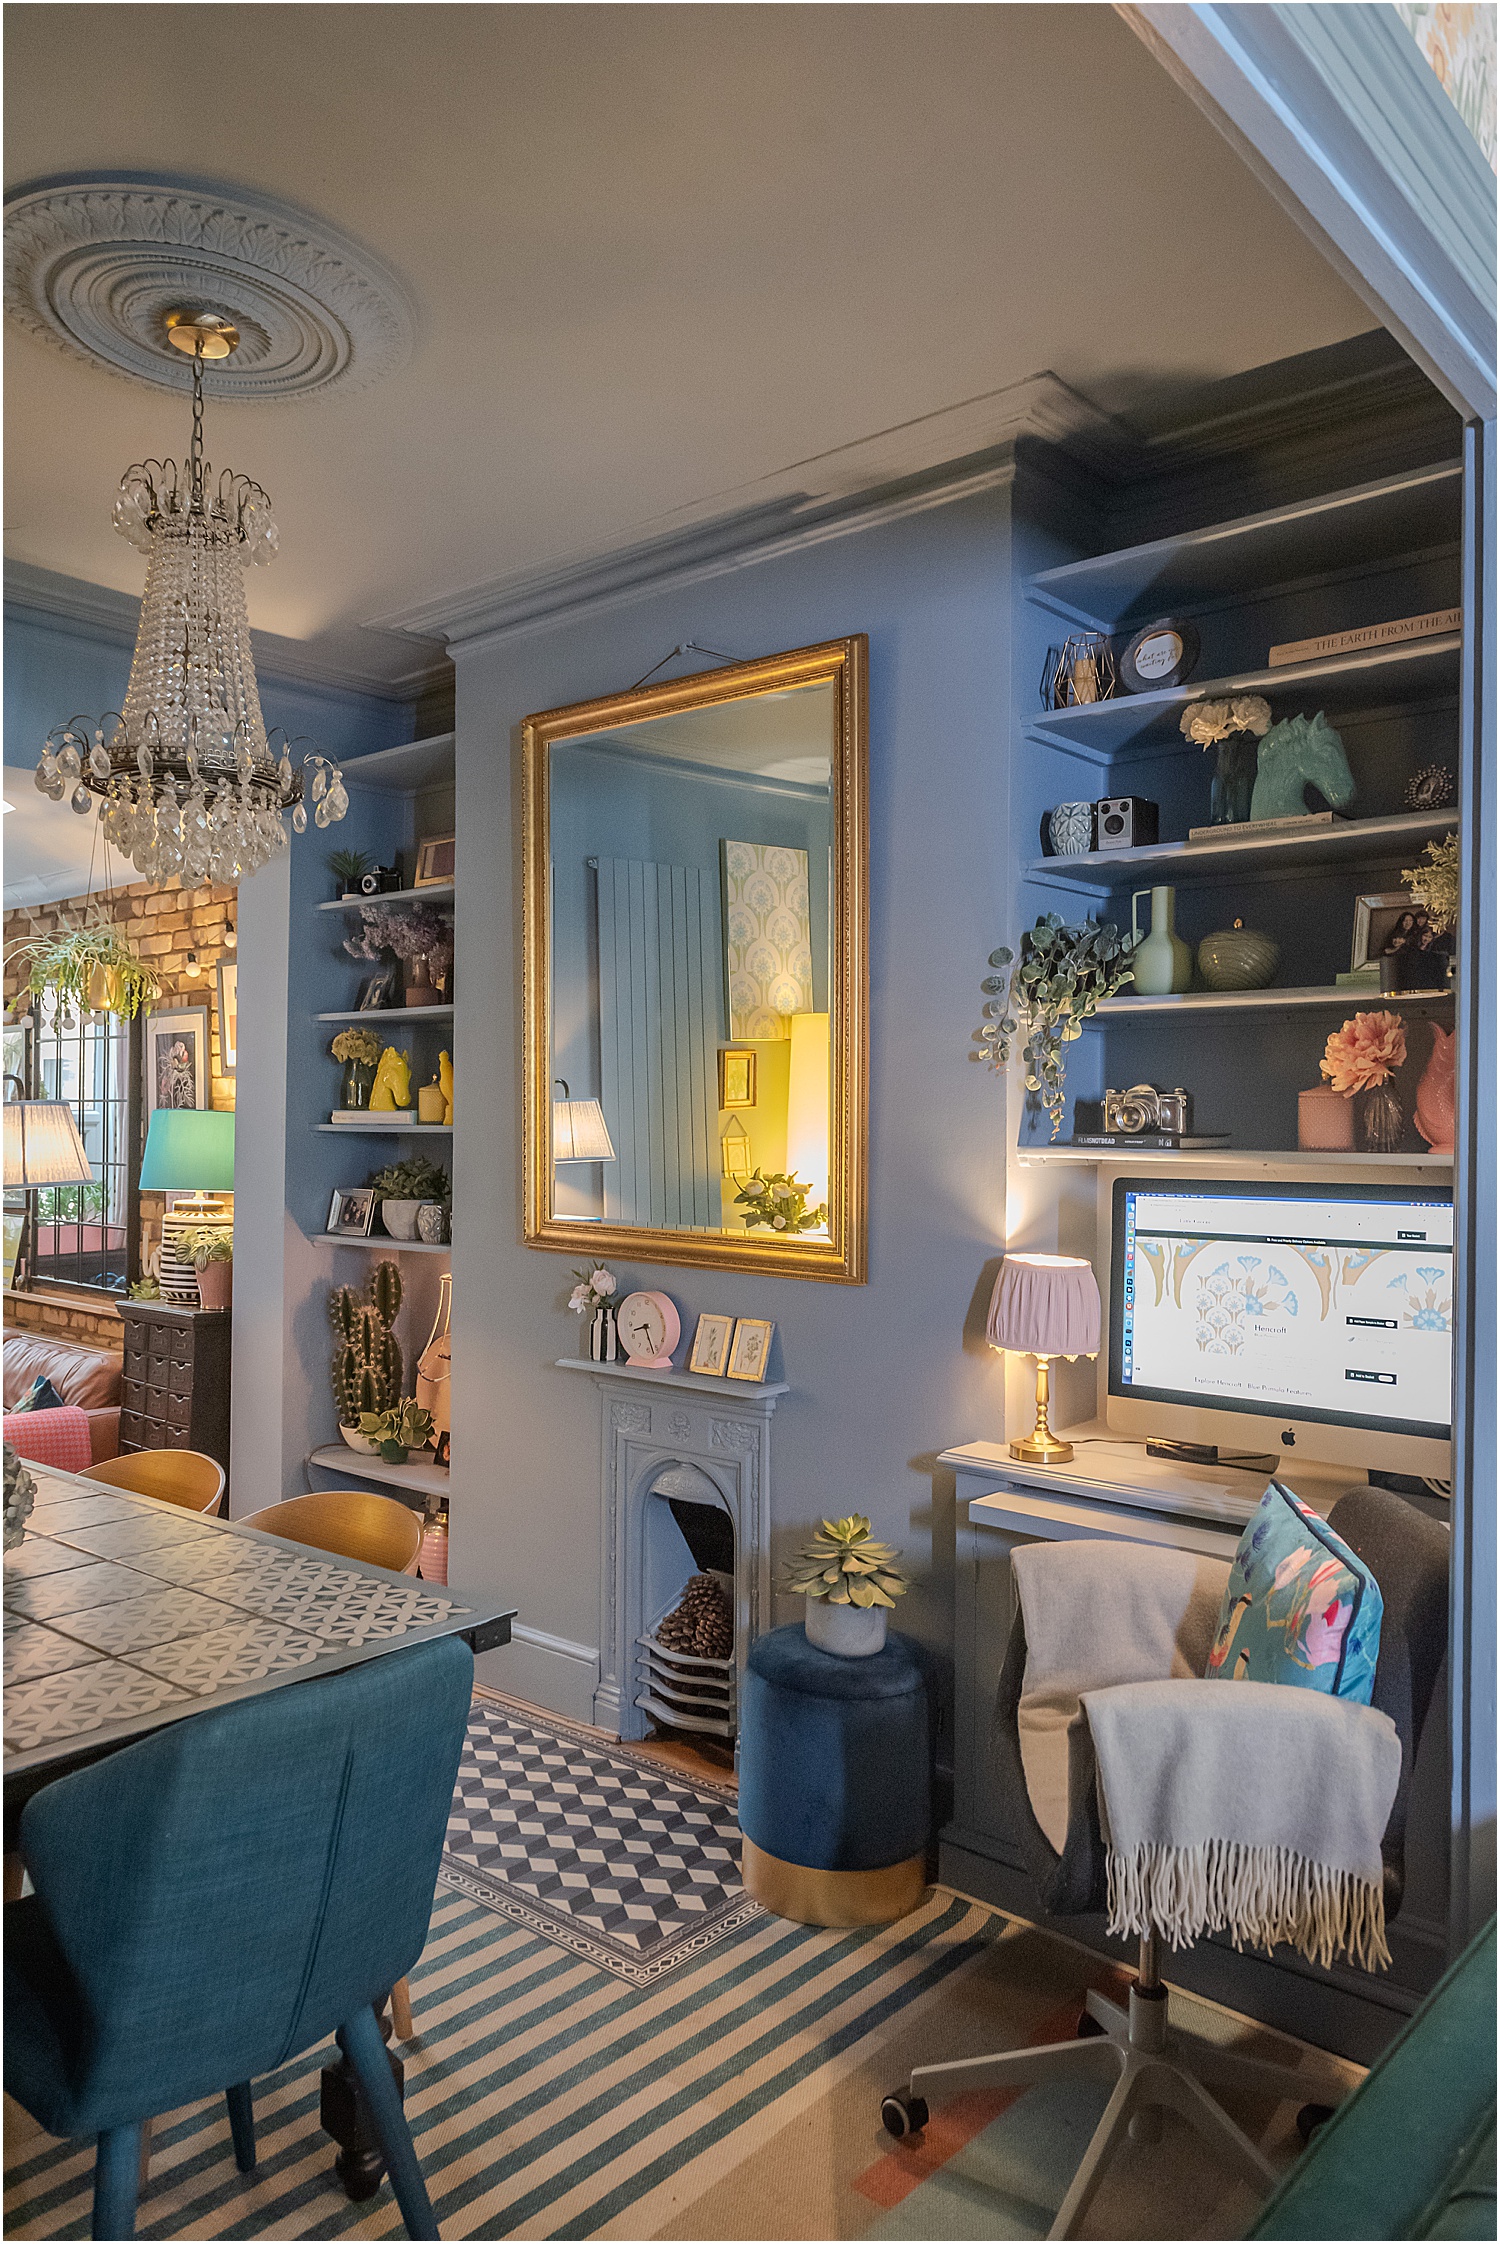
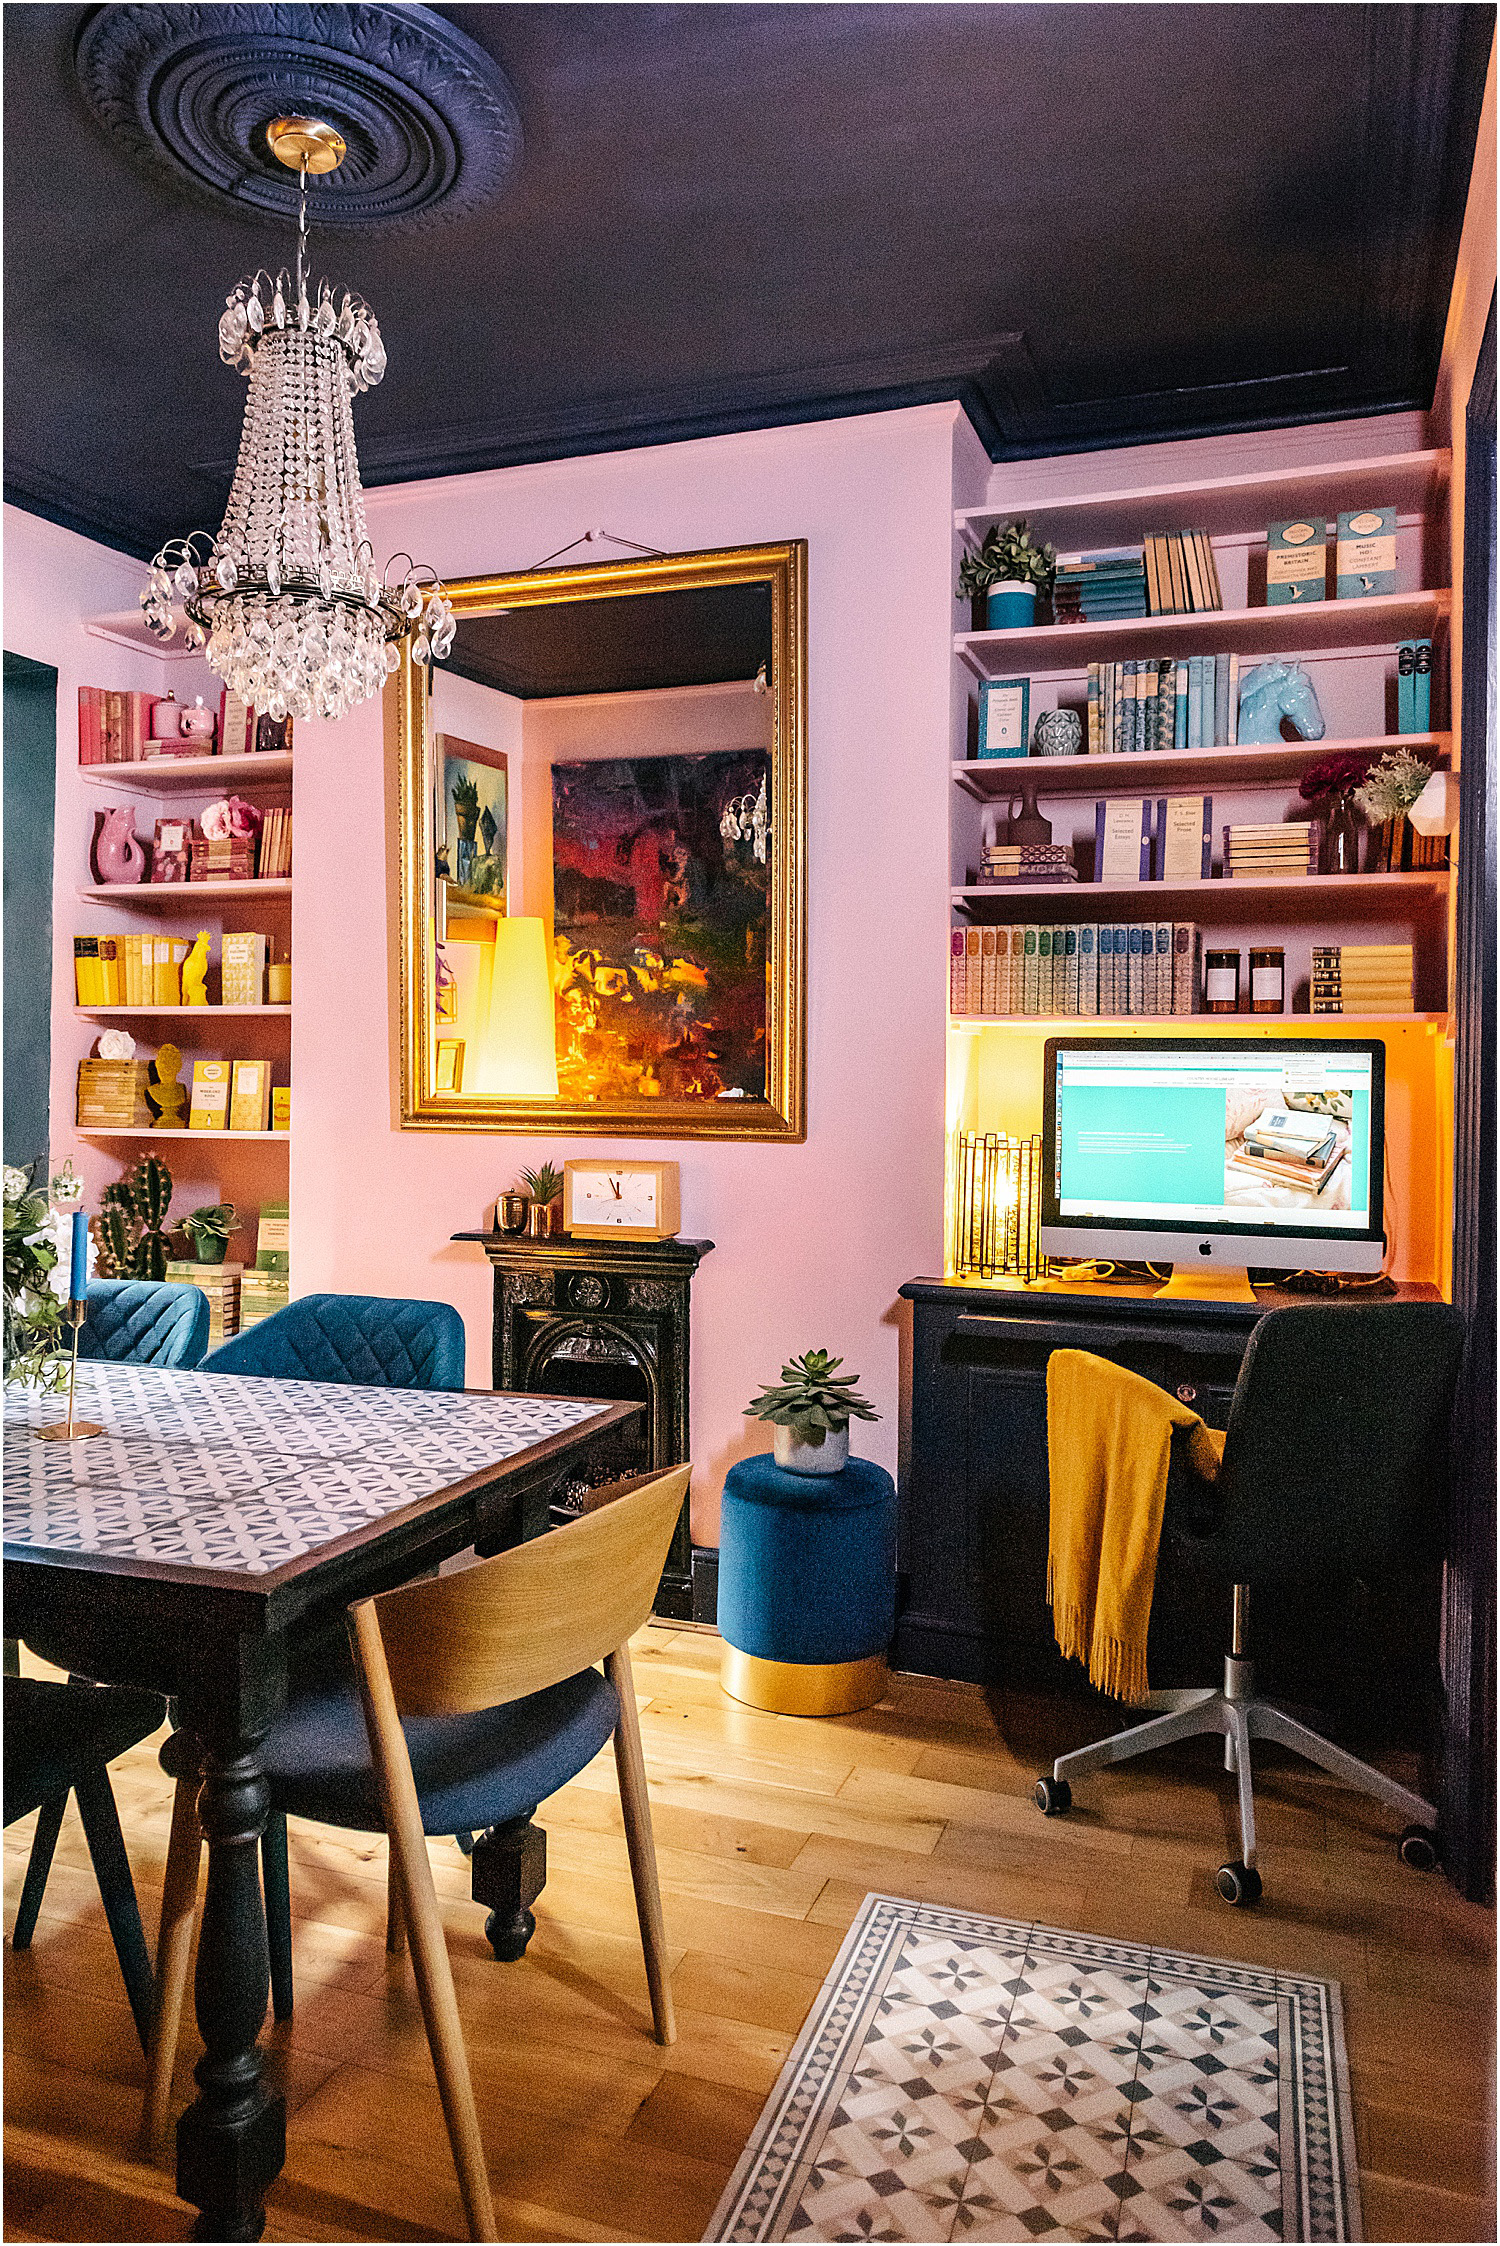
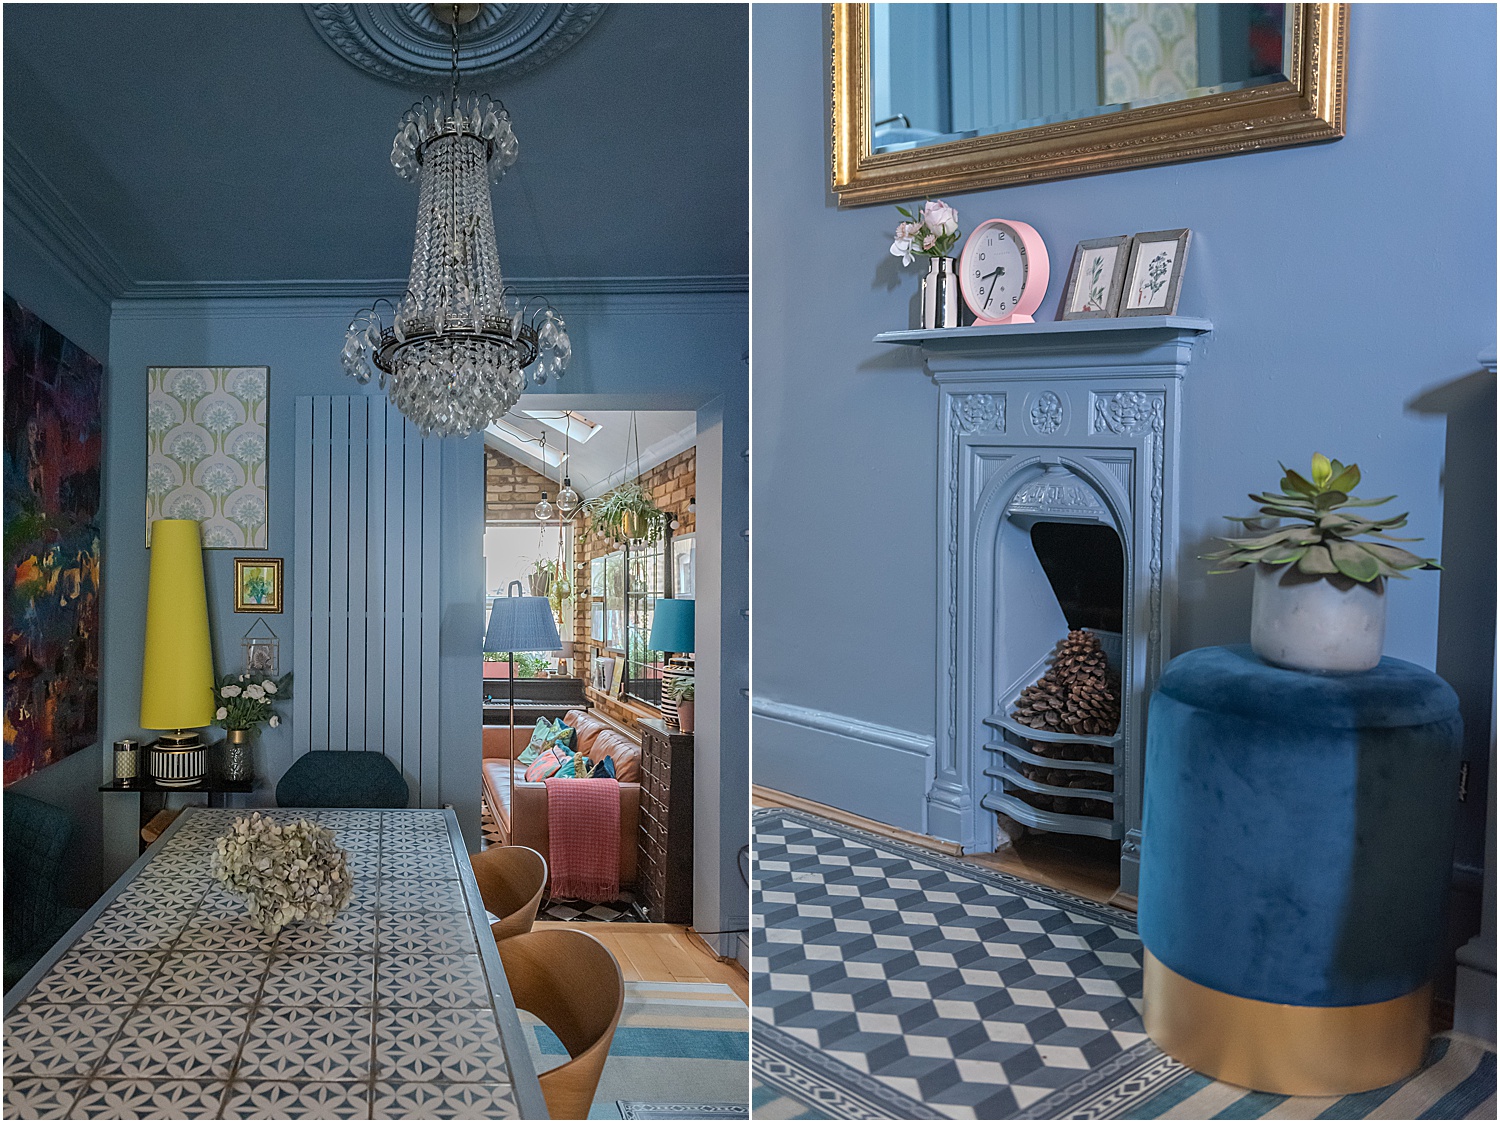
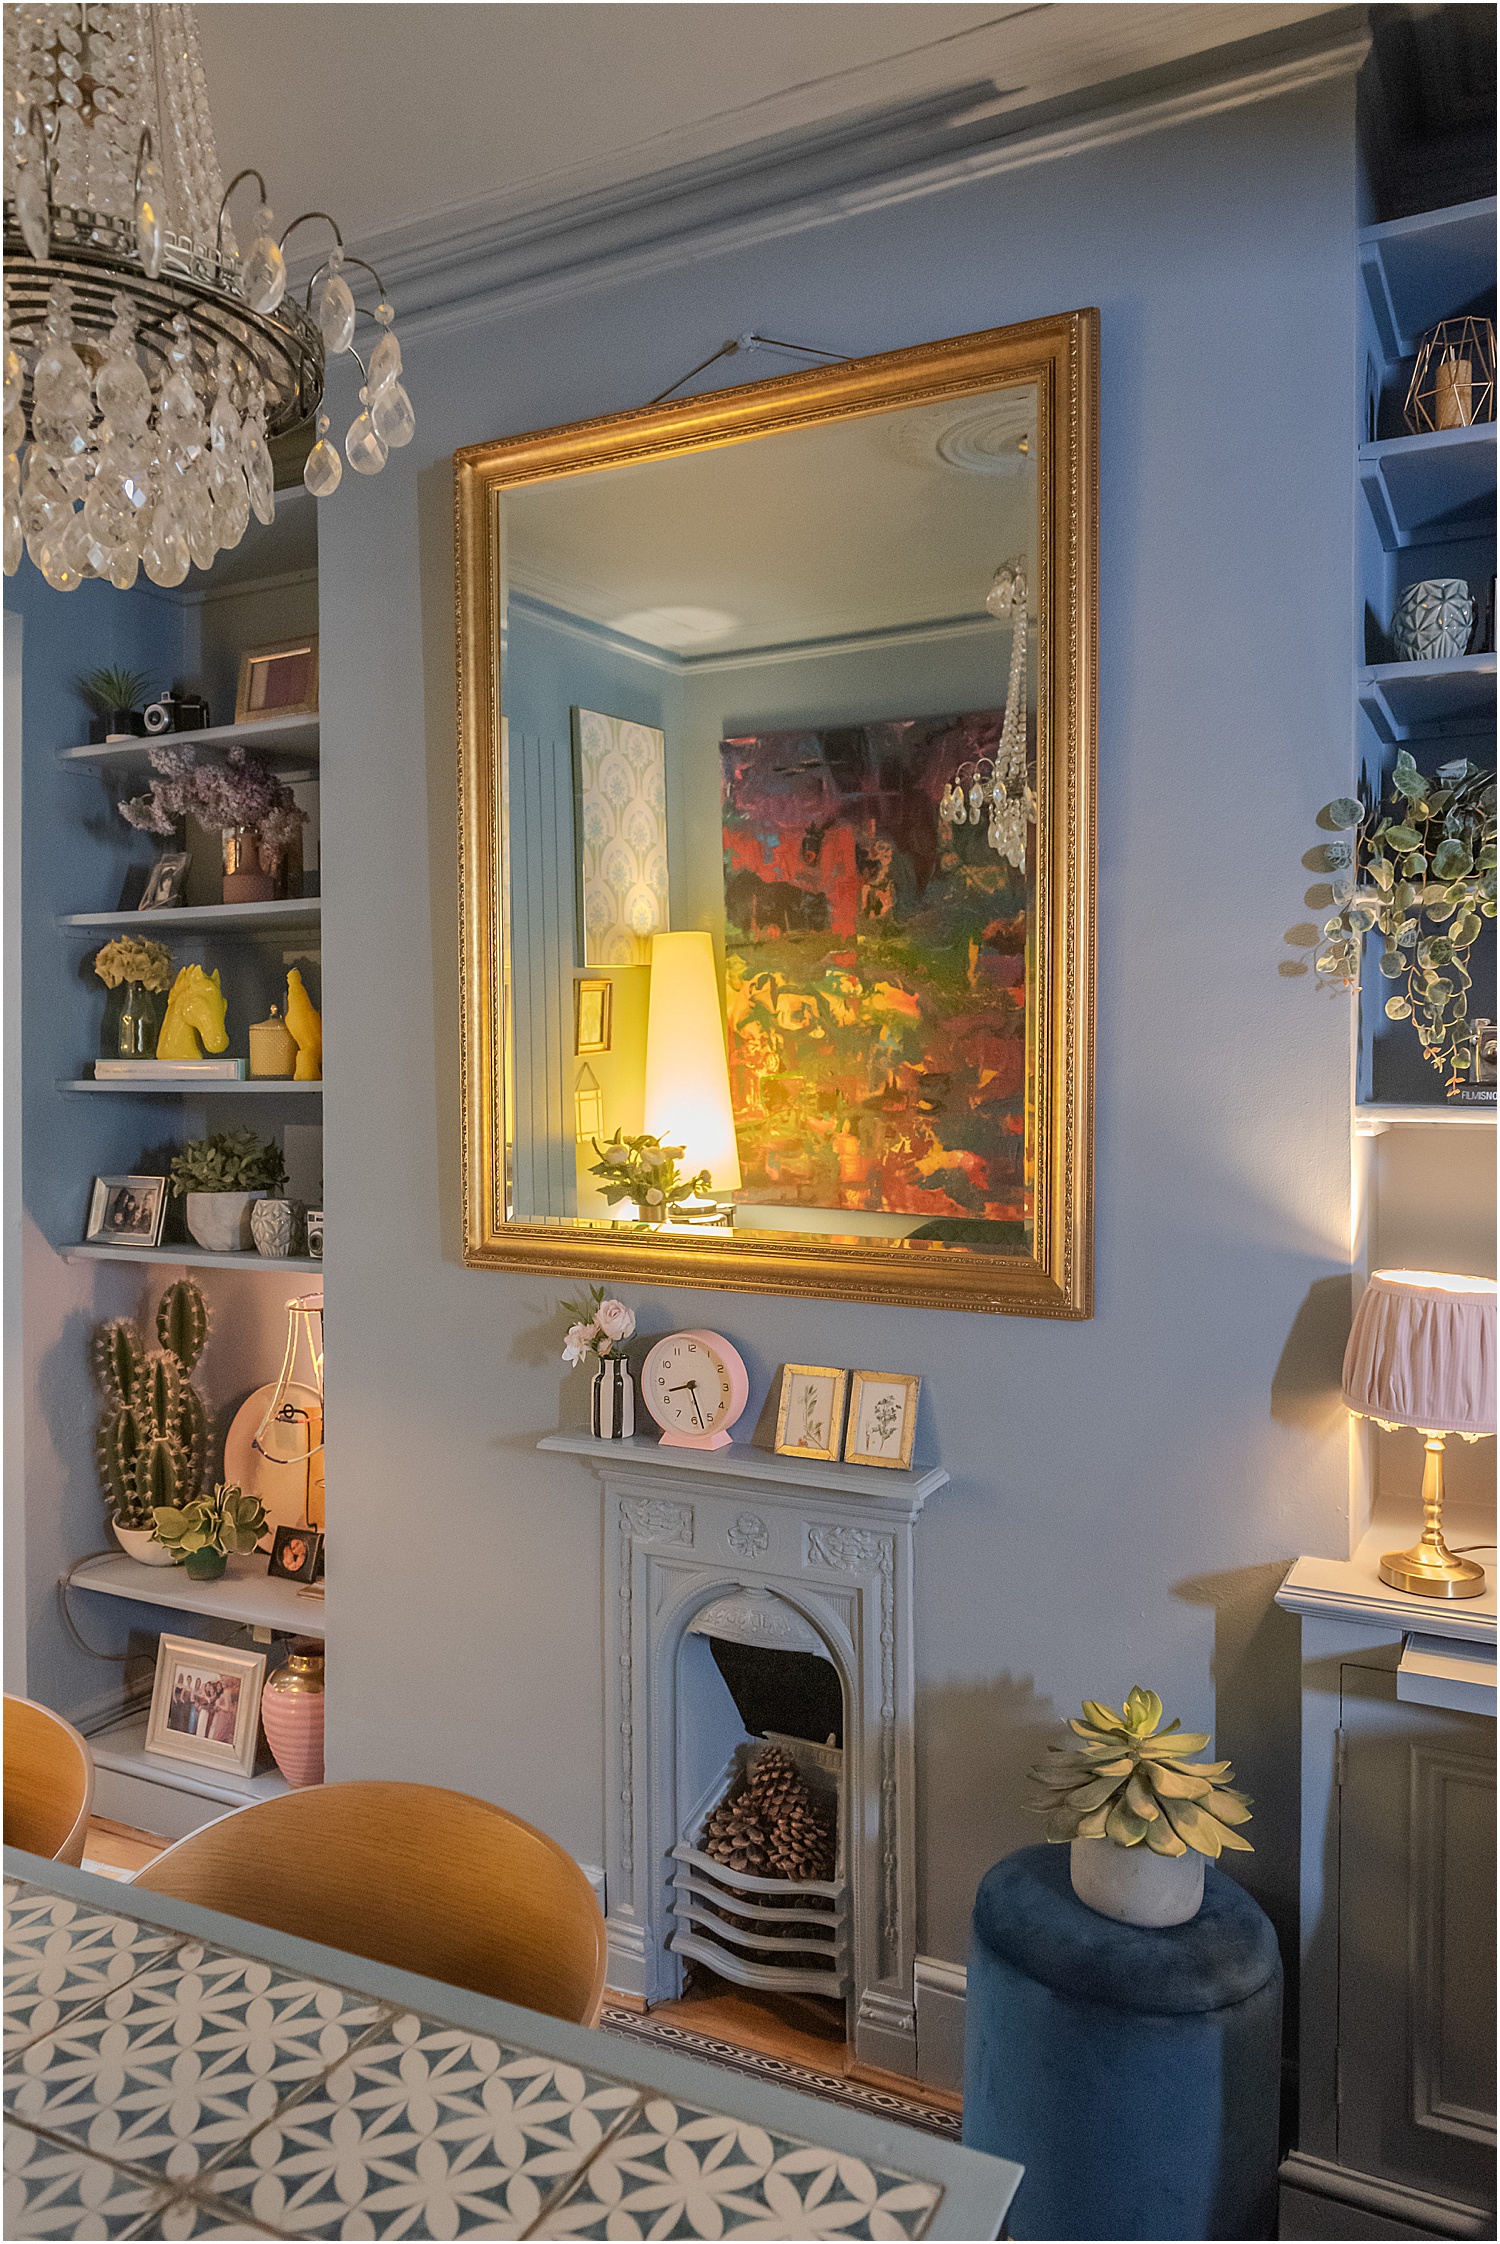
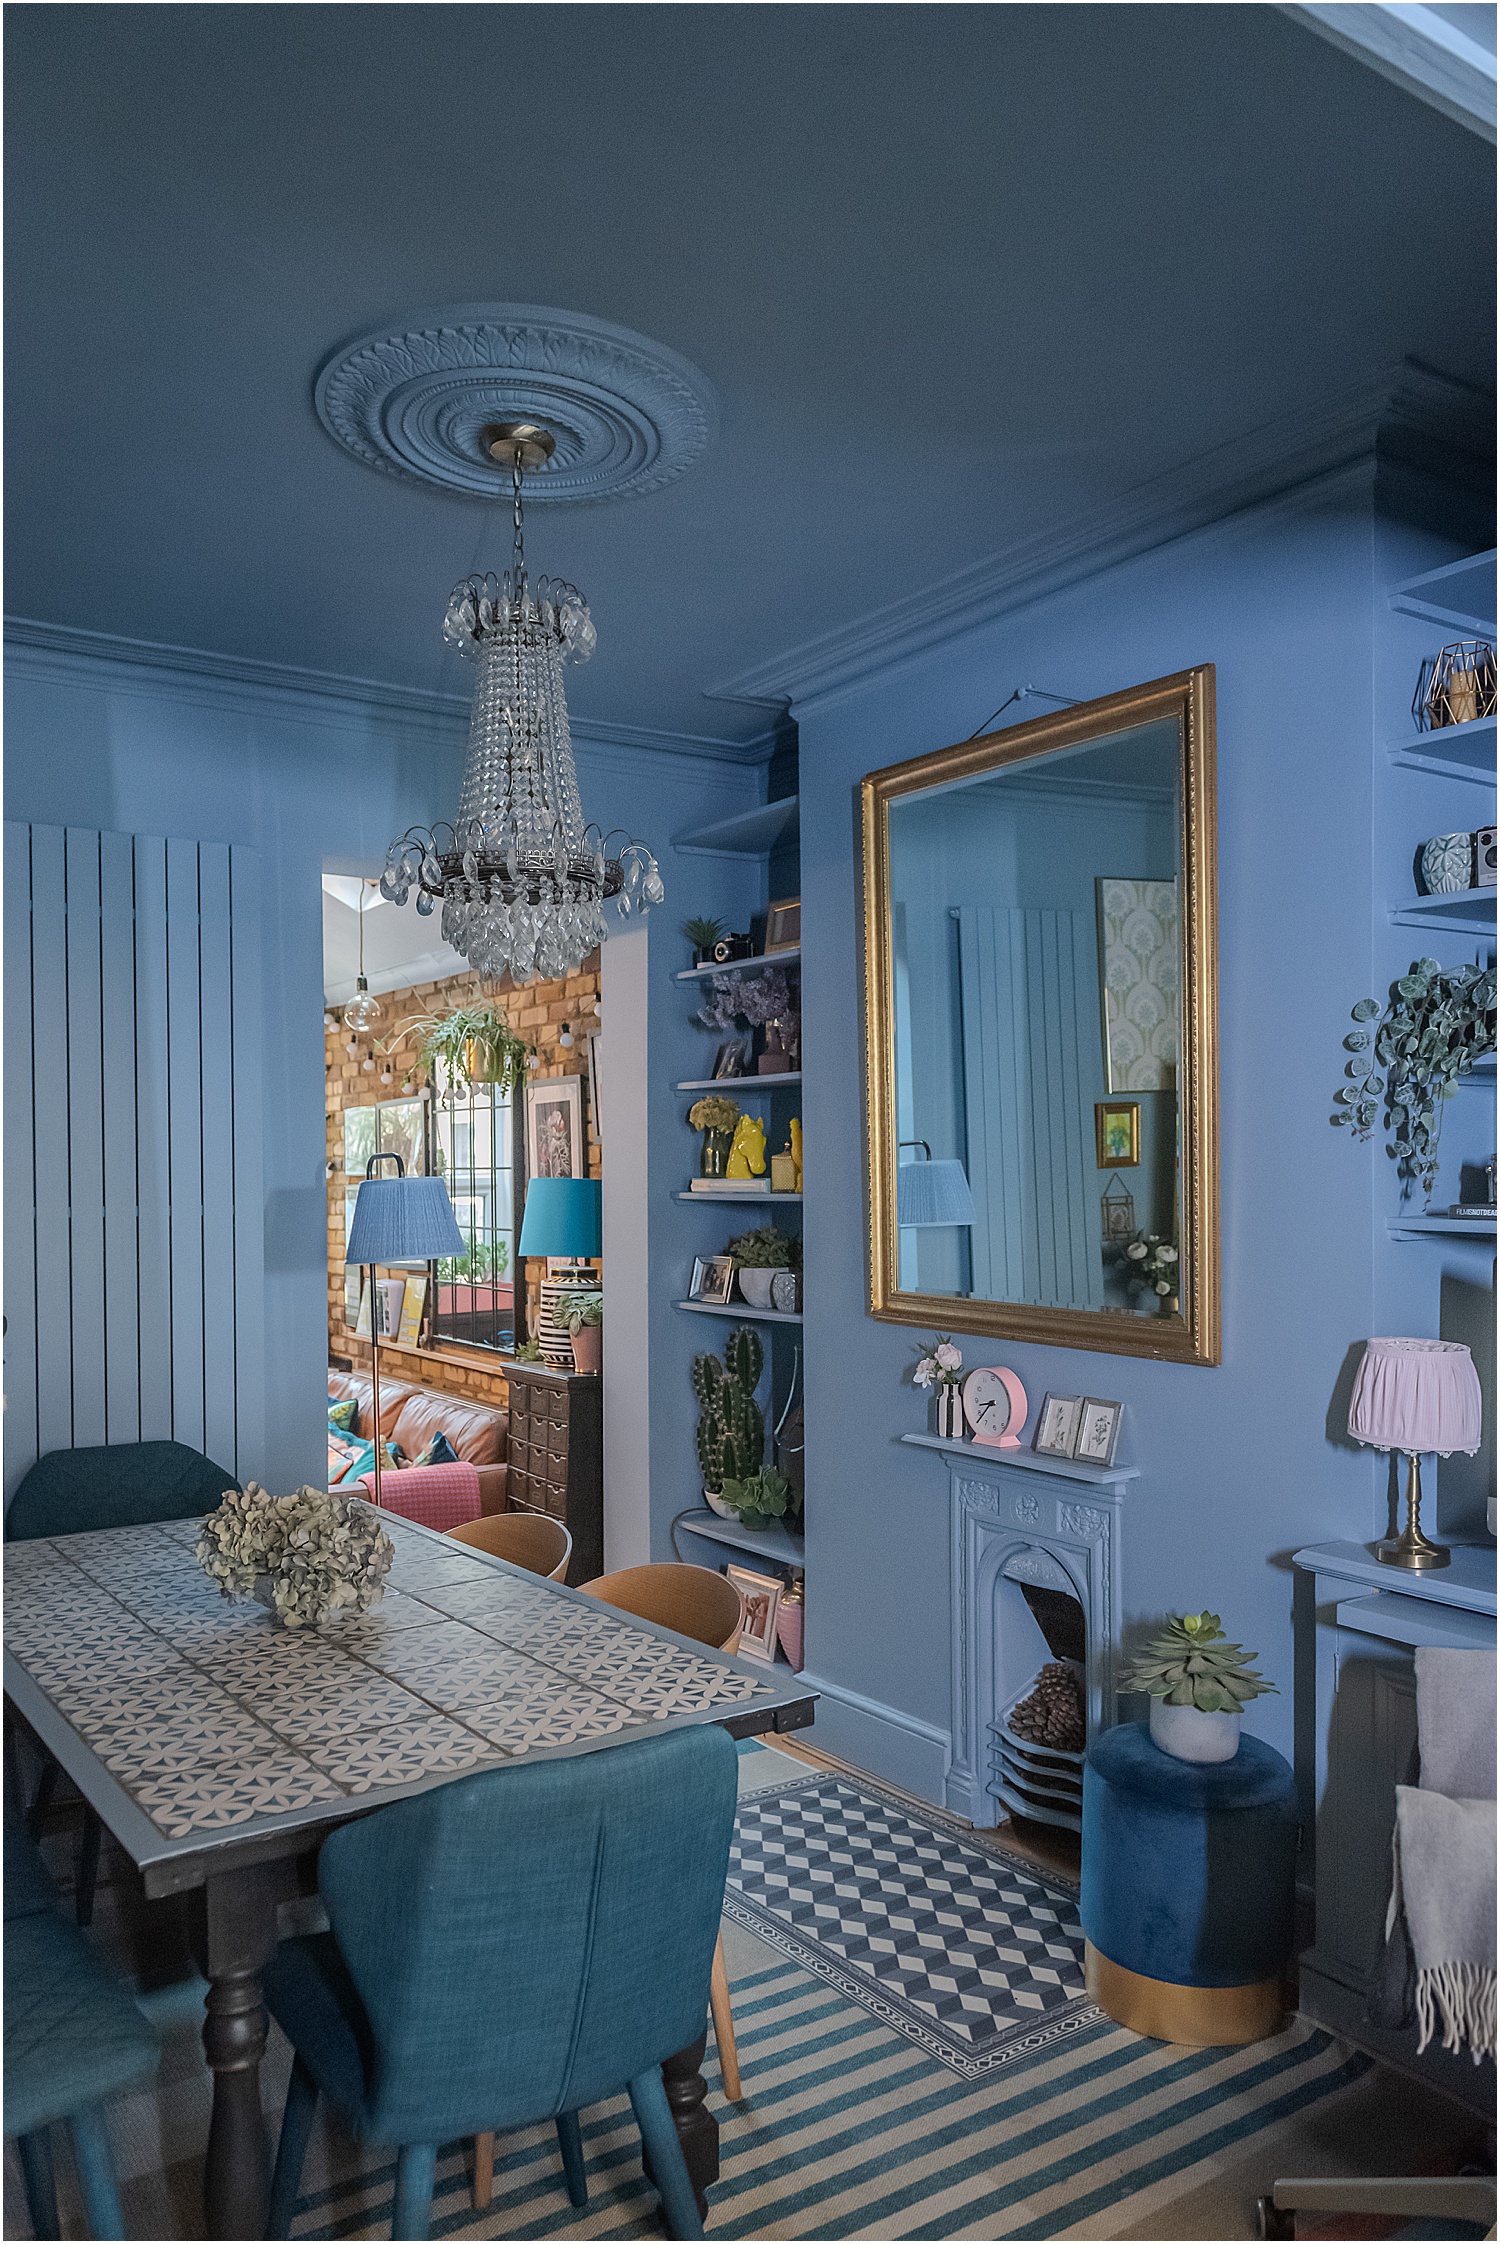
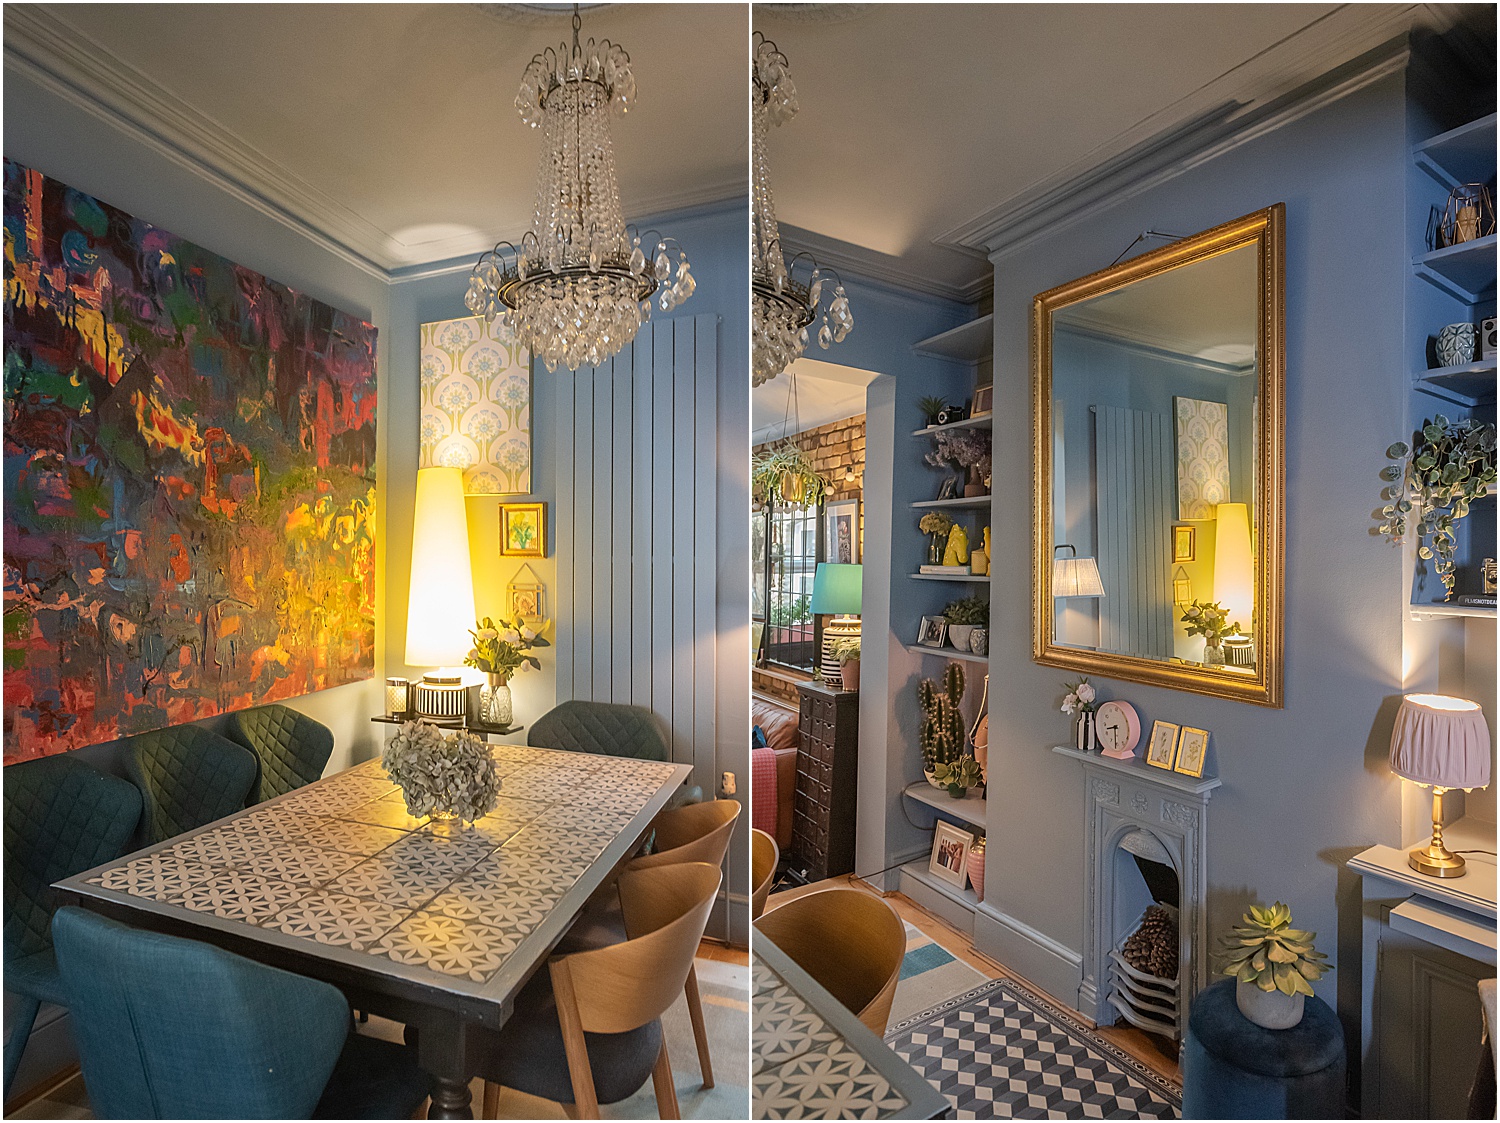
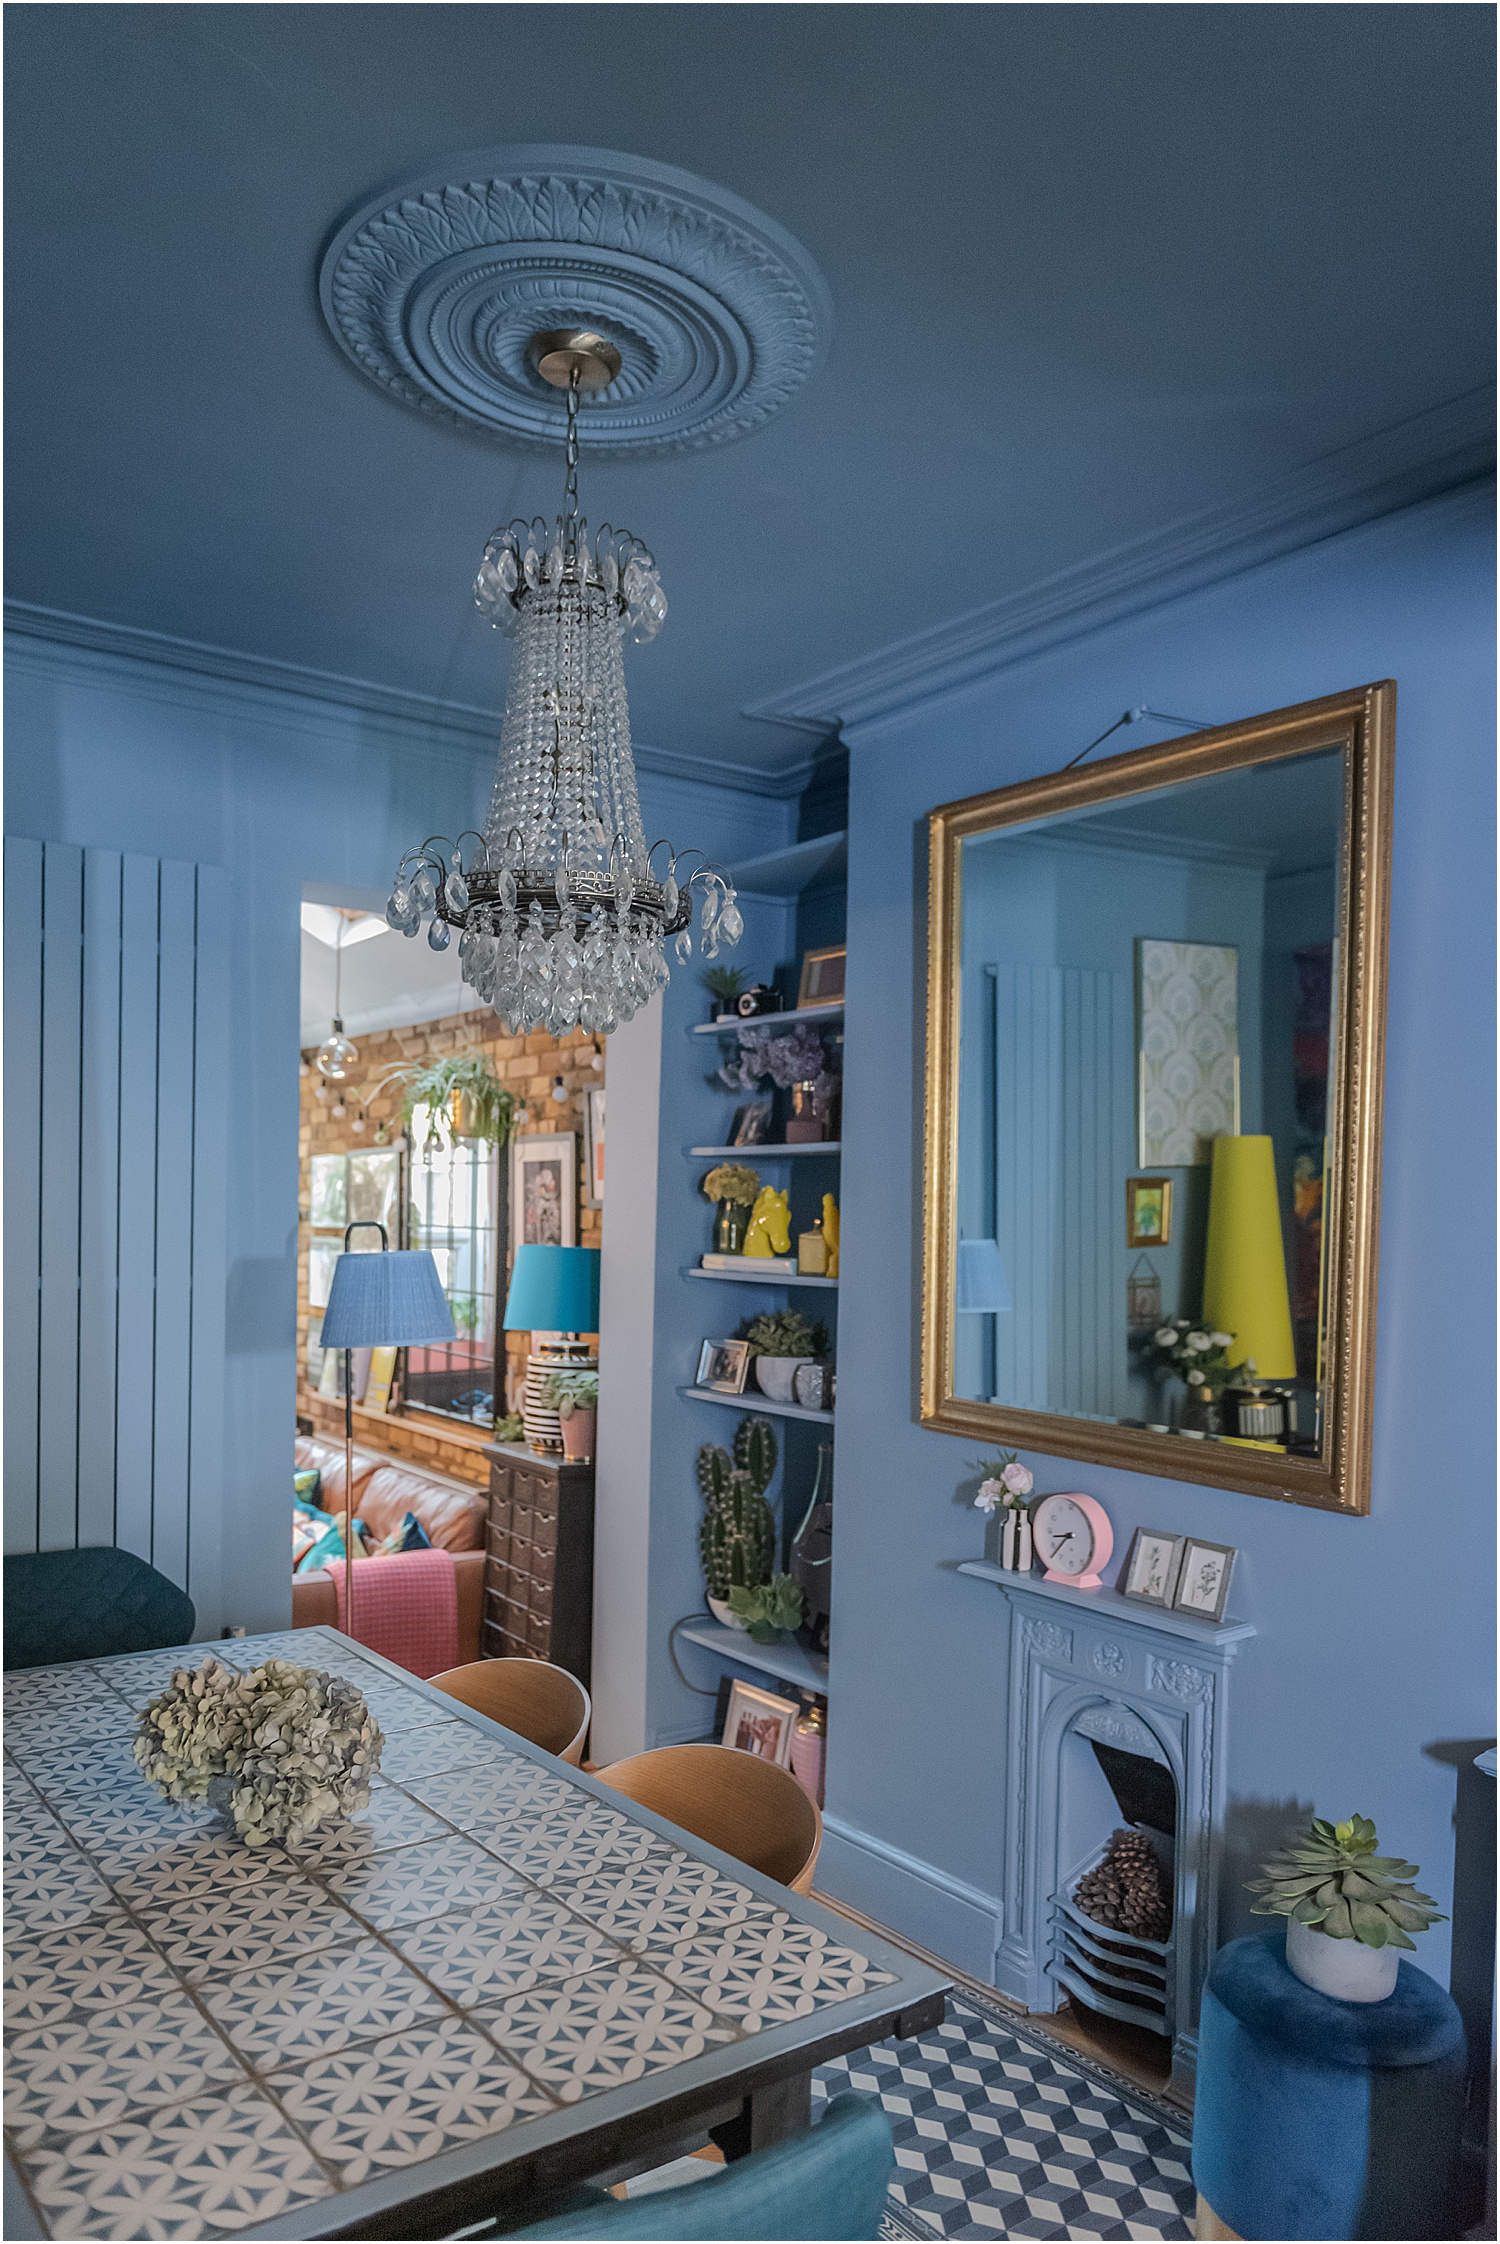
However, I have always wanted to try colour-drenching and this was the perfect space in my house for it. I love it now and it feels cosy, calm and serene. It has just the right lightness and I love the pastel tone. I used Little Greene Paint in Grey Stone in 3 different finishes appropriate for the various surfaces in this colour-drenching project.
So without further ado here are my 3 top hacks on Colour-Drenching a room.
3 Top Hacks on Colour-Drenching a Room
1. Have 3 of everything!
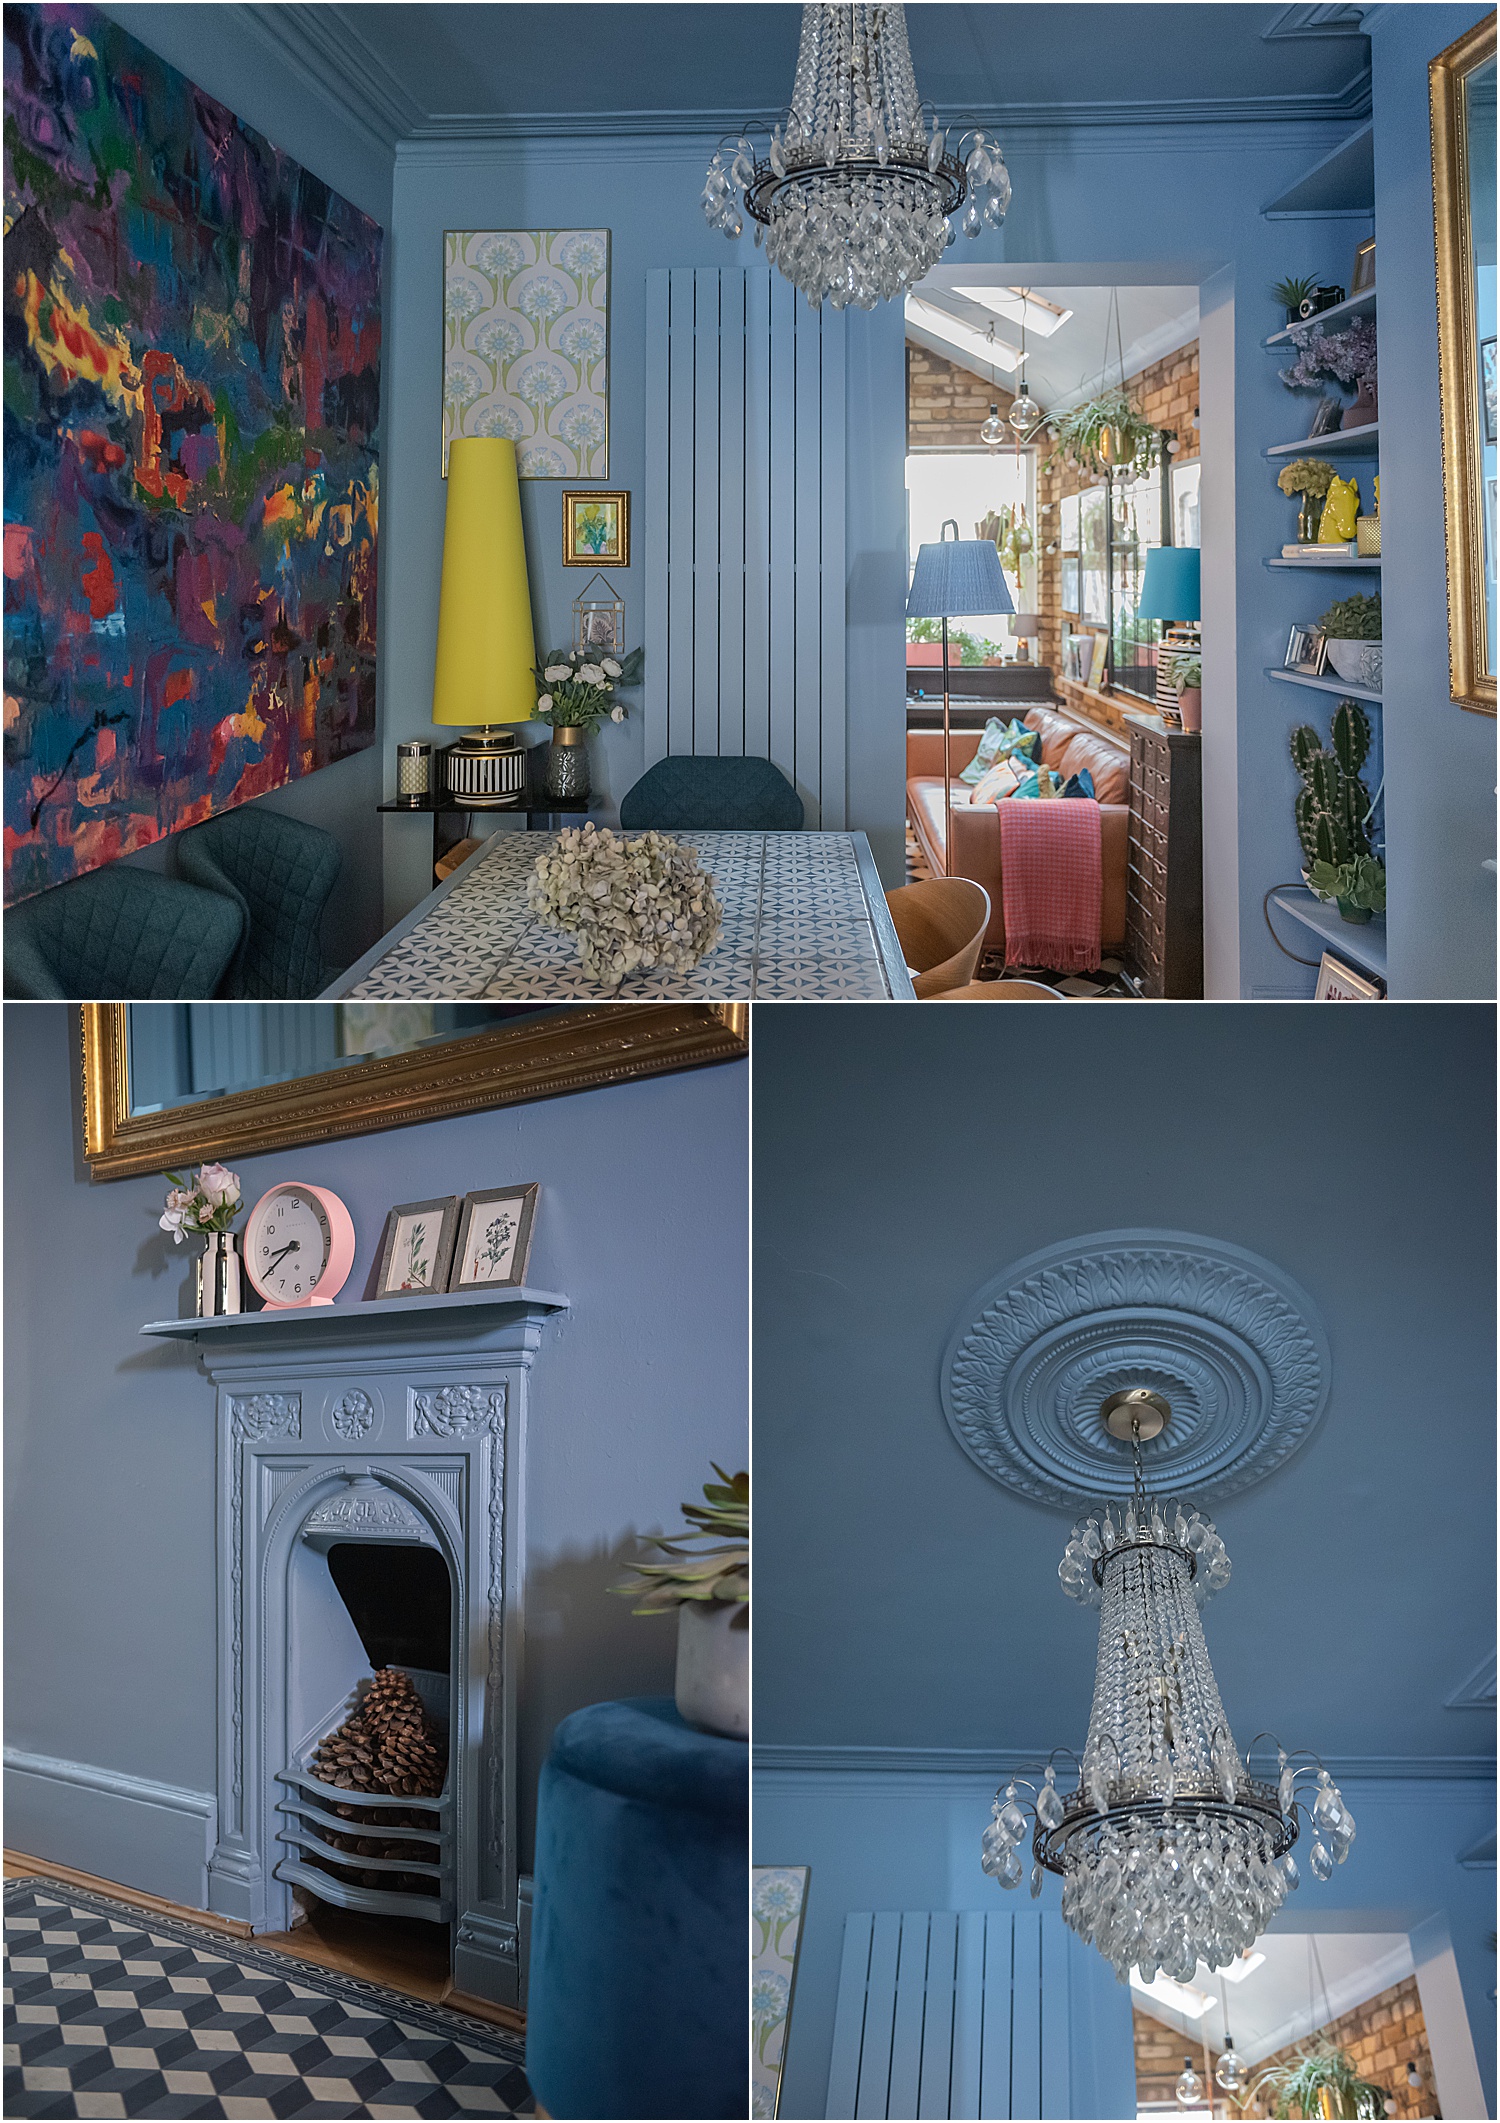
In this room the surfaces that needed painting are made of different materials: plaster on the walls and ceiling, metal on the fireplace and radiator, wood on the desk, doors, shelves, skirting boards, door frames and table edge.
I used the following paint types appropriate for each material.
Little Greene Intelligent All Purpose Primer in Grey Stone for priming metals and previously painted surfaces. I primed the radiator and fireplace. My door had a varnished surface so after abrading it, I also primed it. I felt I didn’t need to prime all other woodwork as although they had been previously painted, the paint was the same type – eggshell.
Little Greene Intelligent Eggshell in Grey Stone suitable for woodwork and primed metals. I used this to paint over the primed surfaces and previously painted woodwork.
Little Greene Intelligent Matt Emulsion in Grey Stone for walls and ceilings. I painted all the walls and ceiling with this including the ceiling rose and coving.
The quickest way I found to colour-drench a room is to be organised with the paint trays, brushes and rollers. I had 3 of everything: 1 tray, 1 roller, 1 big brush and 1 small brush for each type of paint. Being organised meant I had them all to hand and I was not getting confused with which type of paint to use for which surface.
Having all 3 types open at the same time also allowed me to keep working on other surfaces whilst other surfaces just painted were still drying. I had anticipated this job to take days but by being organised it shortened that time considerably.
2. Put them in the fridge!
Don’t wash the brushes and rollers at the end of each day. Instead, wrap them in plastic carrier bags and put them in the fridge. They will keep for several days without having to wash and waste the paint on them. You just need to remember which one is which so label them or mark the plastic carrier bag with a sharpie.
This saved me a lot of time and water which I would have used washing off the brushes every night for the duration of the paint job. Expect your family to ask why there are paint brushes in the fridge!
3. Block time
I appreciate some of us might just have a few hours here and there to tackle a paint job. I have certainly done that in other projects in the past. But I found when tackling this colour-drenching project, to finish as quickly as possible and minimise mess and upheaval, blocking out several full days did the trick to get this project done in a short space of time.
I started from early in the morning to late in the evening and kept on painting whilst other surfaces were drying. This was the advantage of painting with different finishes, thus having rollers and brushes for each finish, as I was able to keep going and to tackle additional coats in no time. The paints are all water-based and dried fairly quickly with little to no VOCs.
BONUS hacks:
1. If you have painted walls before, I’m sure you’ve been at one point or another frustrated with how lids rarely sit back on nicely after opening a tin of paint. I learned to navigate this problem by wrapping the open mouth of the tin with foil on opening it to keep it paint-free. This helped with resealing the lids at the end of the day or paint use.
2. When cleaning brushes, so much paint tend to get stuck within the ferrule which is the metal neck wrapped around a paint brush between the handle and bristle. Any paint not washed off completely hardens and results in the hardening and stiffening of the top of the bristles as well. This means the bristles become less agile and the usable bristles shorter.
Taping masking tape around the ferrule and a few millimetres into the top of the bristles keep the ferrule clean and minimise stiffening of the brush. It’s well-worth doing to add longevity to the bristles.
I hope you enjoyed this post on 3 Top Hacks on Colour-Drenching a Room and found it helpful. If you have any questions, message me on Instagram and I’d be happy to help if I can. Don’t forget to download my free resources that will help you design your own interiors and grow your Instagram account! Let’s chat on Instagram Layered.Home and together get inspired!
This blogpost is not sponsored by Little Greene but I did work with Little Greene in a paid capacity on Instagram last year for this colour-drenching project.