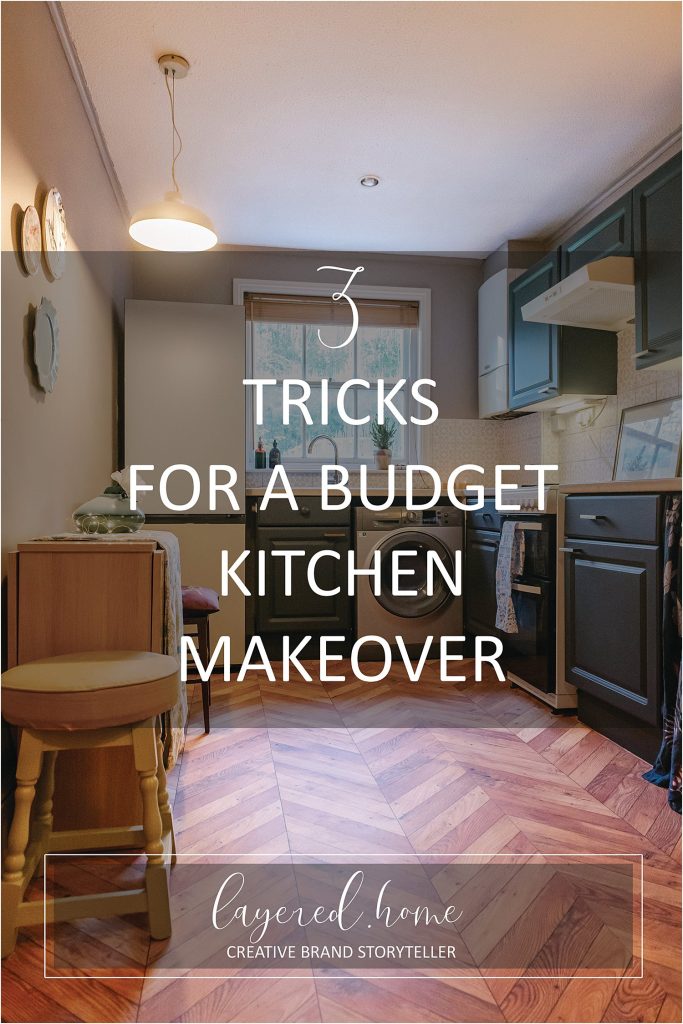
After a blogging hiatus, I am ready to share with you my 3 Tricks for a Budget Kitchen Makeover now that it is finished!
Last year we bought a tiny flat by the seaside. It used to be a rental flat and was painted in dirty white all throughout – apart from the bathroom which was tiled in mottled beige in its entirety.
With a tiny redecorating budget, my plan was to do a cosmetic makeover using paint in the entire flat. However, I’ve decided to do a complete bathroom refit instead as the bathroom was really unbearable and to keep the existing kitchen for the time-being.
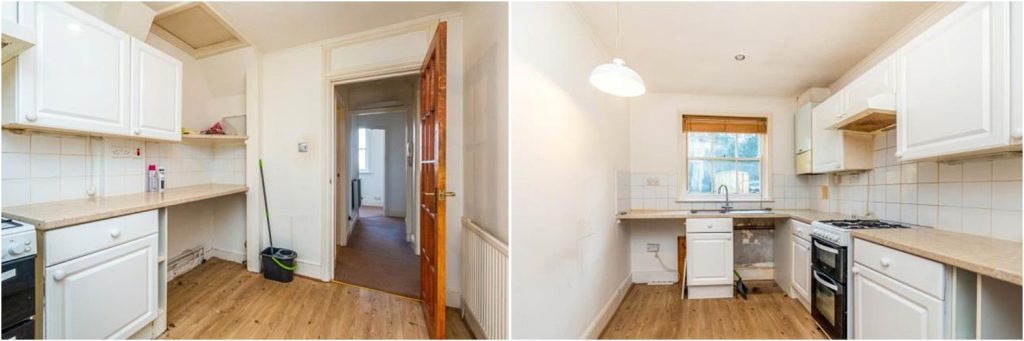
Here are a couple of estate agent photos of the kitchen we inherited.
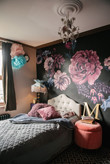
I set myself a simple brief: warm inviting homely calm and peaceful
Without further ado, here is what I’ve done.
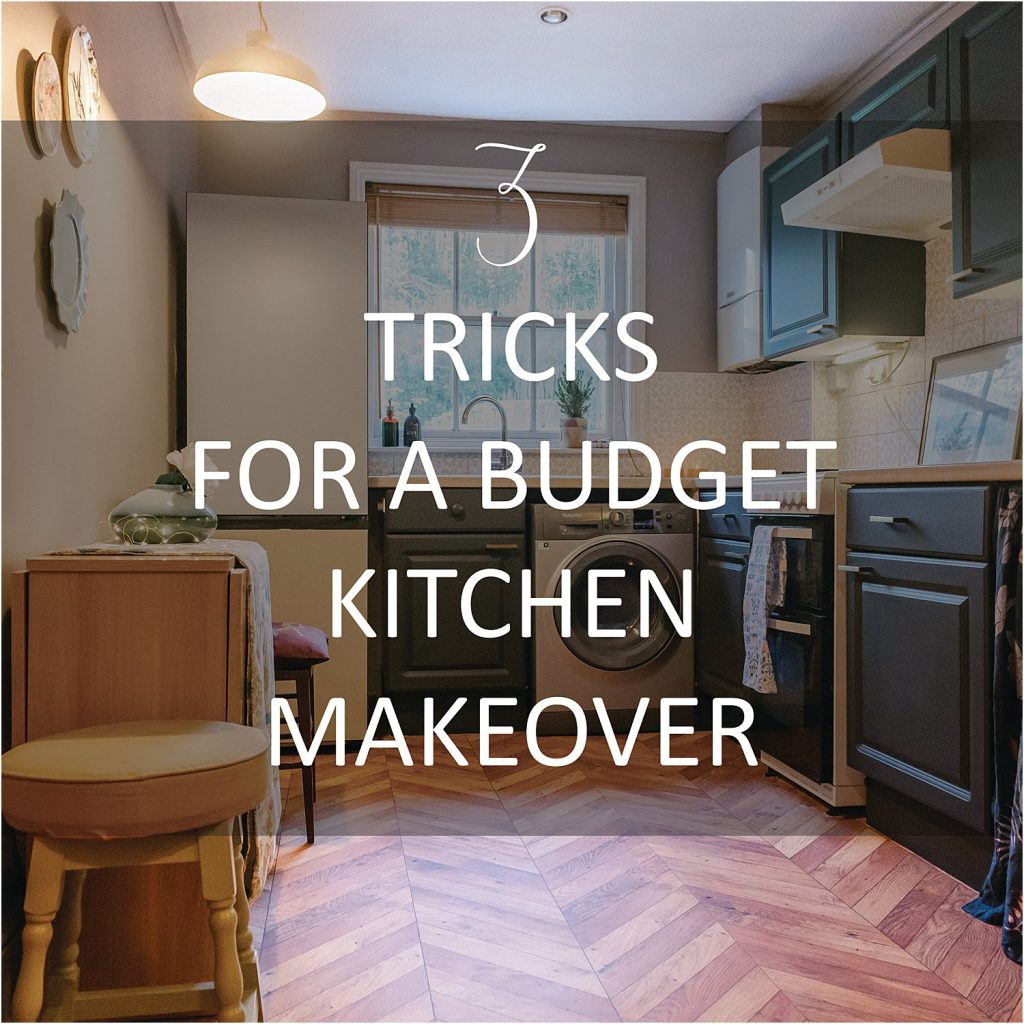
3 Tricks for a Budget Kitchen Makeover
1. PAINT IT!
Get your paintbrush out! You’d be amazed at what a lick of paint can do.
Using left-over paint I had from previous projects, I painted the walls with Craig and Rose Grisaille. I used chalky matt finish on the walls and matching eggshell on the radiator, woodwork and trims.
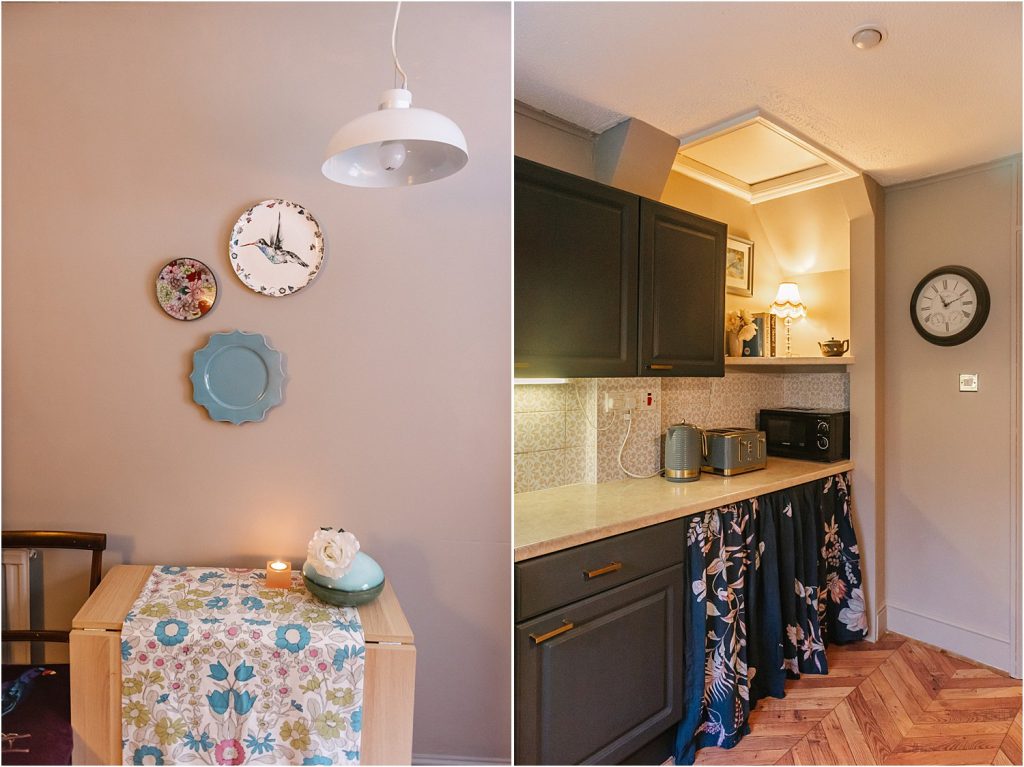
I also painted the kitchen cabinet door using leftover Frenchic Paint Alfresco that I had mixed. The colour is a very dark grey blue using Black Jack and some blues and greys that I had left over.
Preparation is key though so I sanded the melamine moulded cupboard front and applied left-over Craig and Rose Light Grey Undercoat before painting with Frenchic topcoat I ha mixed.
2. PEEL AND STICK IT!
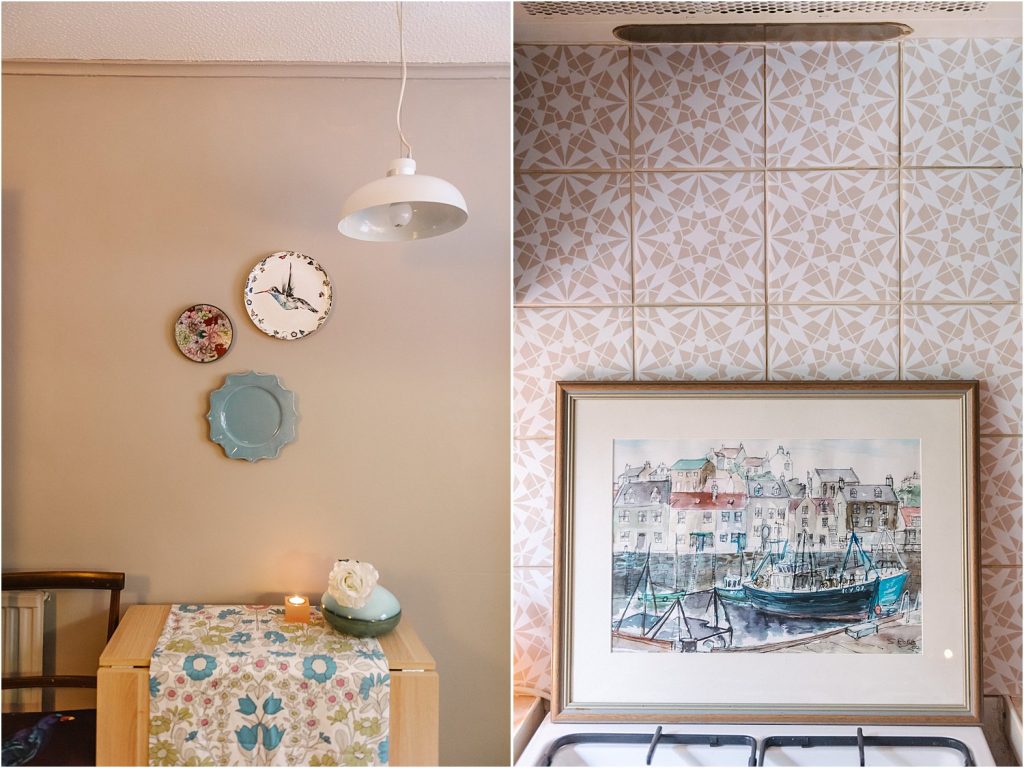
Using Bonnie and Bold peel and stick vinyl products, I transformed the tiled splashback just by sticking vinyl on them. Becky who owns Bonnie and Bold has been very helpful all throughout this project.
I asked if she could make me a clay colour version of her Geometric star design and she also provided them cut to the size of the tiles for me. All I needed to do was literally peel and stick them on!
Unlike many other vinyl products, Bonnie and Bold‘s peel and stick vinyls do not require hairdryer to apply the stickers. Hairdyers are normally used to soften the adhesive for good adhesion. These adhere so well without hairdrying. They are durable and really easy to use too.
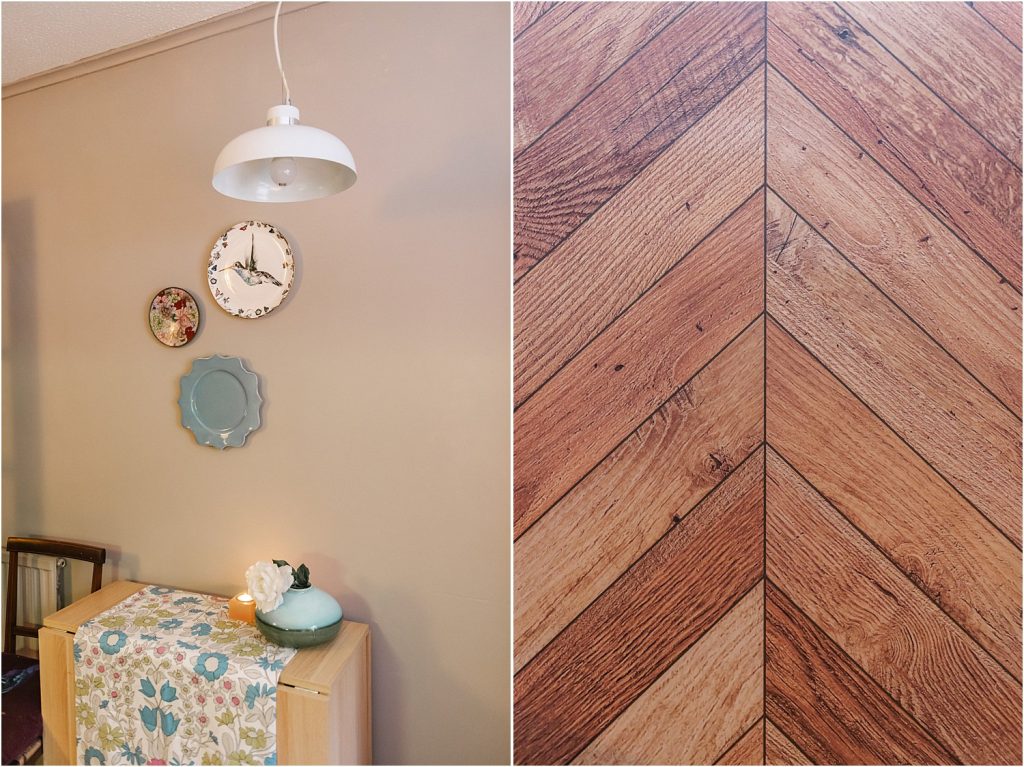
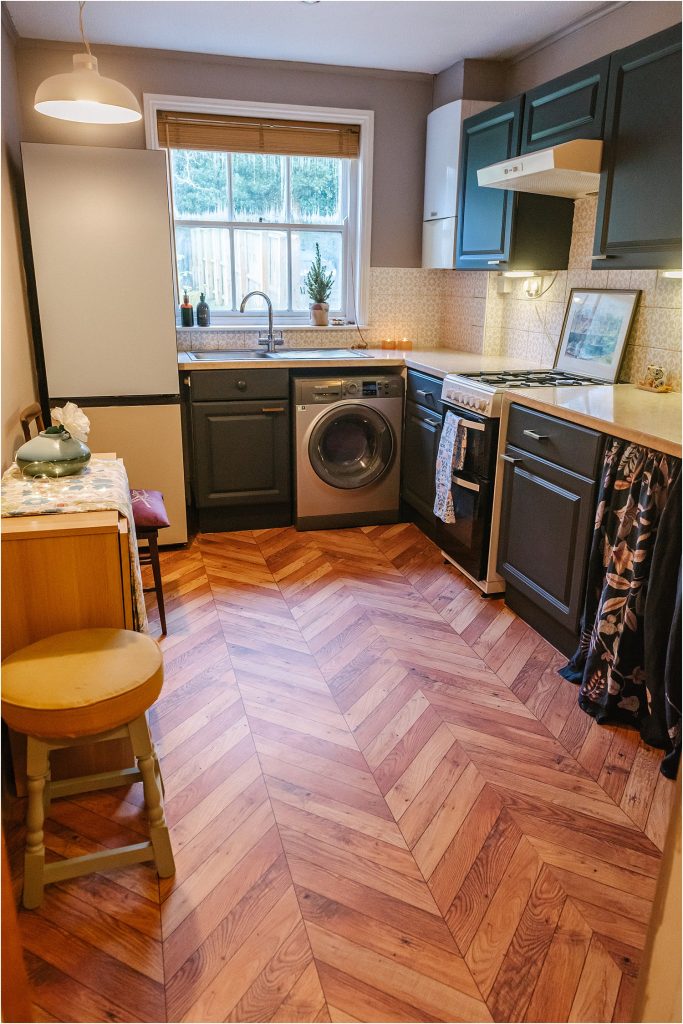
For the floor, I used Bonnie and Bold’s chevron parquet vinyl flooring. This was made to measure and arrived in 60cm x required length strips. Again it was literally a peel and stick job!
The vinyl has a durable coating on top for a skid and scratch-resistant finish. It is also waterproof! Not only that, it looks so impressively realistic and brings so much warmth into the space.
Here you can see a little 15 second video of how this space came to be and here is a step-by-step reveal video.
One of the best things about Bonnie and Bold is that their products are “no-damage” DIY and rental-friendly! They also have so many gorgeous designs – so worth checking out their wallpapers which also come with self-adhesive back and can have a fabric vinyl finish.
3. HIDE & ACCESSORISE
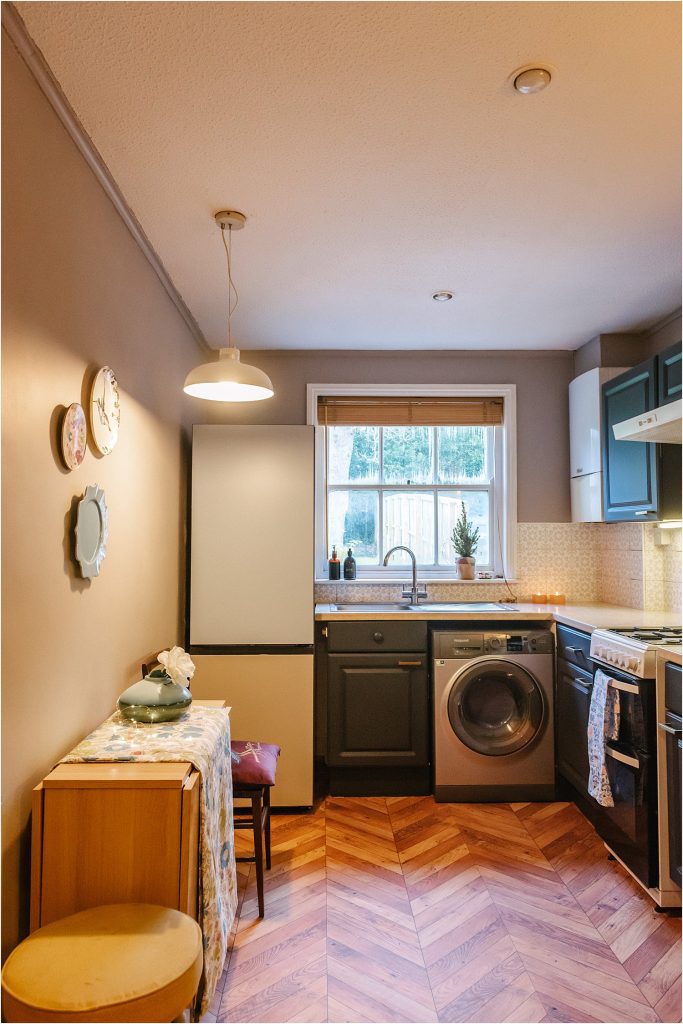
Underneath one section of the worktop is a storage area where we put all the shoes racks and other unsightly stuff. I used an old tension rod to hang an old tablecloth as a curtain and hide all these.
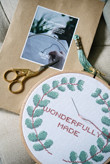
Touches of accessories make the space a home. But first, I had to change the cupboard handles into brass. I got these from Wilko’s and they were very inexpensive.

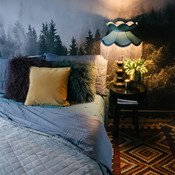
I also sourced a small vintage lamp and other accessories like salt and pepper shaker, teapot decor and a vase, plates for the wall from charity shops. I added my husband’s Nigel Slater recipe book collection, an old clock and voila! All done.
Here is a side-by-side before-and-after of the kitchen.
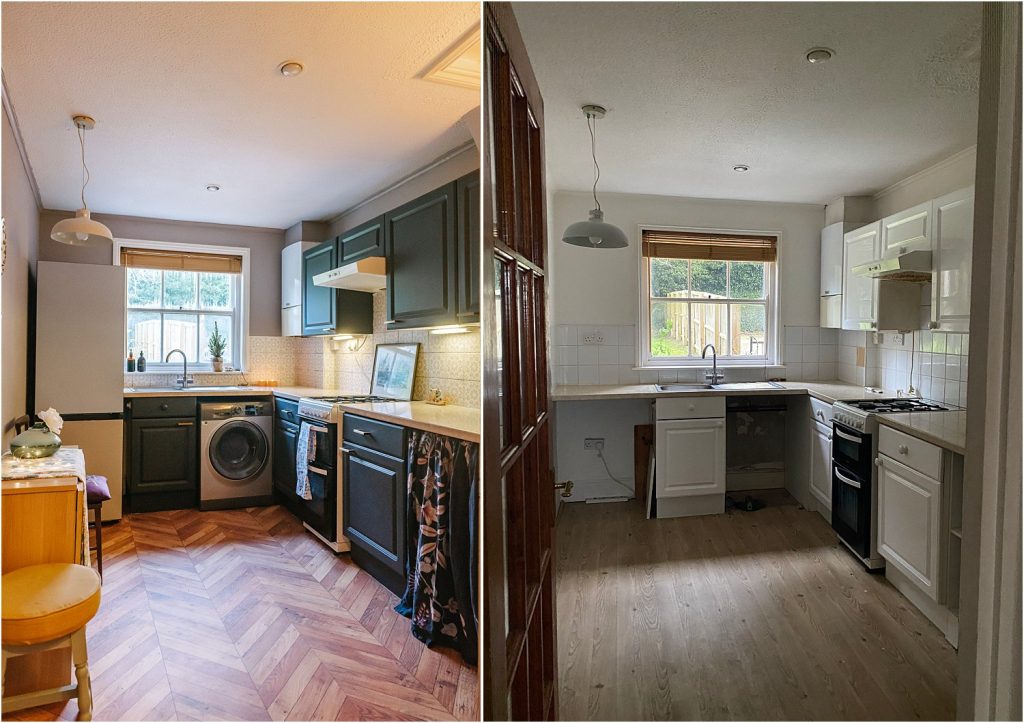
The kitchen feels so warm and inviting now. The first time my husband walked into the finished kitchen, he couldn’t believe how different it feels – even after he’d seen the photos.
My children even thought the tiles and floor were real!
So what do you think of my 3 Tricks for a Budget Kitchen Makeover above?
Featured on this post are present and past paid collaborations with Bonnie and Bold, Craig and Rose, Frenchic (affiliate) and Samsung.
Don’t forget to download my free resources that will help you design your own interiors and grow your Instagram account! Let’s chat on Instagram Layered.Home and together get inspired!