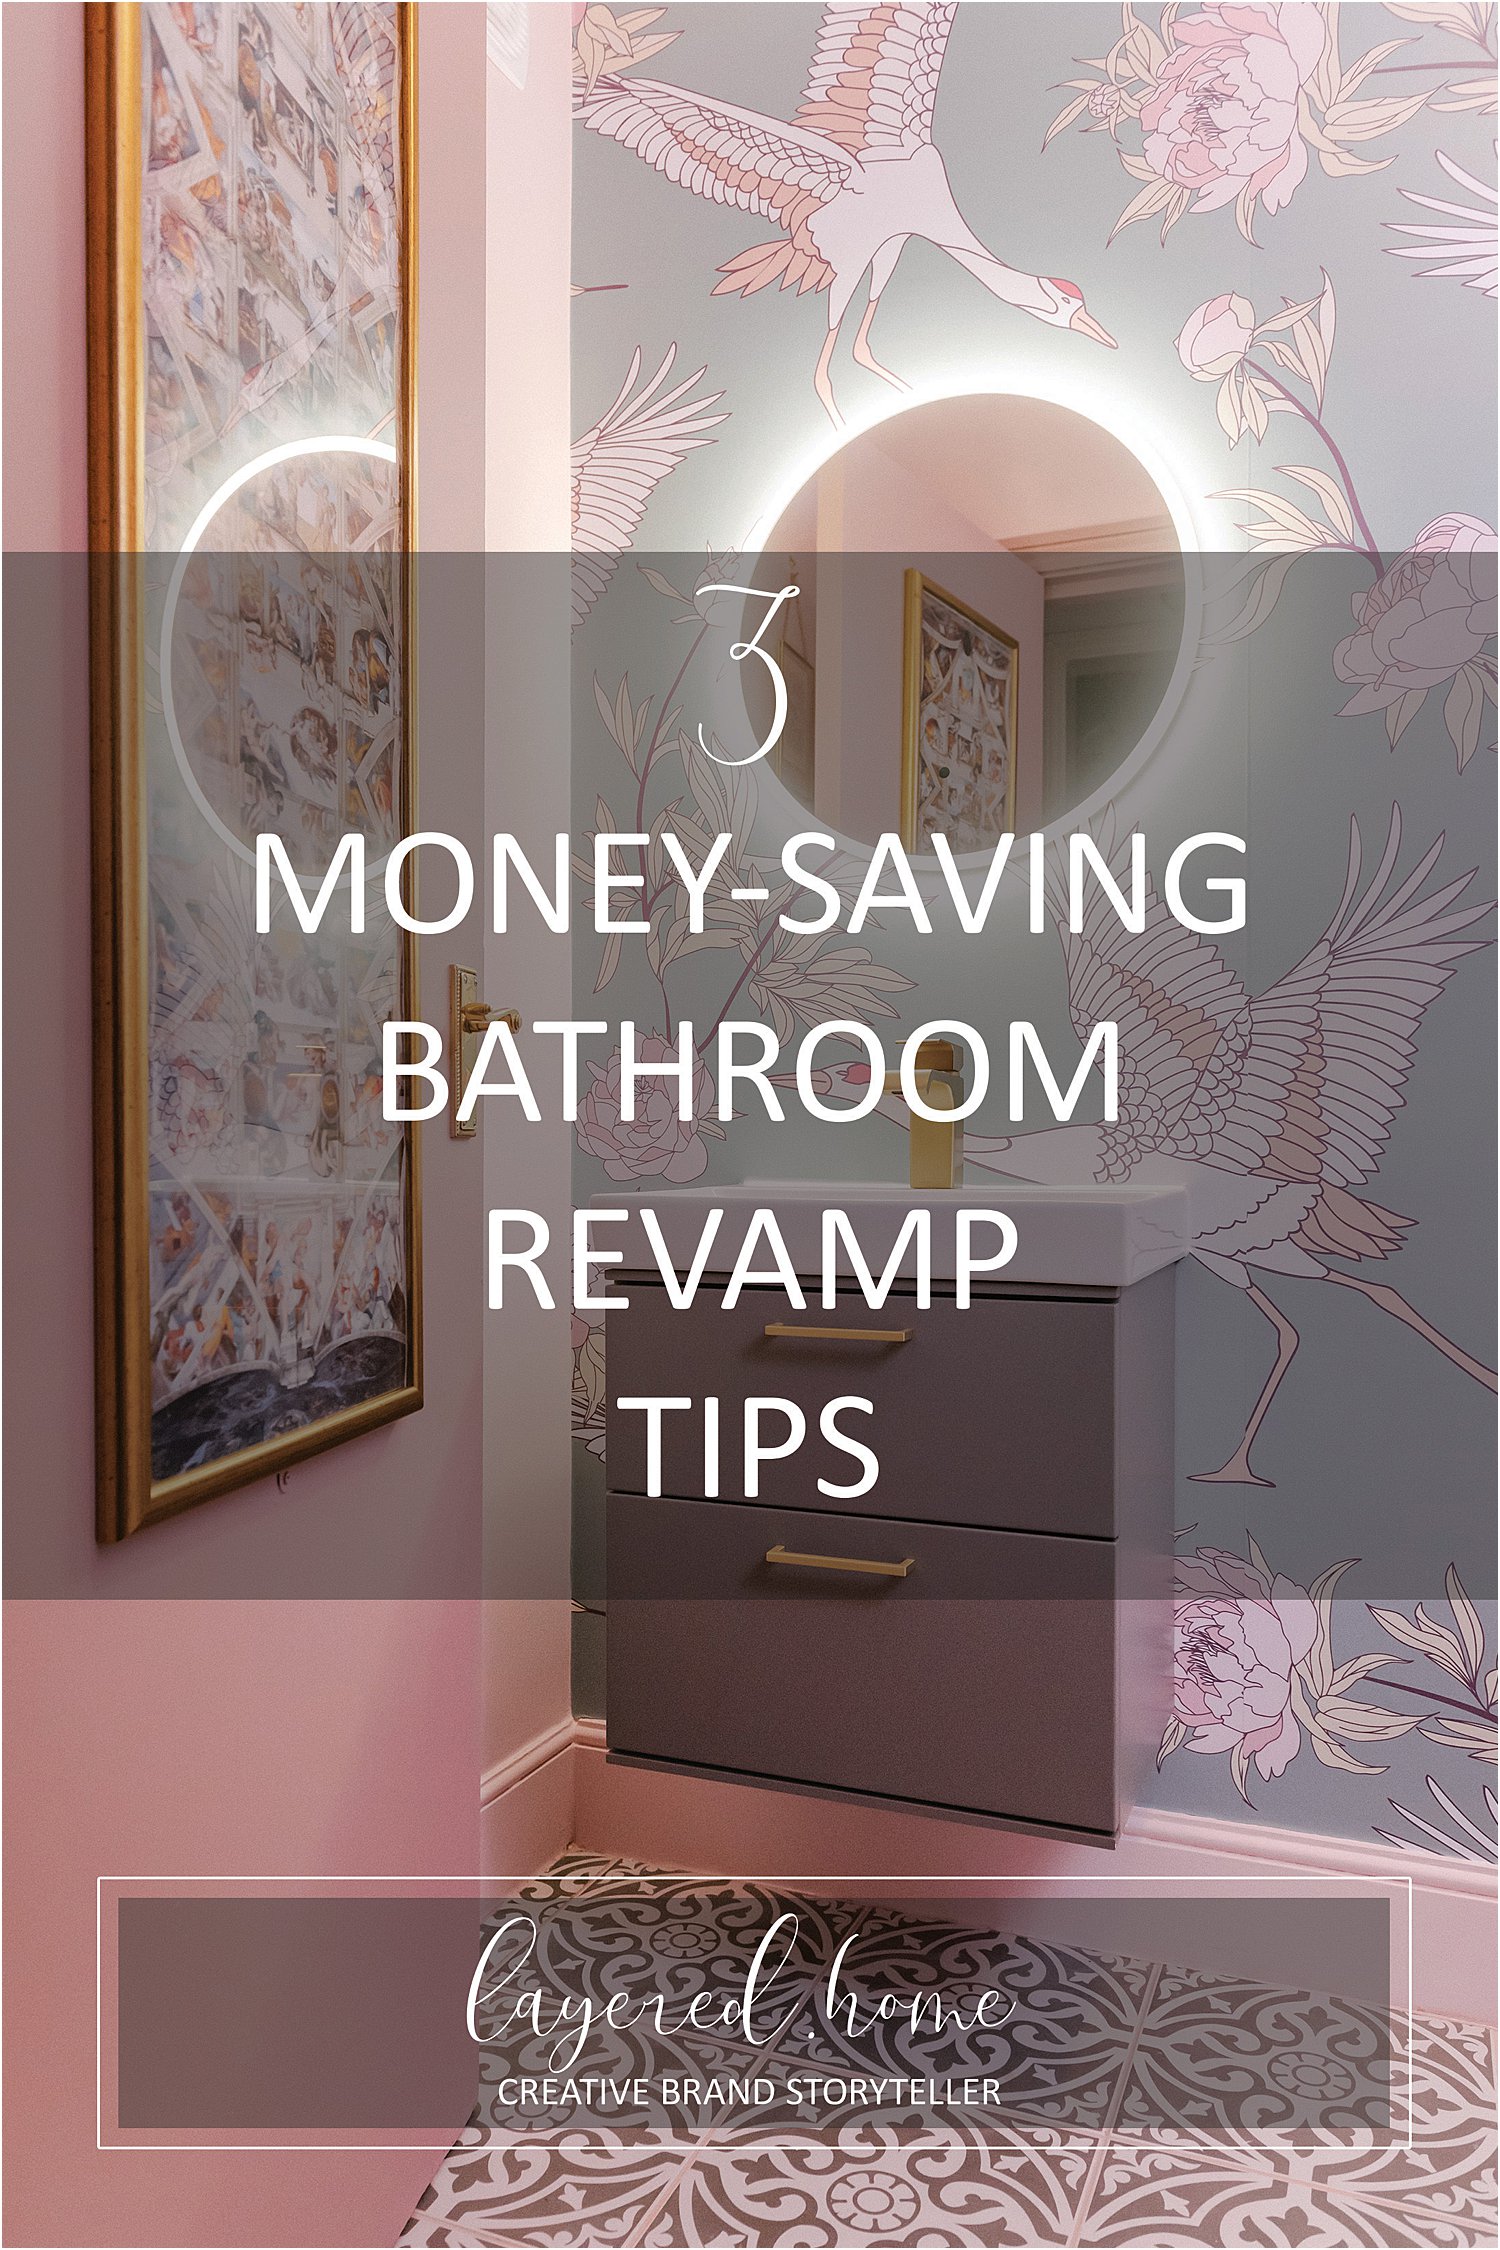
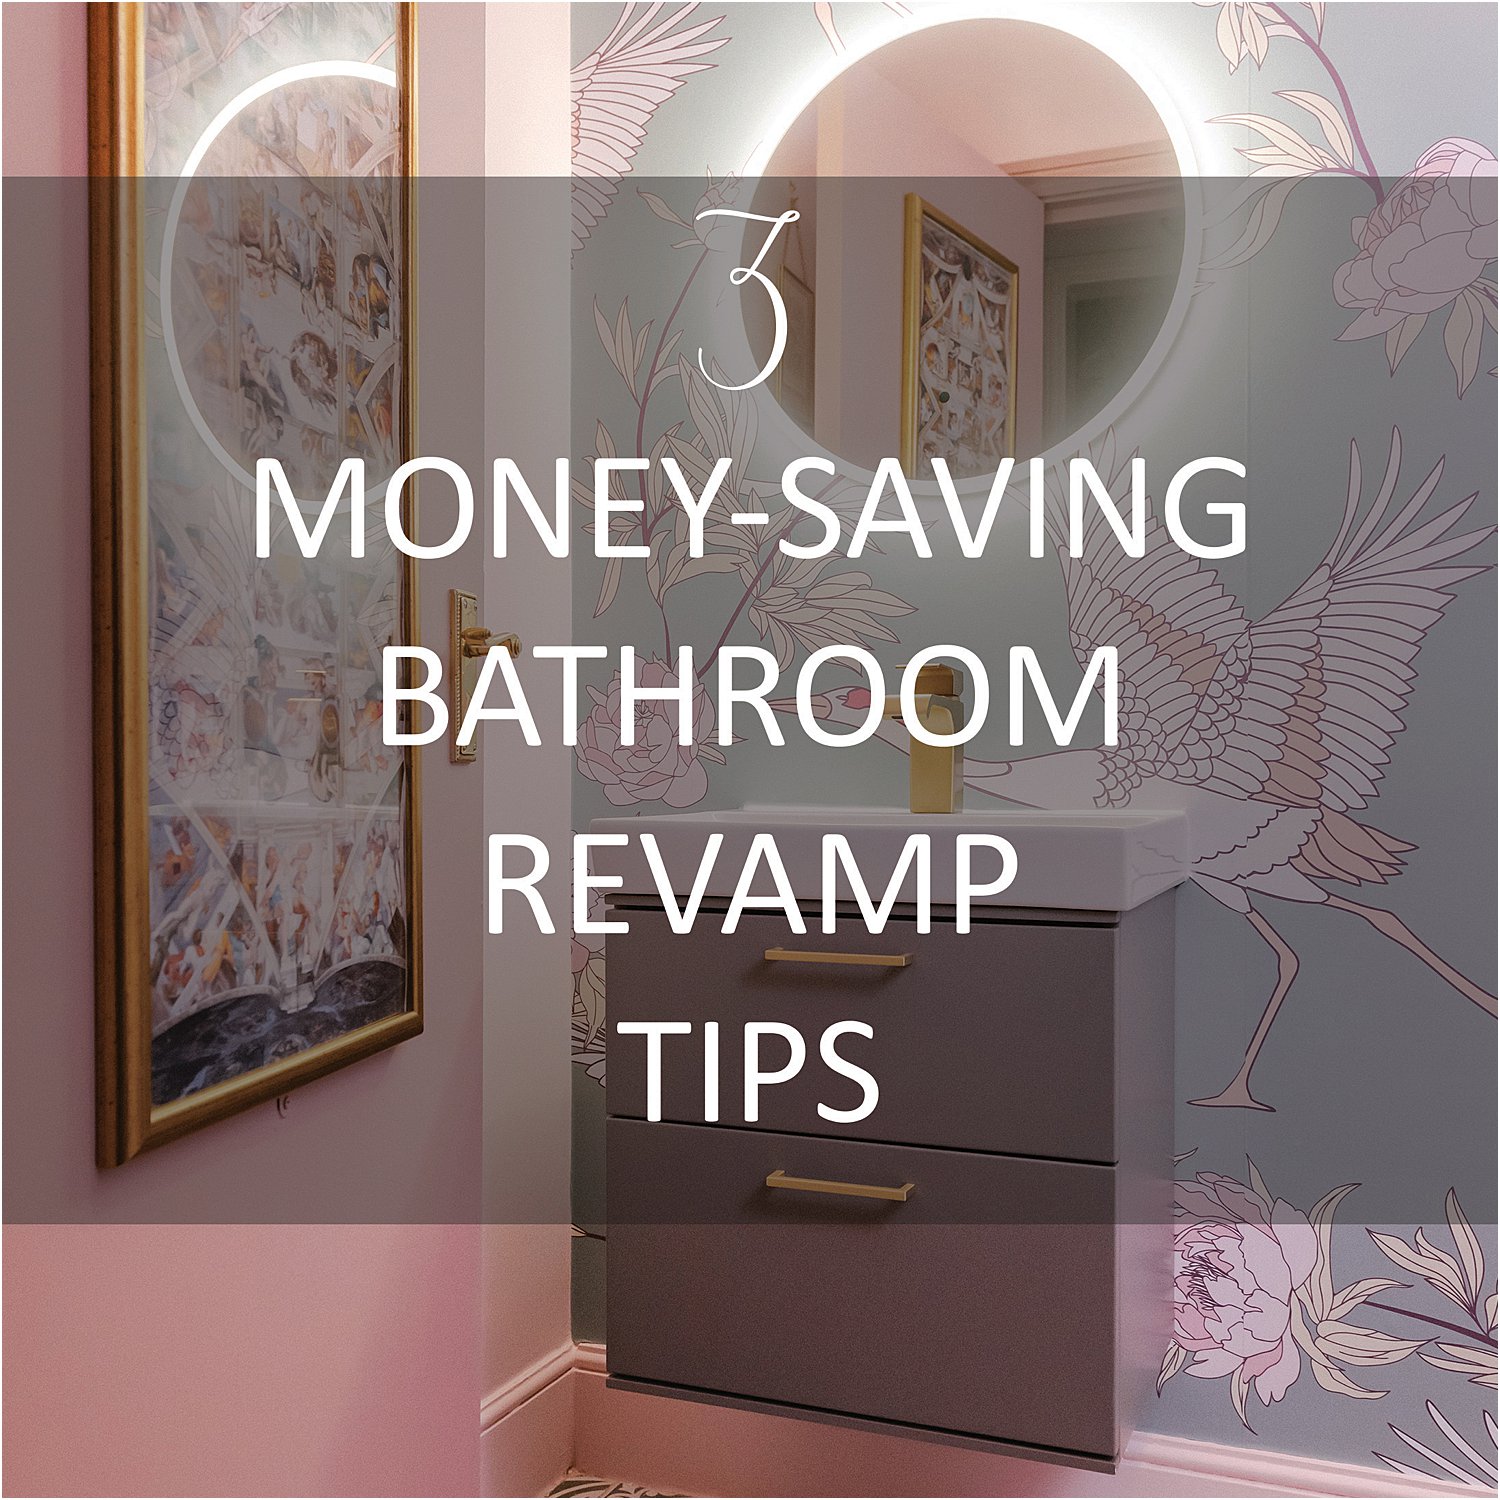
Bathrooms are so expensive especially when starting from scratch. Here are my 3 money-saving bathroom revamp tips.
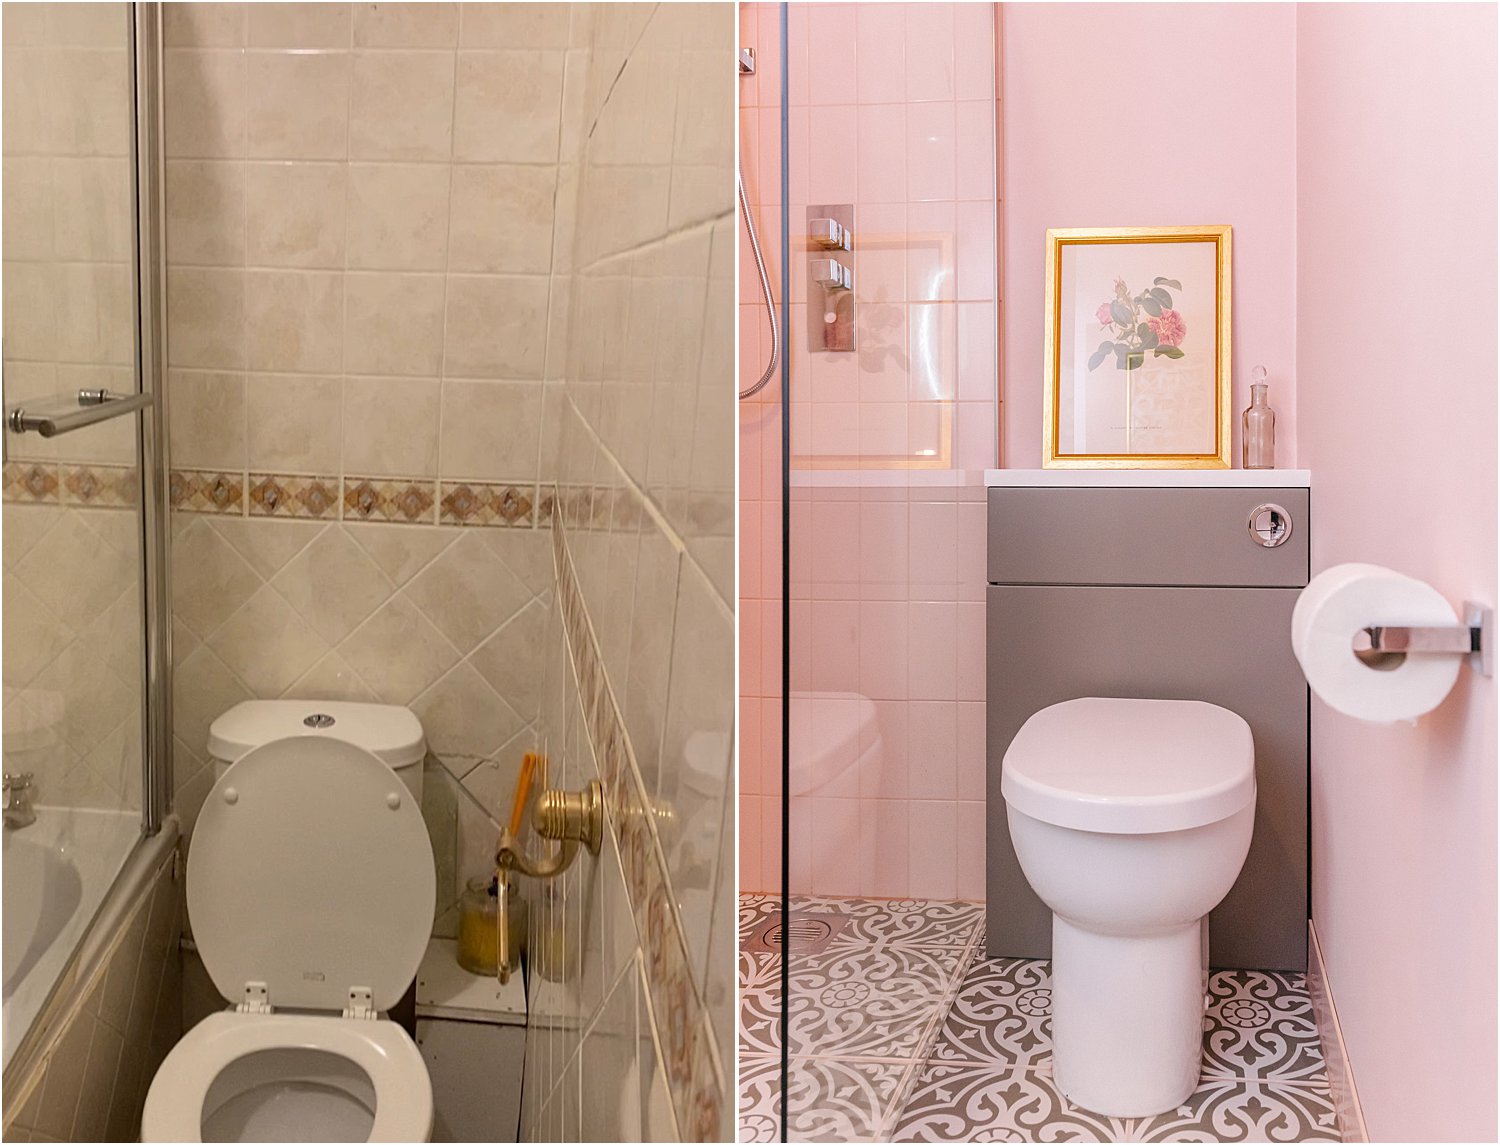
In our little flat by the sea, we inherited a windowless bathroom. It was covered in dirty beige tiles on all 4 walls and fake pebble tiles on the floor. It was a horrible space and I could not bear it. Some tiles were broken and grouting was poorly done.
It was a truly awkward space too. You could only get to the vanity if you closed the door behind you, otherwise the bath was in the way. The basin was way too big for the tiny space and the toilet leaked.
On seeing the photos from the estate agents listing, I initially thought this could be a cosmetic job and I can repaint and stencil the tiles. But when I saw it in person, I knew it had to go. Doing it up cosmetically would have been a total waste of time and money.
Here are some “before” photos which I took when I got access to the flat:
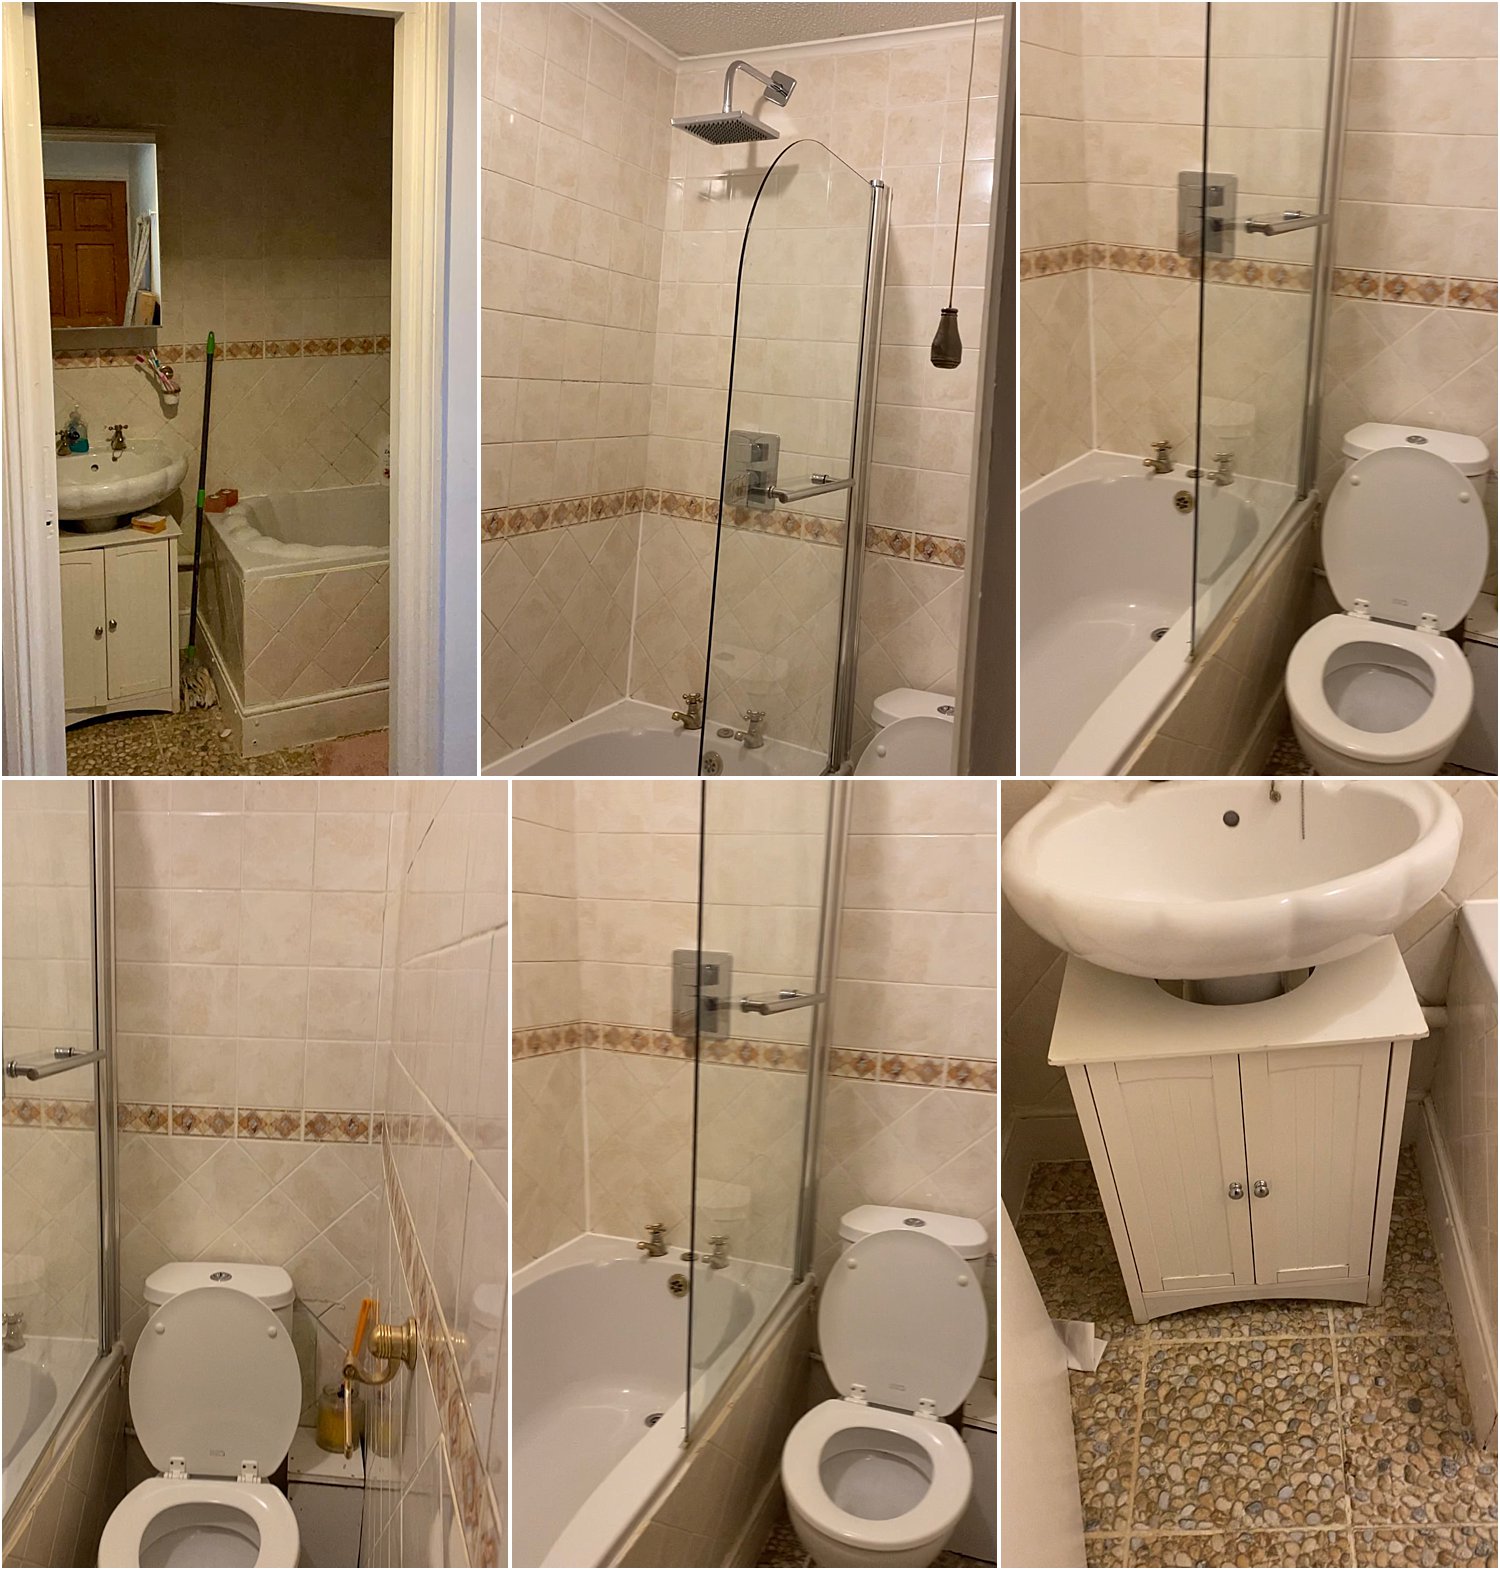
Walking into this old beige crumbly bathroom would make anyone depressed. This bathroom could not be a patch-up job. It needed complete gutting out and renovating.
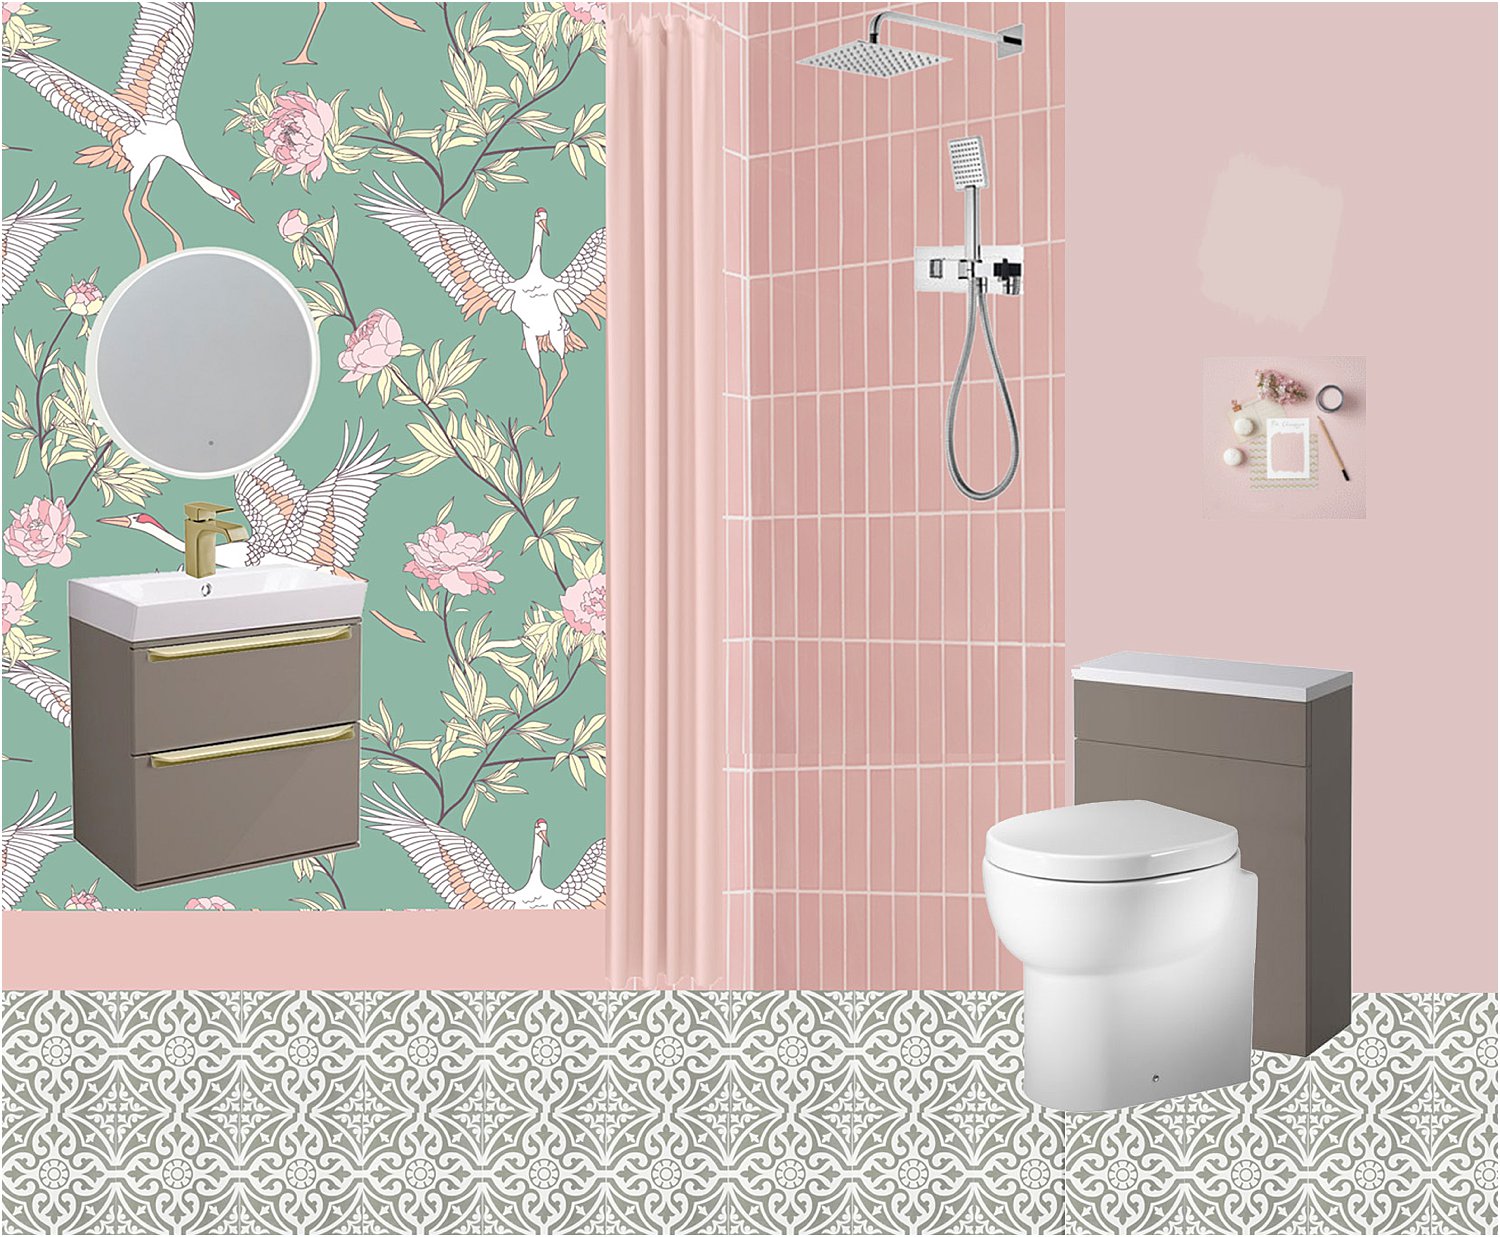
I started with a moodboard.
Moodboarding helps me visualise all the elements that go into a design. Sometimes there are things that I think go well together in my head but when I put them down on a moodboard, they do not work. Moodboarding helps confirm my design choices and prevents me from making costly mistakes.
I also decided to remove the bath altogether as it was really in the way and instead replace it with a tiled shower area. Without a bath, I now have a wetroom.
Without further ado, here are my 3 money-saving bathroom revamp tips:
1. USE WALLPAPER VINYL INSTEAD OF TILES
All the tiles, down to the last square inch went. They had to be removed and disposed of safely and properly. Many removal services refuse to take tiles that are attached to plasterboard as both need to be separately disposed of. So check first with your removal service whether they take tiles only or offer a service where they also remove tiles from plasterboard.
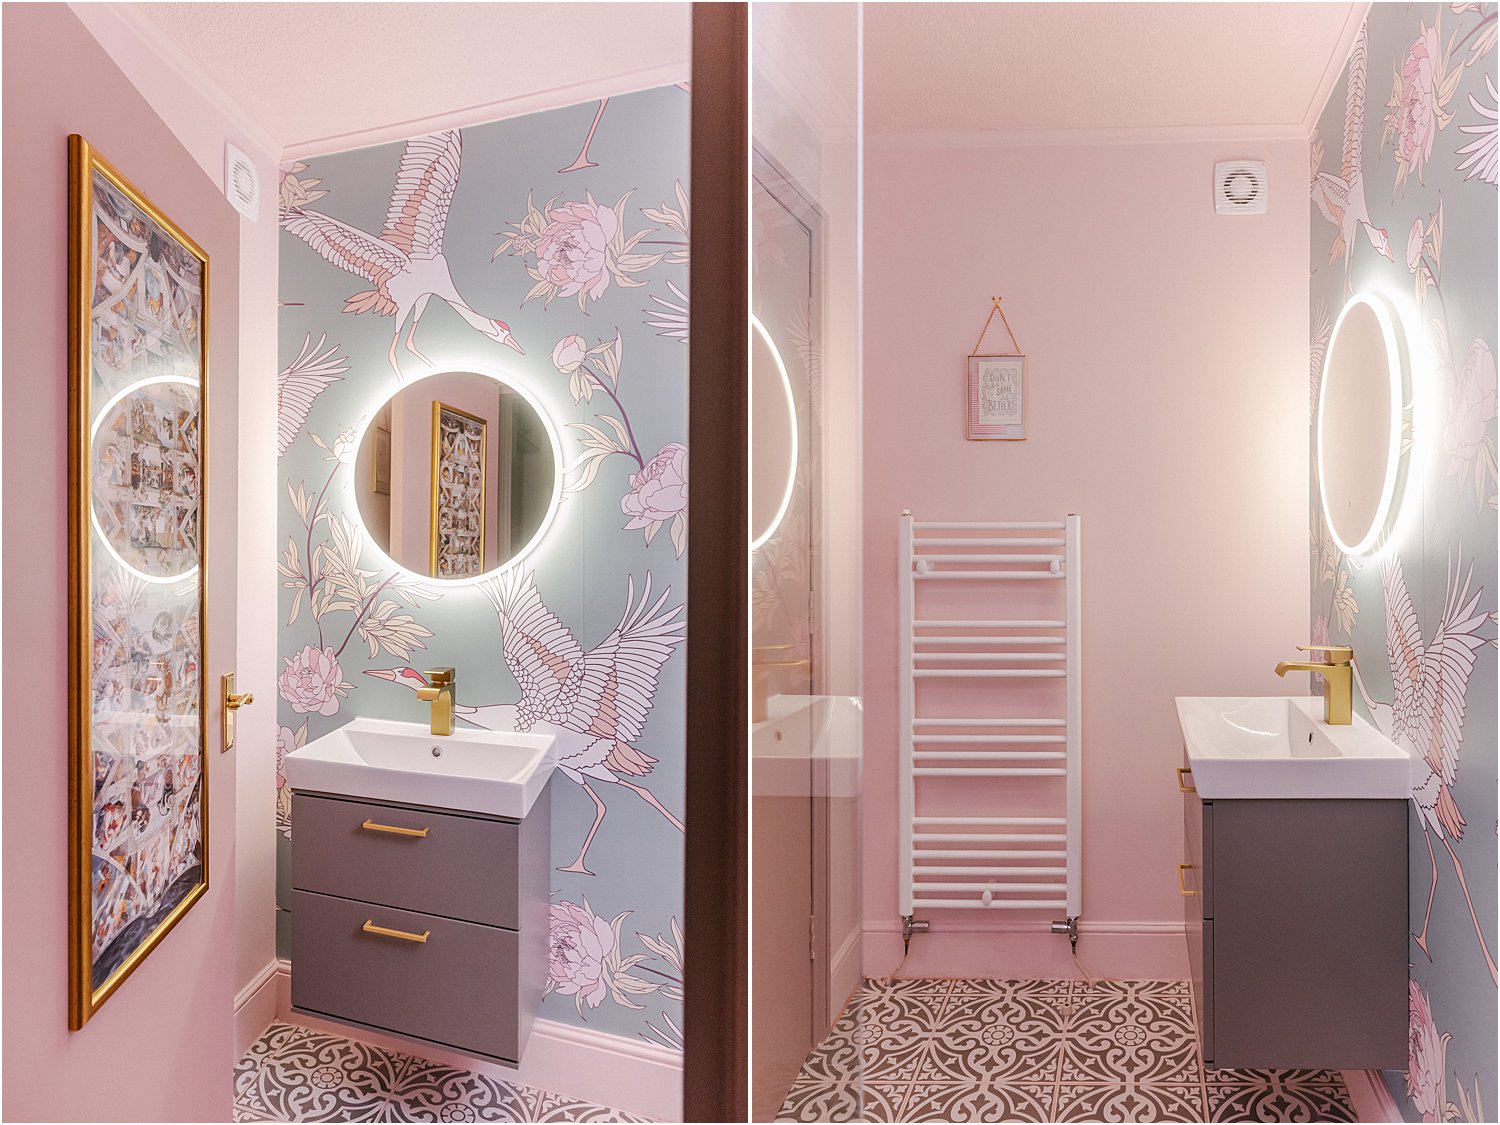
Instead of replacing the entire 4 walls with new tiles, I decided to only tile the shower area and the floor. Tiles can be expensive. I found these lovely floor tiles at a very reasonable price from Topps Tiles. To add a bit of pink pop to the grey tile design, I decided to use pink grout which is the same as the shower tiles grout. The wall shower tiles were a little pricier but it really helped that I only needed 2 sides of the shower area to tile.
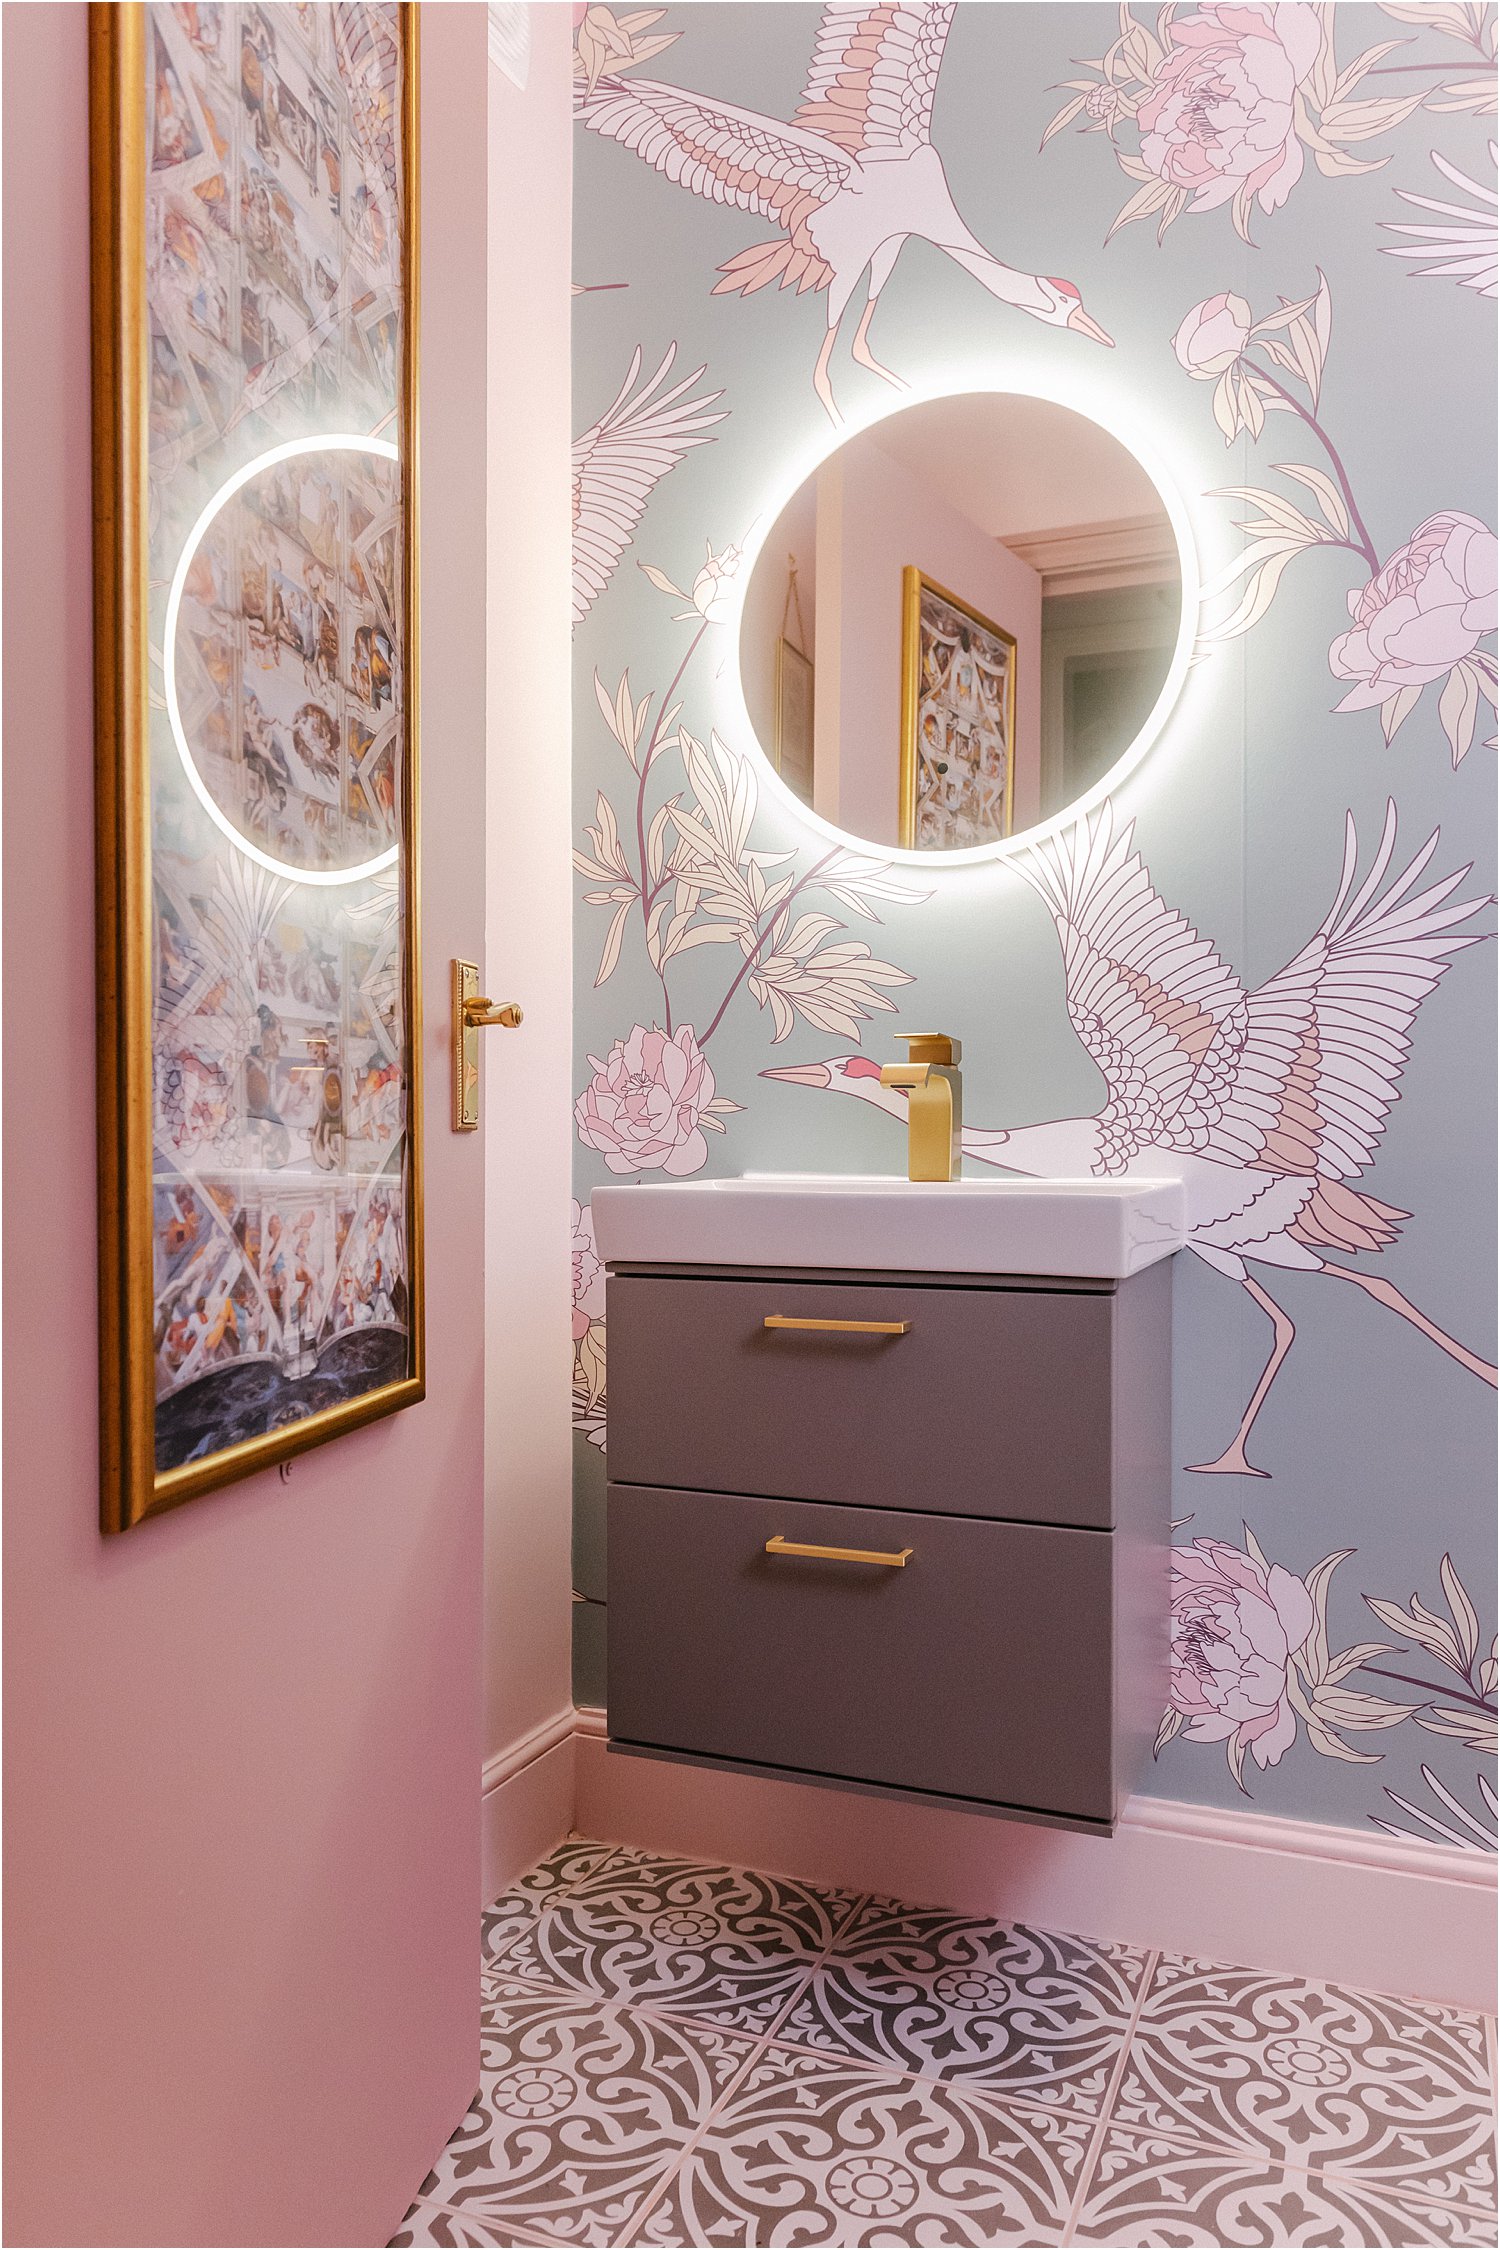
I used Bonnie and Bold’s Elegant Crane removable waterproof self-adhesive wallpaper on the rest of the wall on one side to add colour and pattern to the space. It is a revolutionary product and cheaper than tiles. You can put it up yourself without the hassle of cutting tiles, tiling and grouting. Plus, if you didn’t do the tiling yourself, that’s added labour cost. So this is a clear winner.
One of the greatest benefits of using vinyl wallpaper is that it’s elf-adhesive and removable. This is perfect if you are renting. You can add pattern and colour to your walls without damaging them! I have written about how I used Bonnie and Bold’s other vinyl products in my kitchen on here.
See how I installed my Elegant Crane wallpaper vinyl here.
2. GET THE UNITS RIGHT THE “BUY ONCE BUY WELL” WAY
The average cost of bathroom renovation in the UK is £6500 and that is on the conservative side. Other people say it’s £10,000. These average costs are for complete bathroom renovations starting from scratch or replacing all units, flooring and wall tiles.
Professional labour can be costly – plumbing, tiler, plasterer, other tradesmen usually account for 50% of the cost if not more. Consider this when undertaking bathroom renovations. You will save a lot of money if you are able to do some of the labour yourself to a high standard.
In my opinion, it is better to get the units right the “buy once buy well” way than having to keep changing them and paying for labour costs over again. Go for top quality units and fixtures that will last for the long haul.

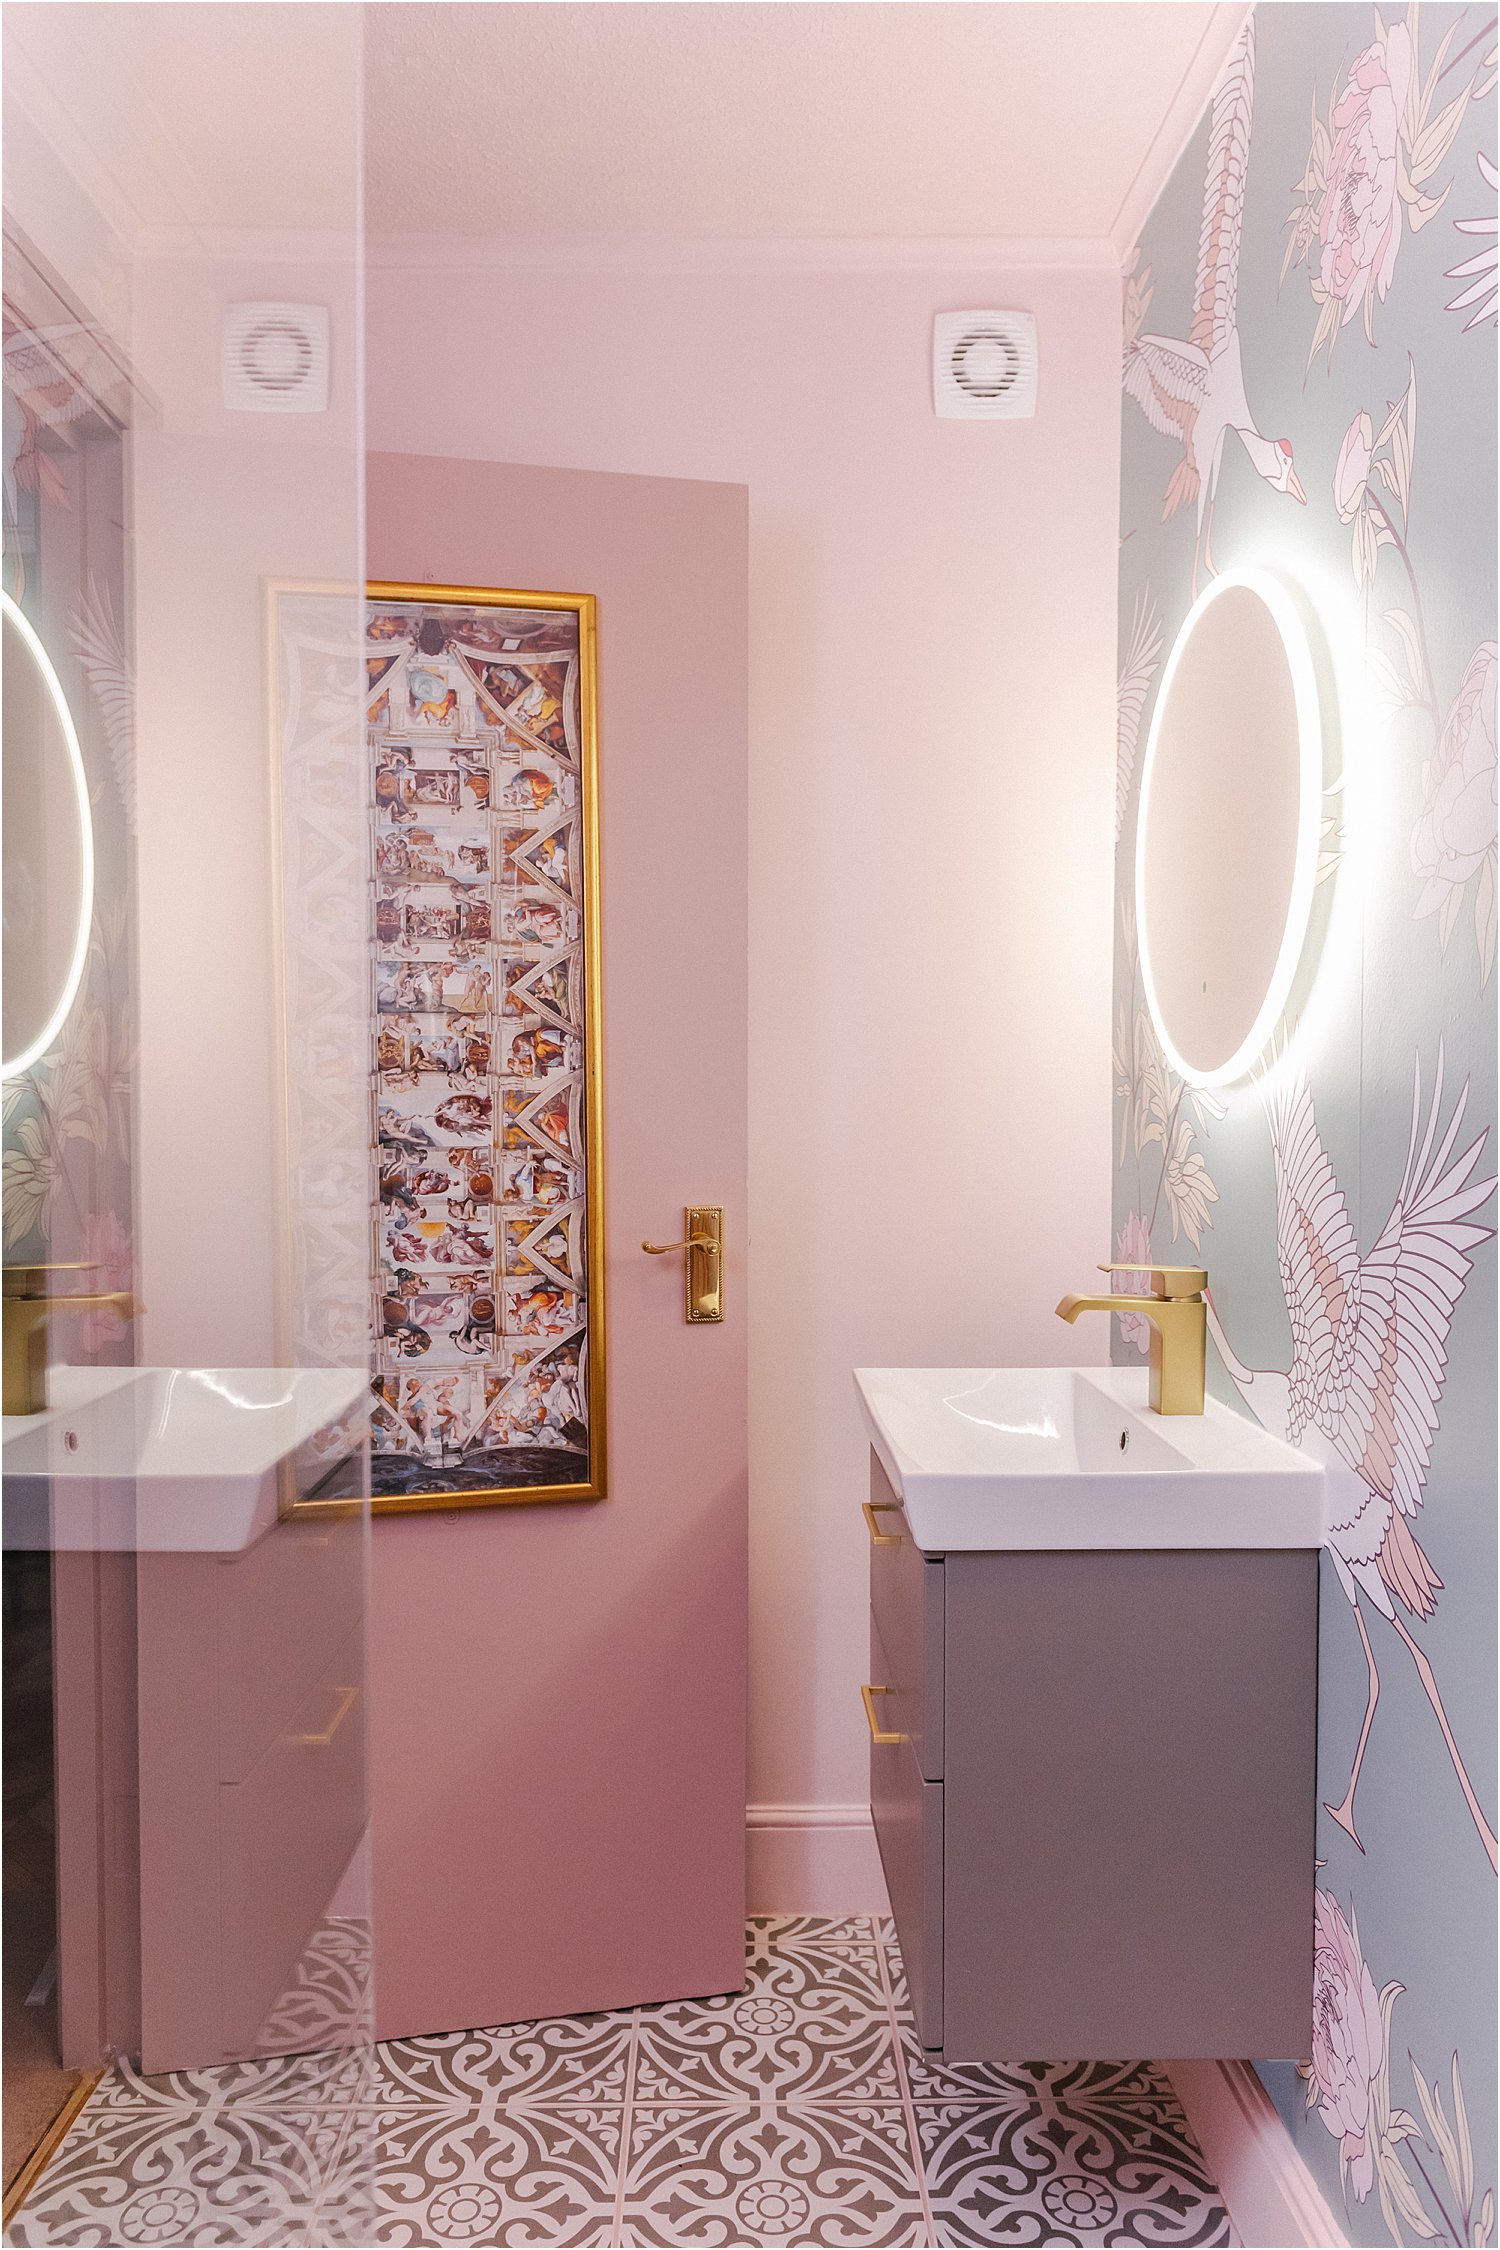
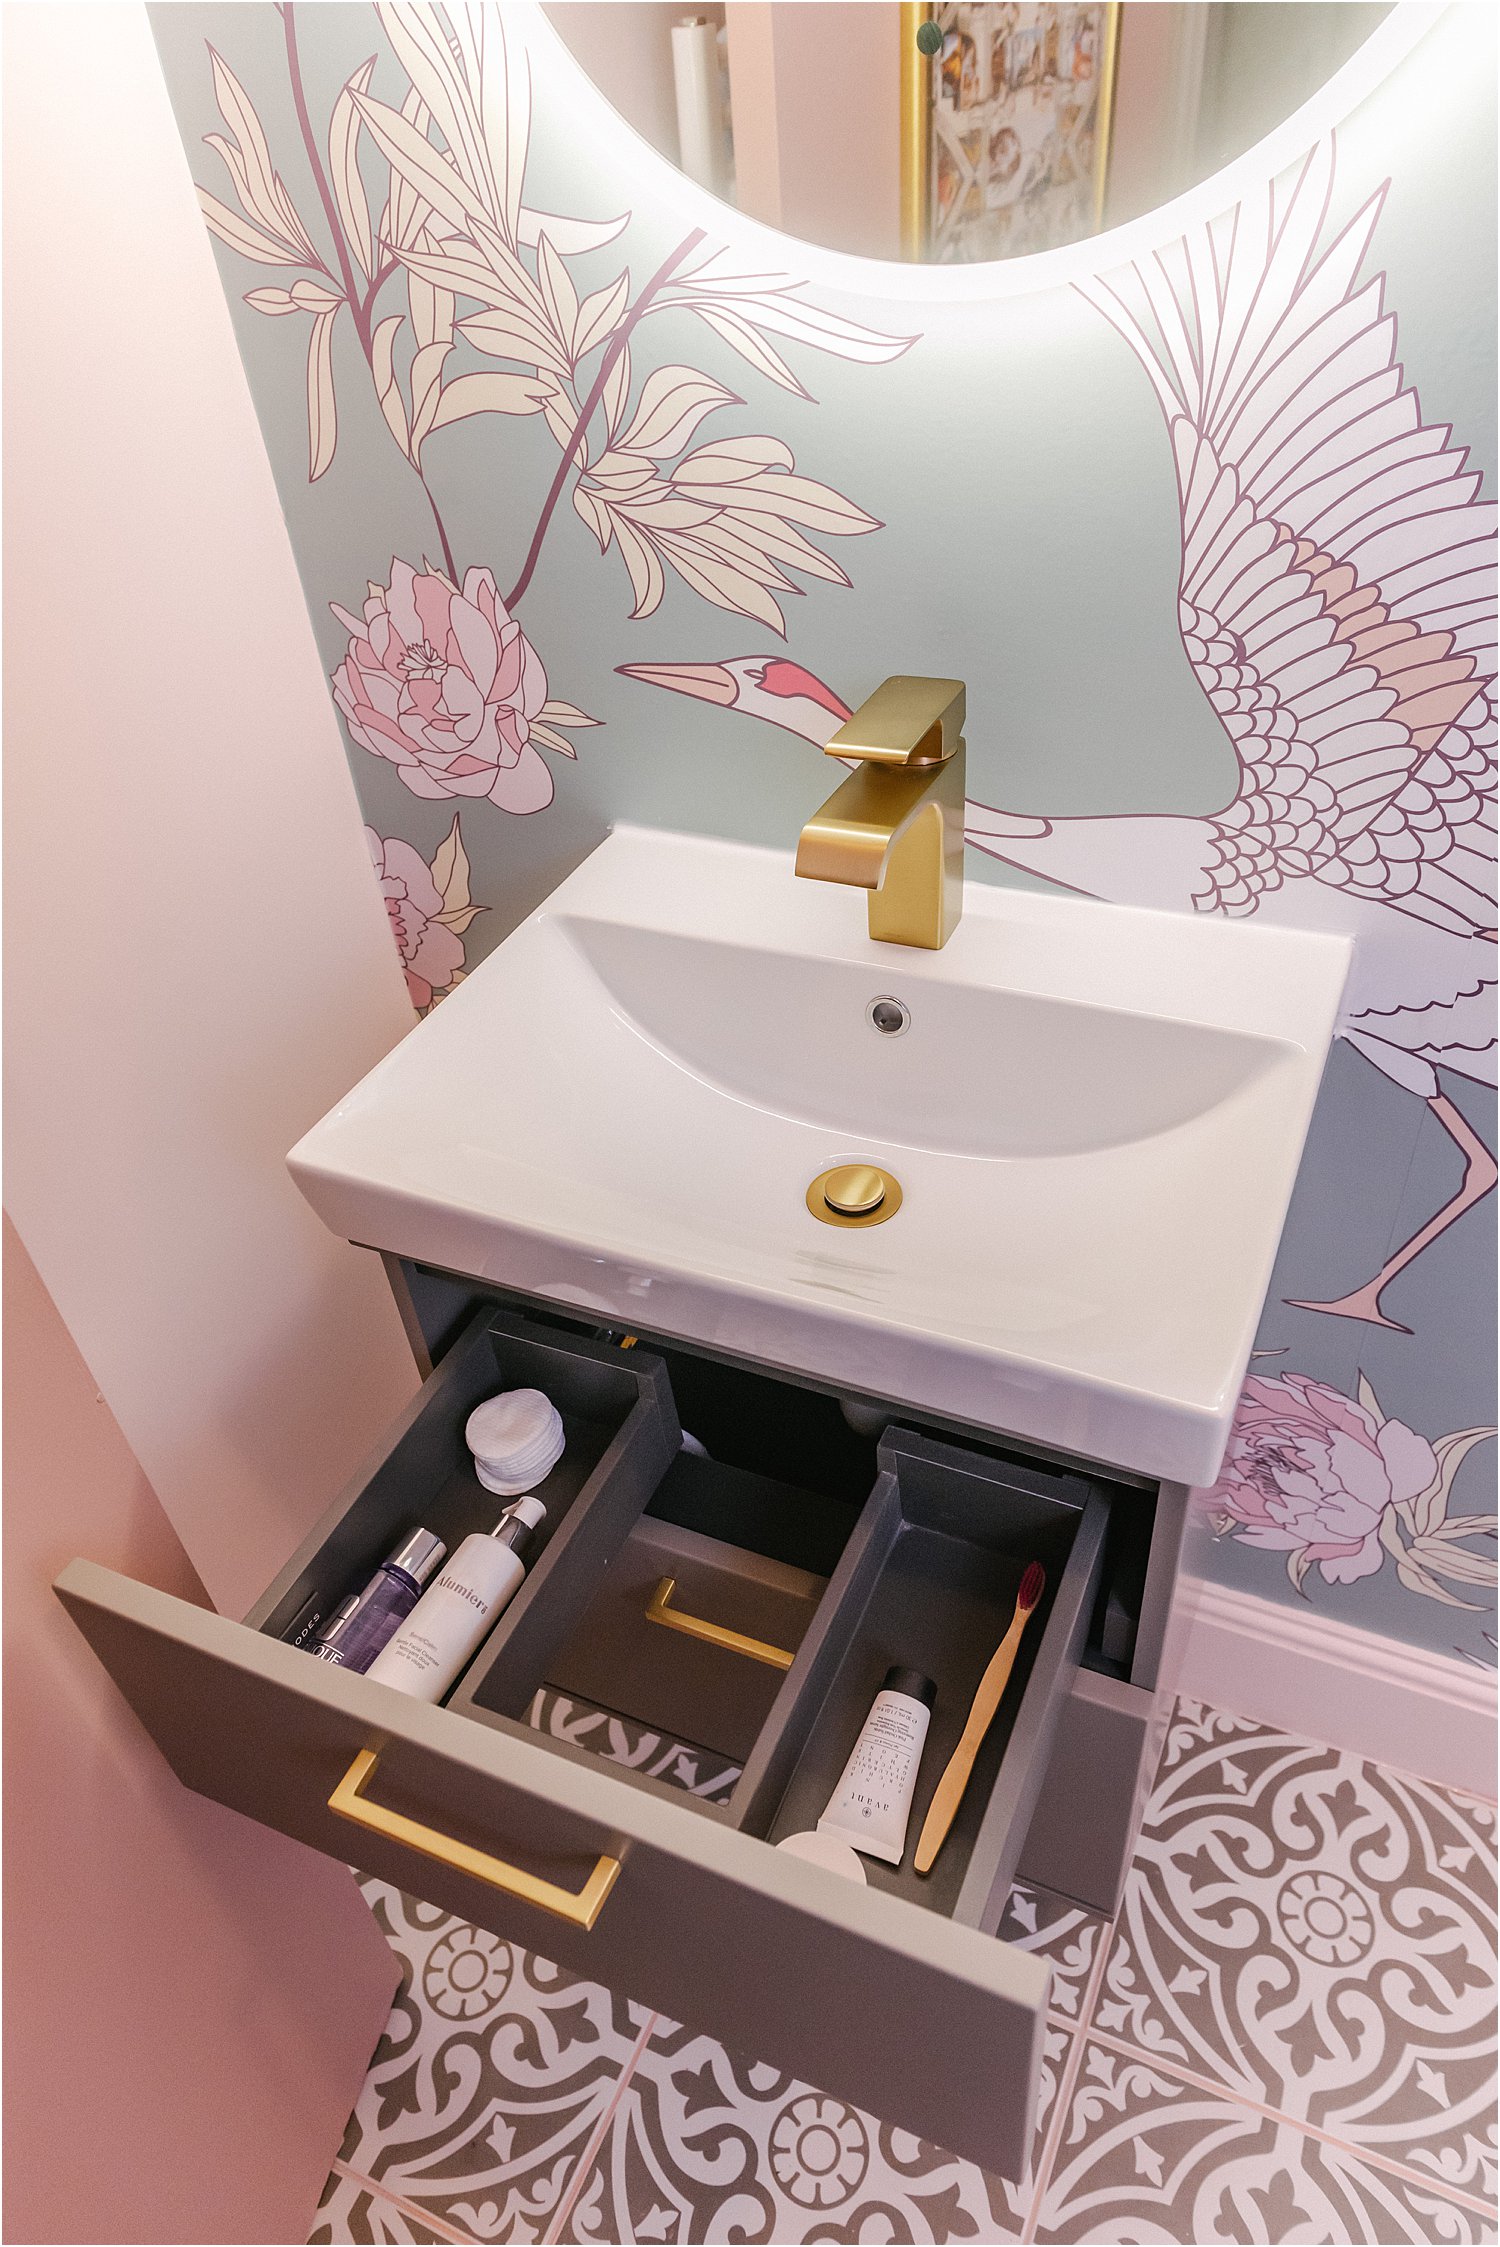
Space is really paramount and when working in such small spaces, going for wall hung units so you can see the more of the floor really helps. It gives the illusion of more open space. This Roper Rhodes Scheme wall hung vanity fit the bill perfectly.
I also went with Roper Rhodes Hydra brass tap, brass waste and handles to match adding a warm contrast to the white ceramic and clay unit.
Hiding the cistern with a matching cabinet with Roper Rhodes back-to-wall WC unit also really did the trick here in minimising unsightly elements or those that don’t need to be displayed. Plus, it looks super smart and streamlined. I also opted for the short projection toilet to maximise the loo area as it really is very small and narrow as you can see in these photos.
I got fed up with toilet seats that always move about and wiggle when you’re sitting on them and worse, in my experience, break. This time I decided to go for the best fitting soft-closing toilet seat that never wiggles and feels like it’s moulded part of the actual ceramic toilet.
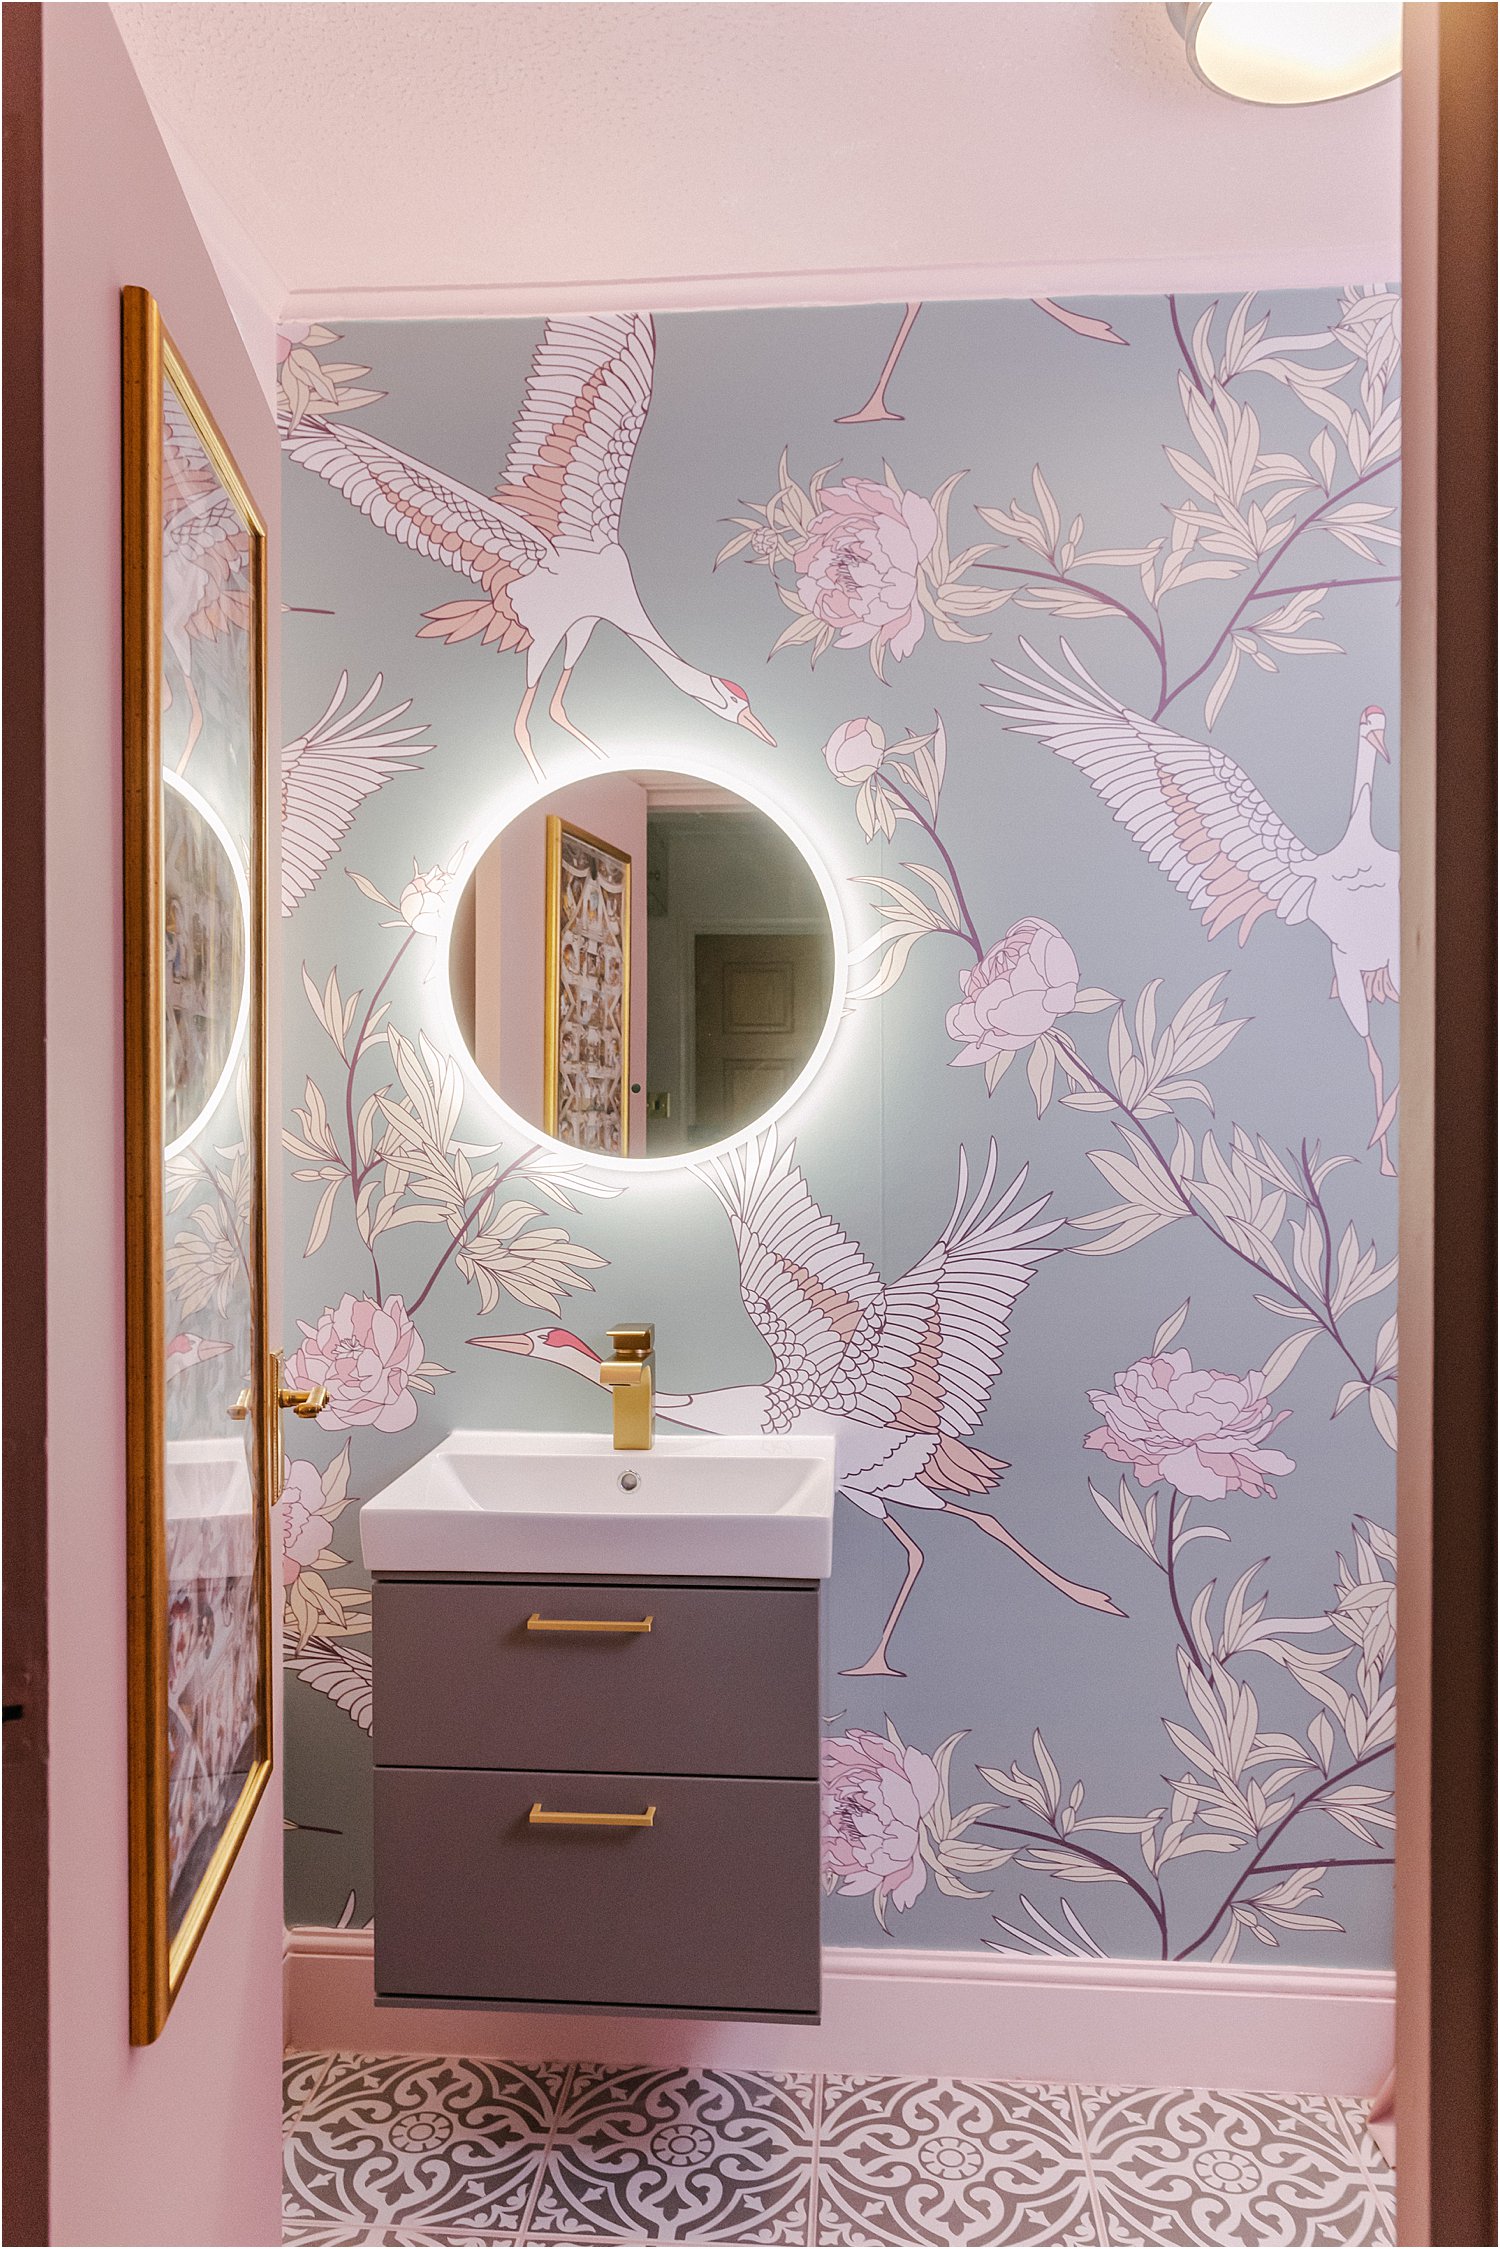
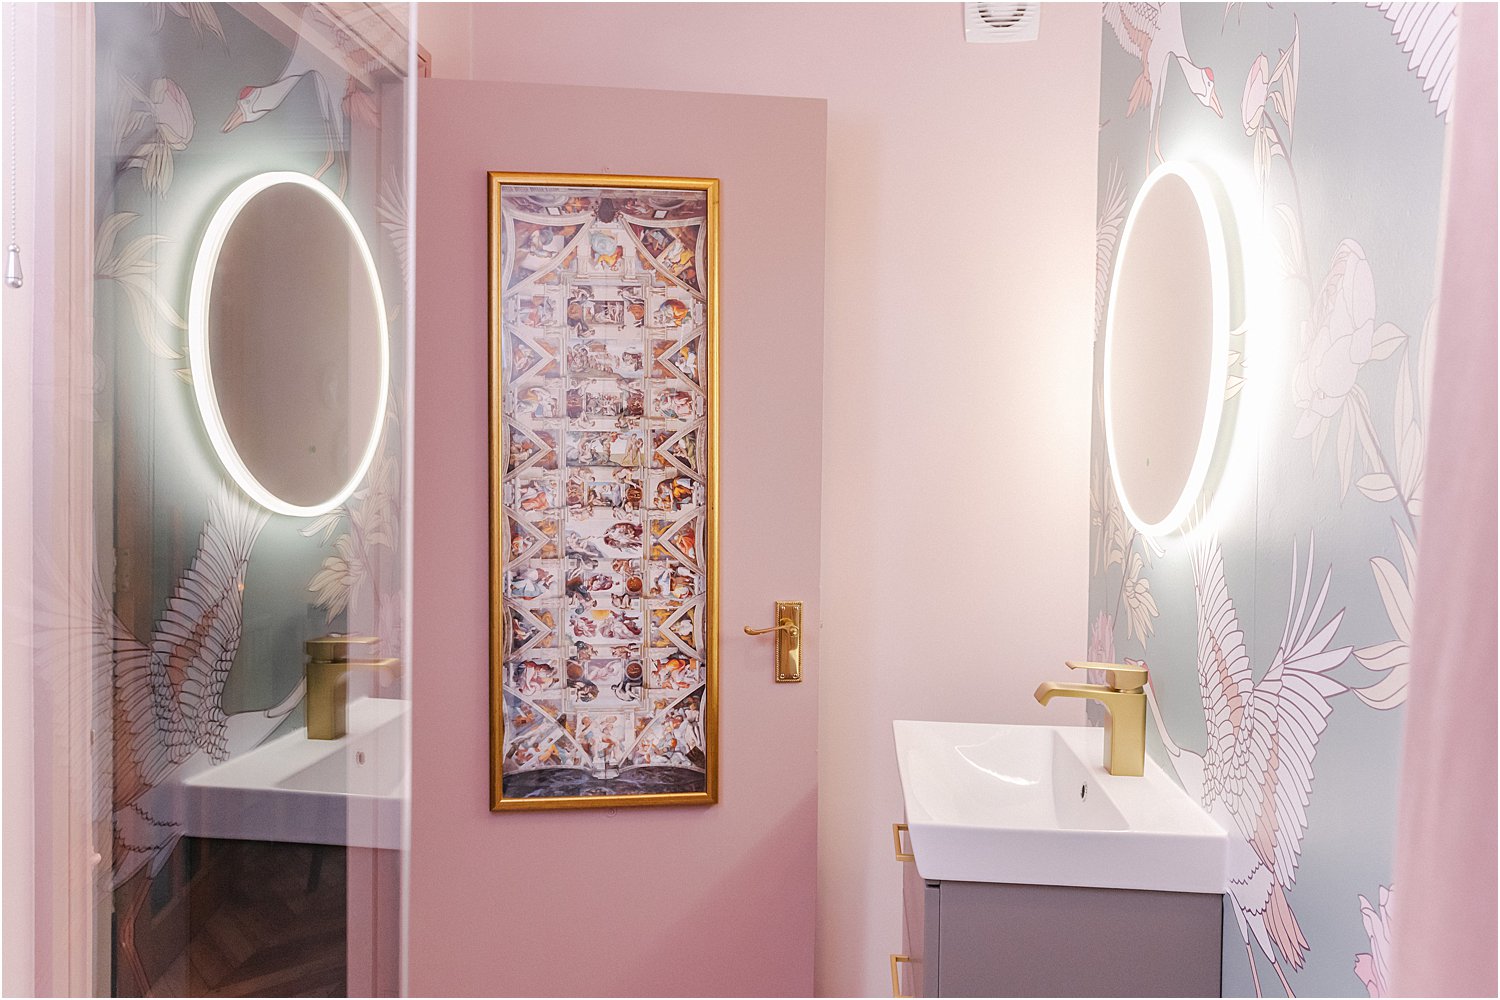
Finally, the star of the show – the Roper Rhodes Eminence LED mirror. Wetrooms get steamy and this mirror has a de-mister pad that makes it steam-free! It is also dimmable and uses LED which makes it eco friendly. It’s a genius design and lights up this windowless wetroom beautifully.
This Eminence mirror is also motion sensitive; you don’t even have to touch it. Just hover your finger over the grey dot it to turn it off and on or dim it, so no finger marks. You can also press the button if you want. All it takes is a very gently touch. See how the mirror works here.
A vent or extractor fan is a must in any bathroom especially in wetrooms to avoid damp and mould. See here for a transformation video.
3. CHOOSE A TOWEL RAIL OVER A RADIATOR
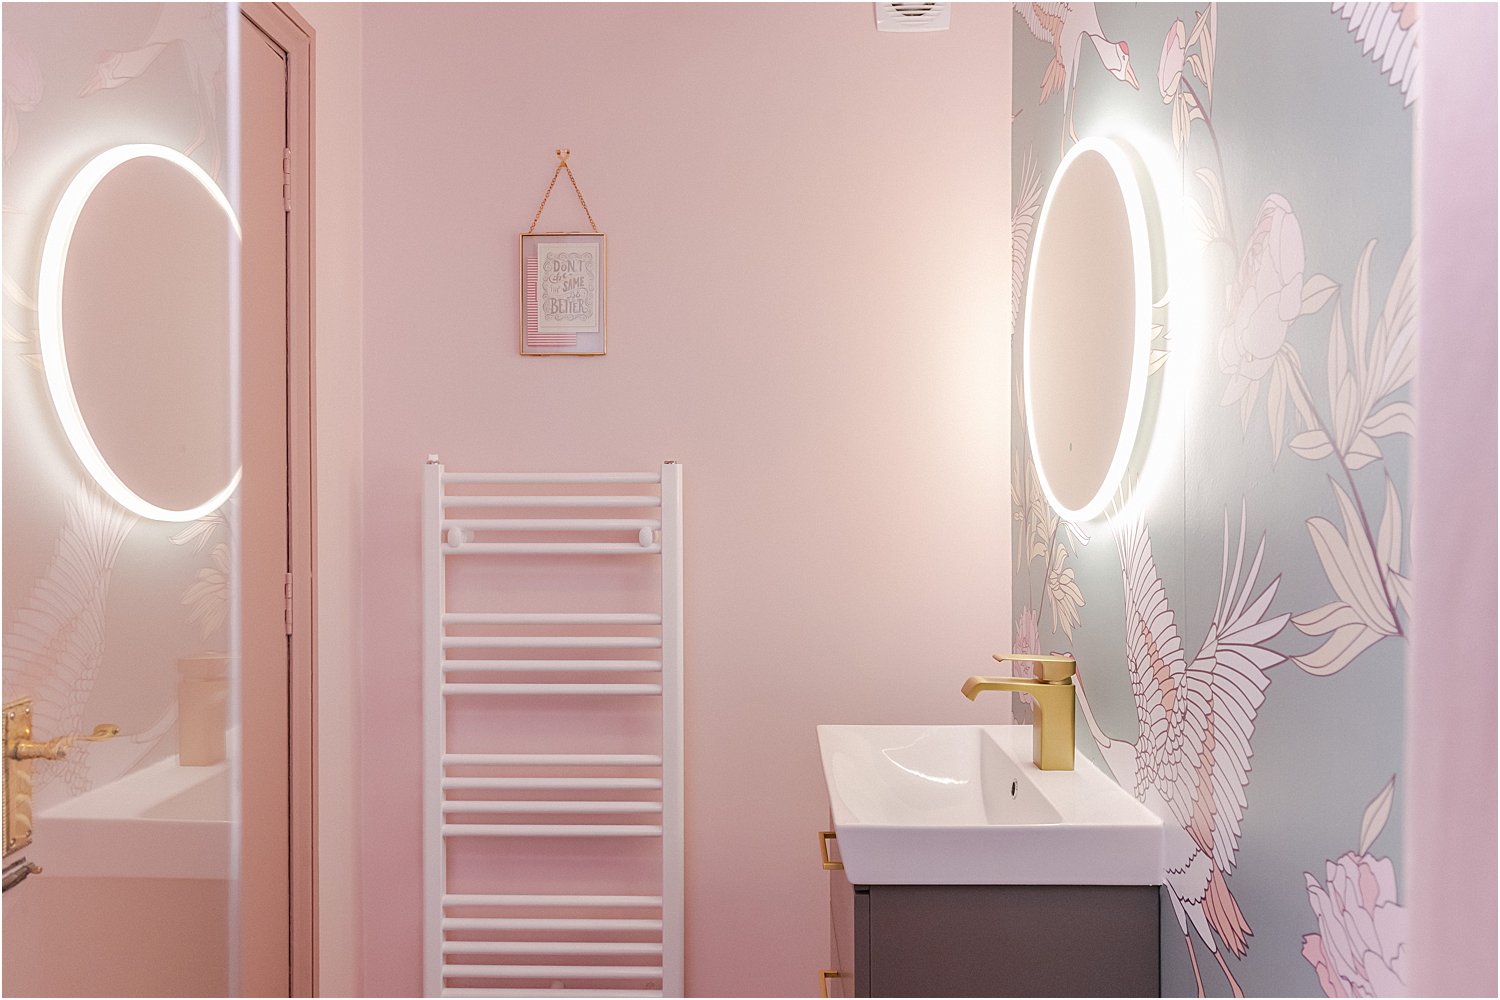
The bathroom used to have a radiator and I was going to replace it with another radiator. Fortunately I shopped around and found a neat-looking white towel rail which serves the purpose at a fraction of the cost of a radiator. Towel rails are generally cheaper than radiators and also slim enough not to jut out of the wall too much compared to traditional radiators.
The more heated rails the better as they obviously dry more towels and help with minimising general wetroom moisture.
BONUS
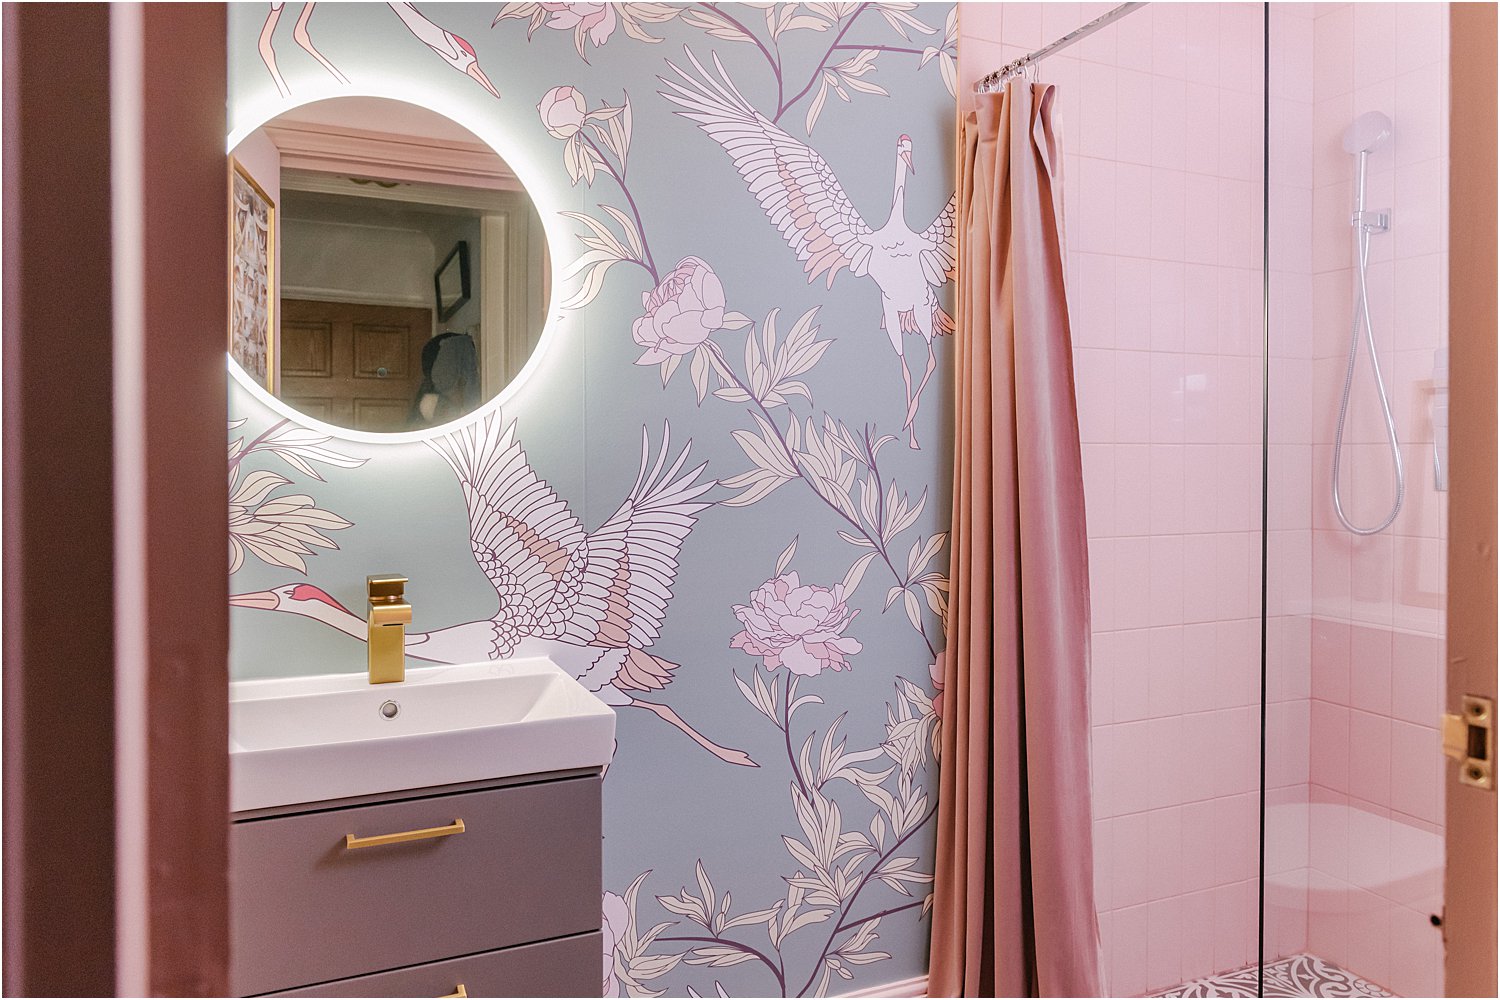
I went unconventional with the shower curtain. Instead of an enclosed area for the shower, I installed just one shower screen for a seamless wetroom feel. I didn’t want to box off the shower area as I felt I needed to open up this tiny space. I also attached a velvet fabric to the outer side of the shower curtain for a touch of luxury.
I love the new wetroom. It’s now a fresh, calming and welcoming space. I now walk in the wetroom feeling happy and lifted up rather than depressed. In fact, I tend to leave the door open all the time so I can admire the wallpaper design as well.
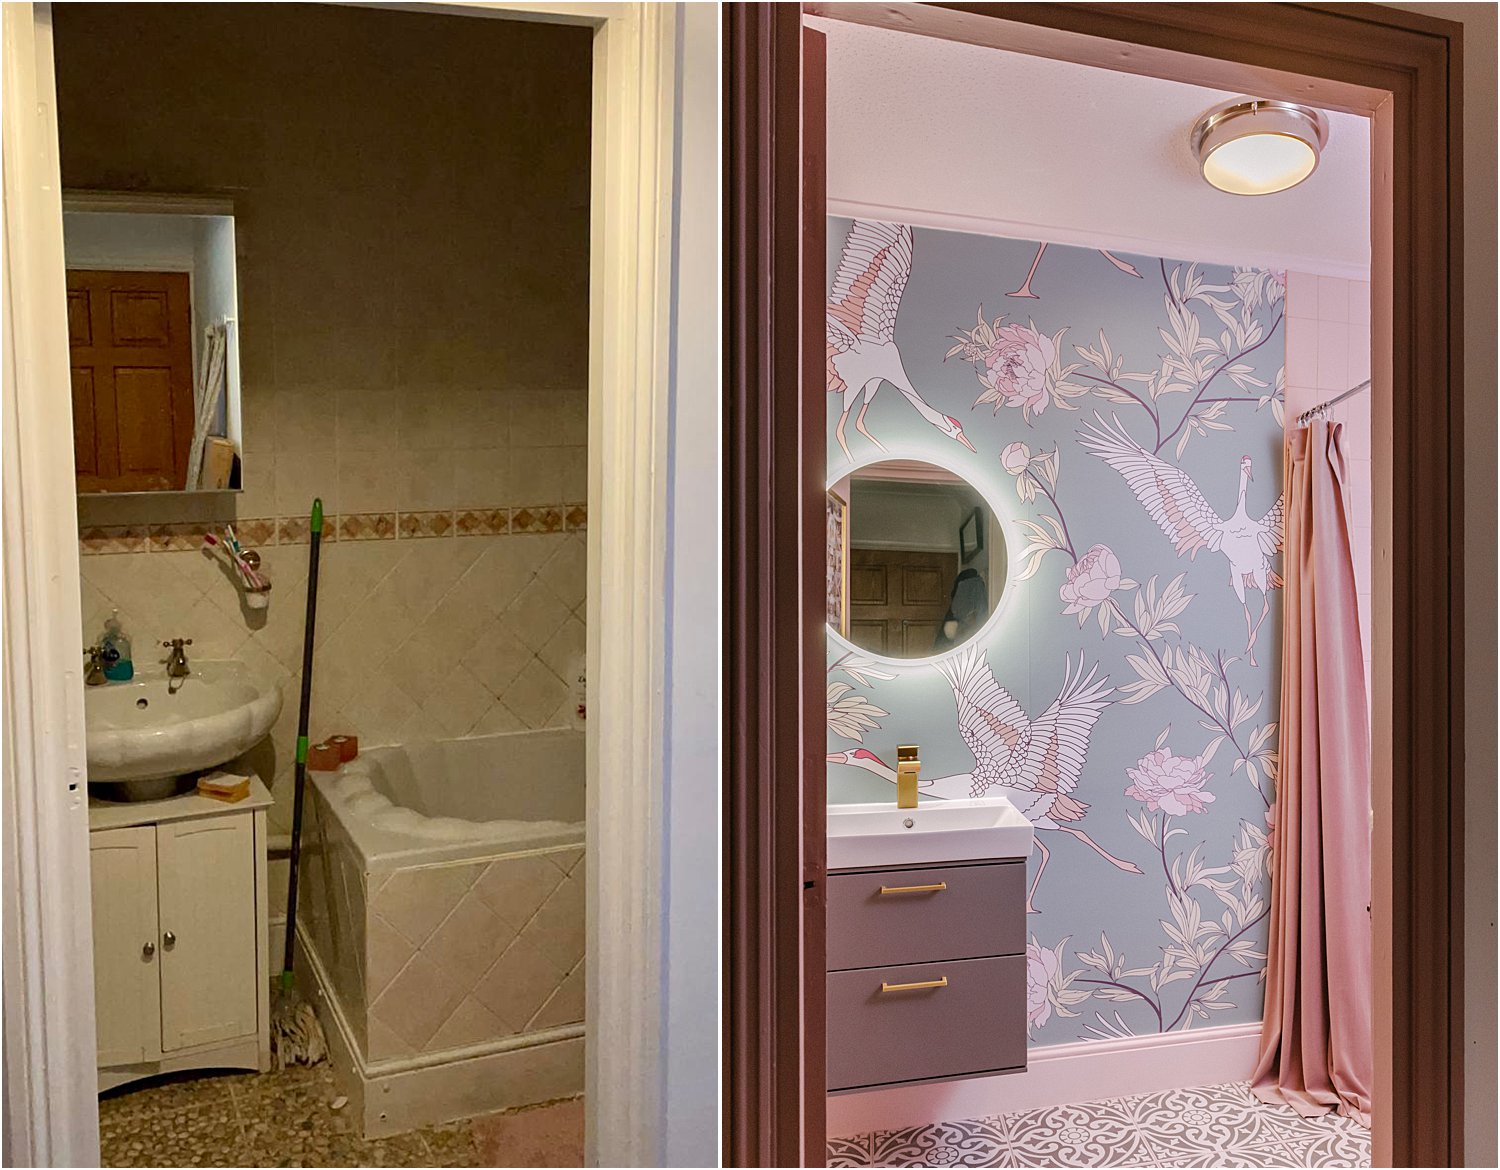
It is still windowless as a newer building was built on the external wall where the window would have been, but it feels much bigger and more welcoming. Gone is the pokey dull and horrible bathroom.
So there you have it, my 3 money-saving tips for a bathroom / wetroom revamp.
I am super grateful to have worked with two amazing brands Bonnie and Bold and Roper Rhodes to complete my wetroom / bathroom renovation in a sponsored and gifted capacity.
Don’t forget to download my free resources that will help you design your own interiors and grow your Instagram account! Let’s chat on Instagram Layered.Home and together get inspired!