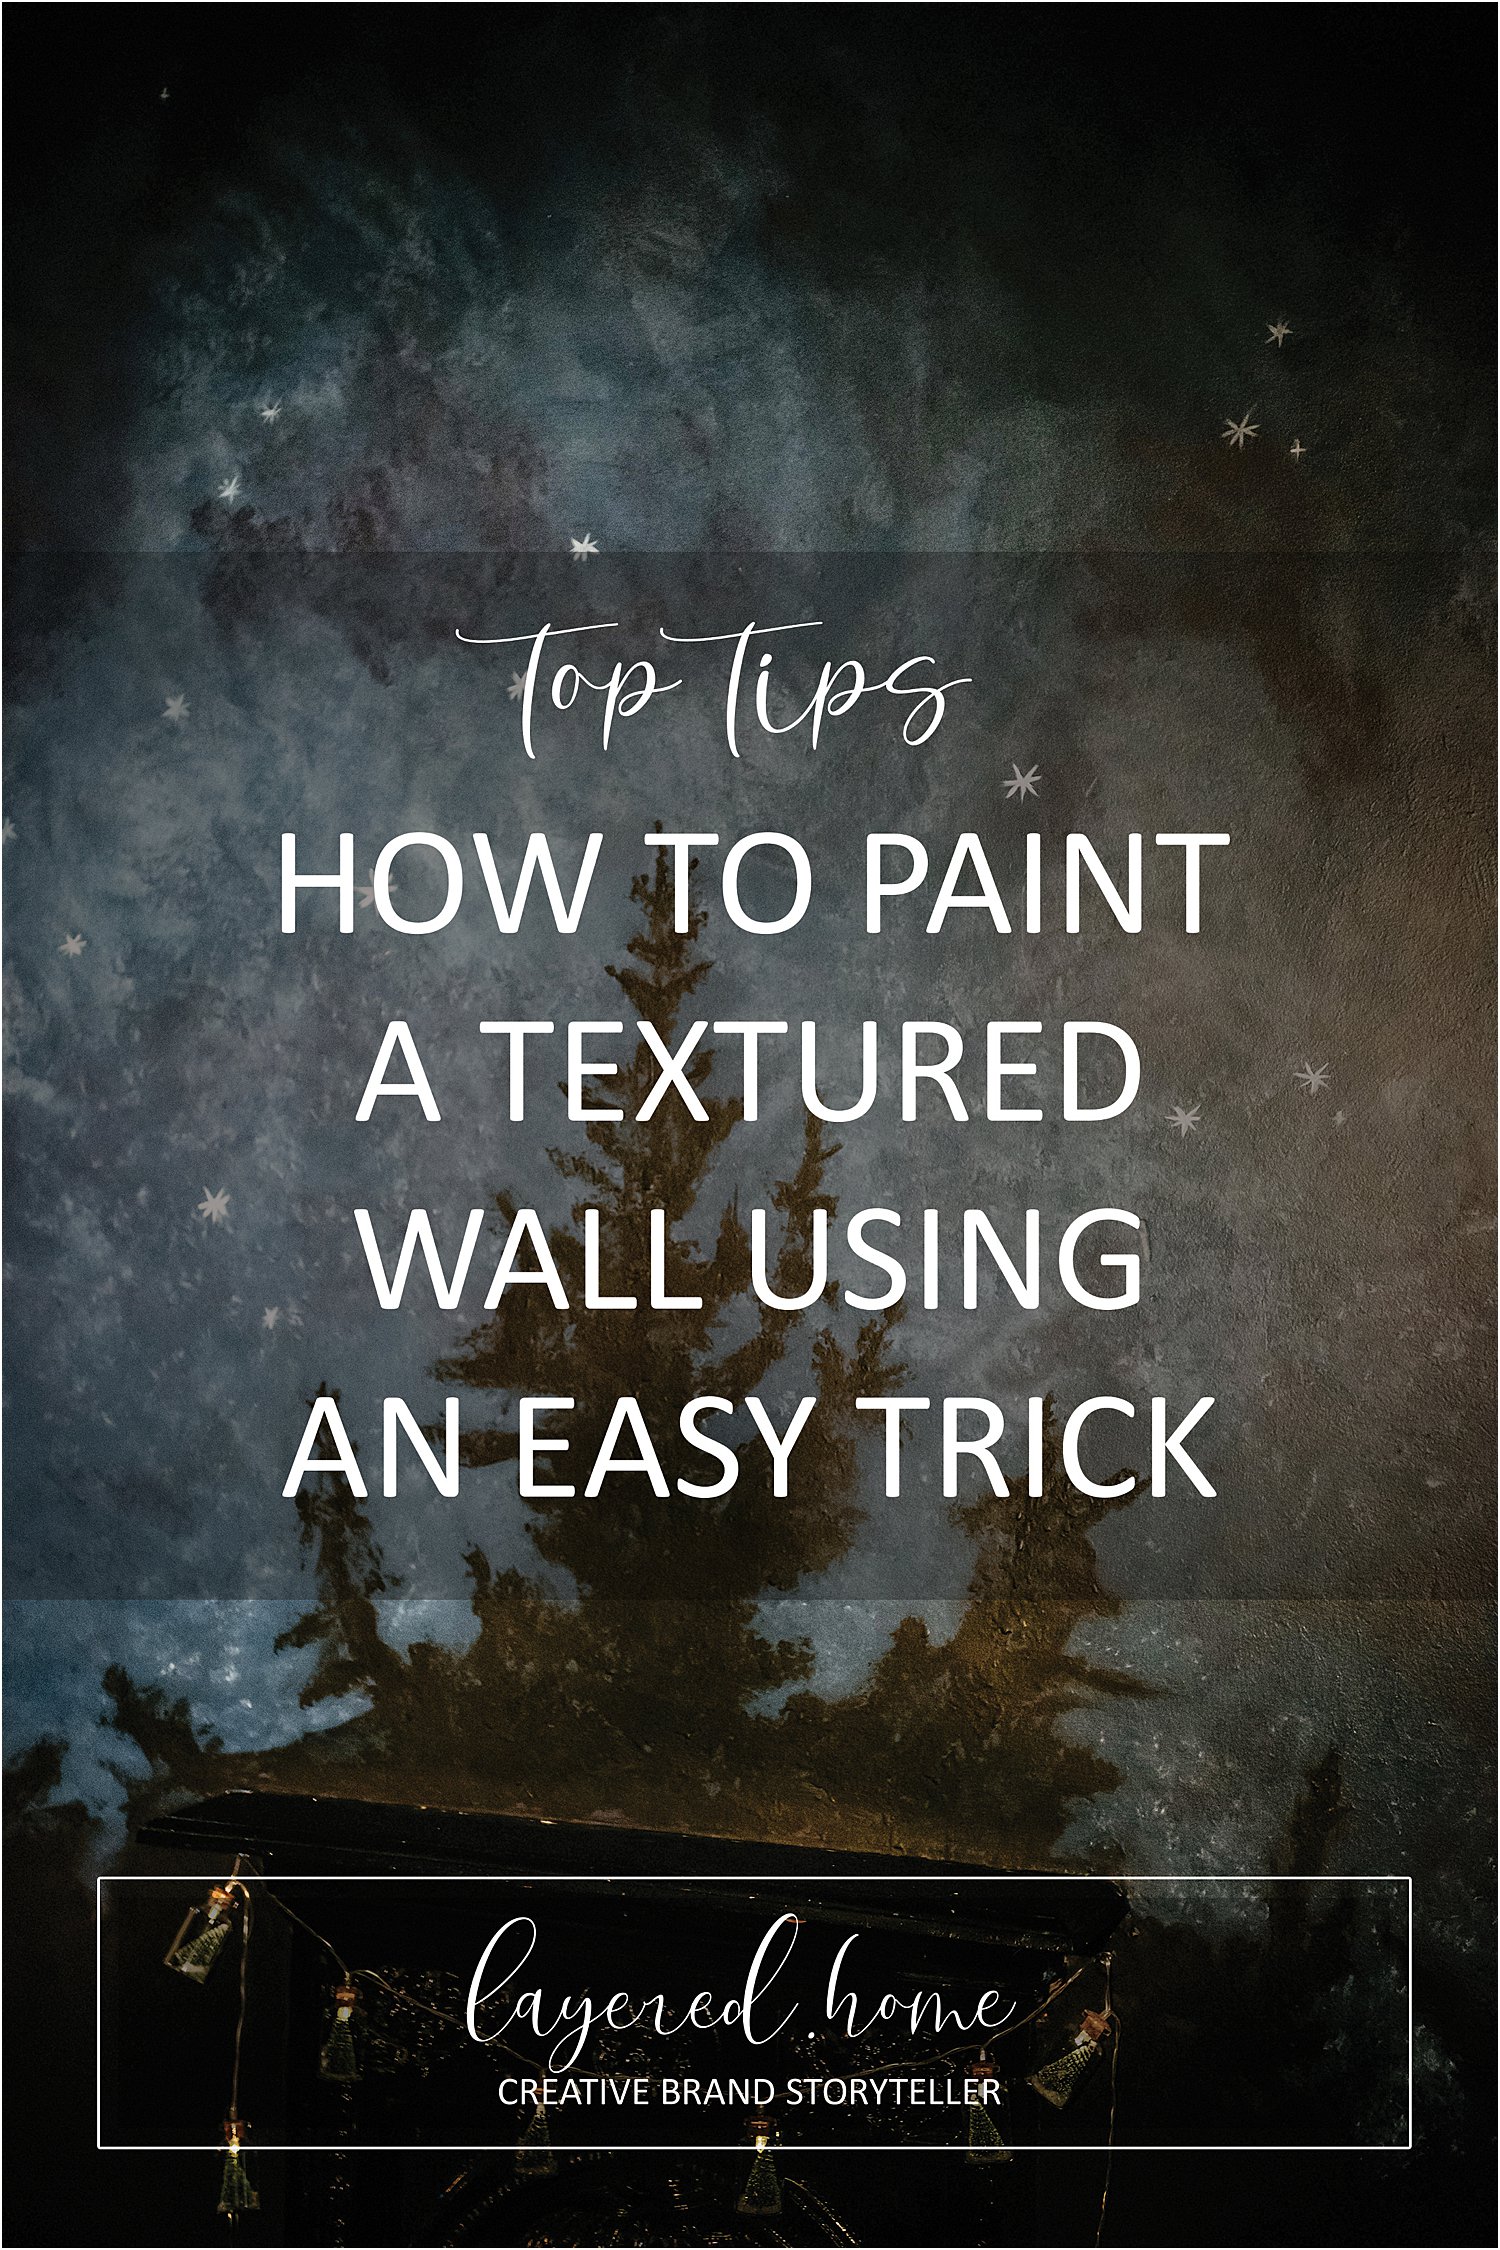
I decided to write about how to create a textured wall effect using paint in 3 easy steps seeing that my Instagram Reel on this textured mural garnered over 60,000 views.
If you’ve always wanted to create a textured wall but are daunted by the task, I can tell you it’s not difficult. With an easy trick, you can create a textured wall with paint in a couple of hours.
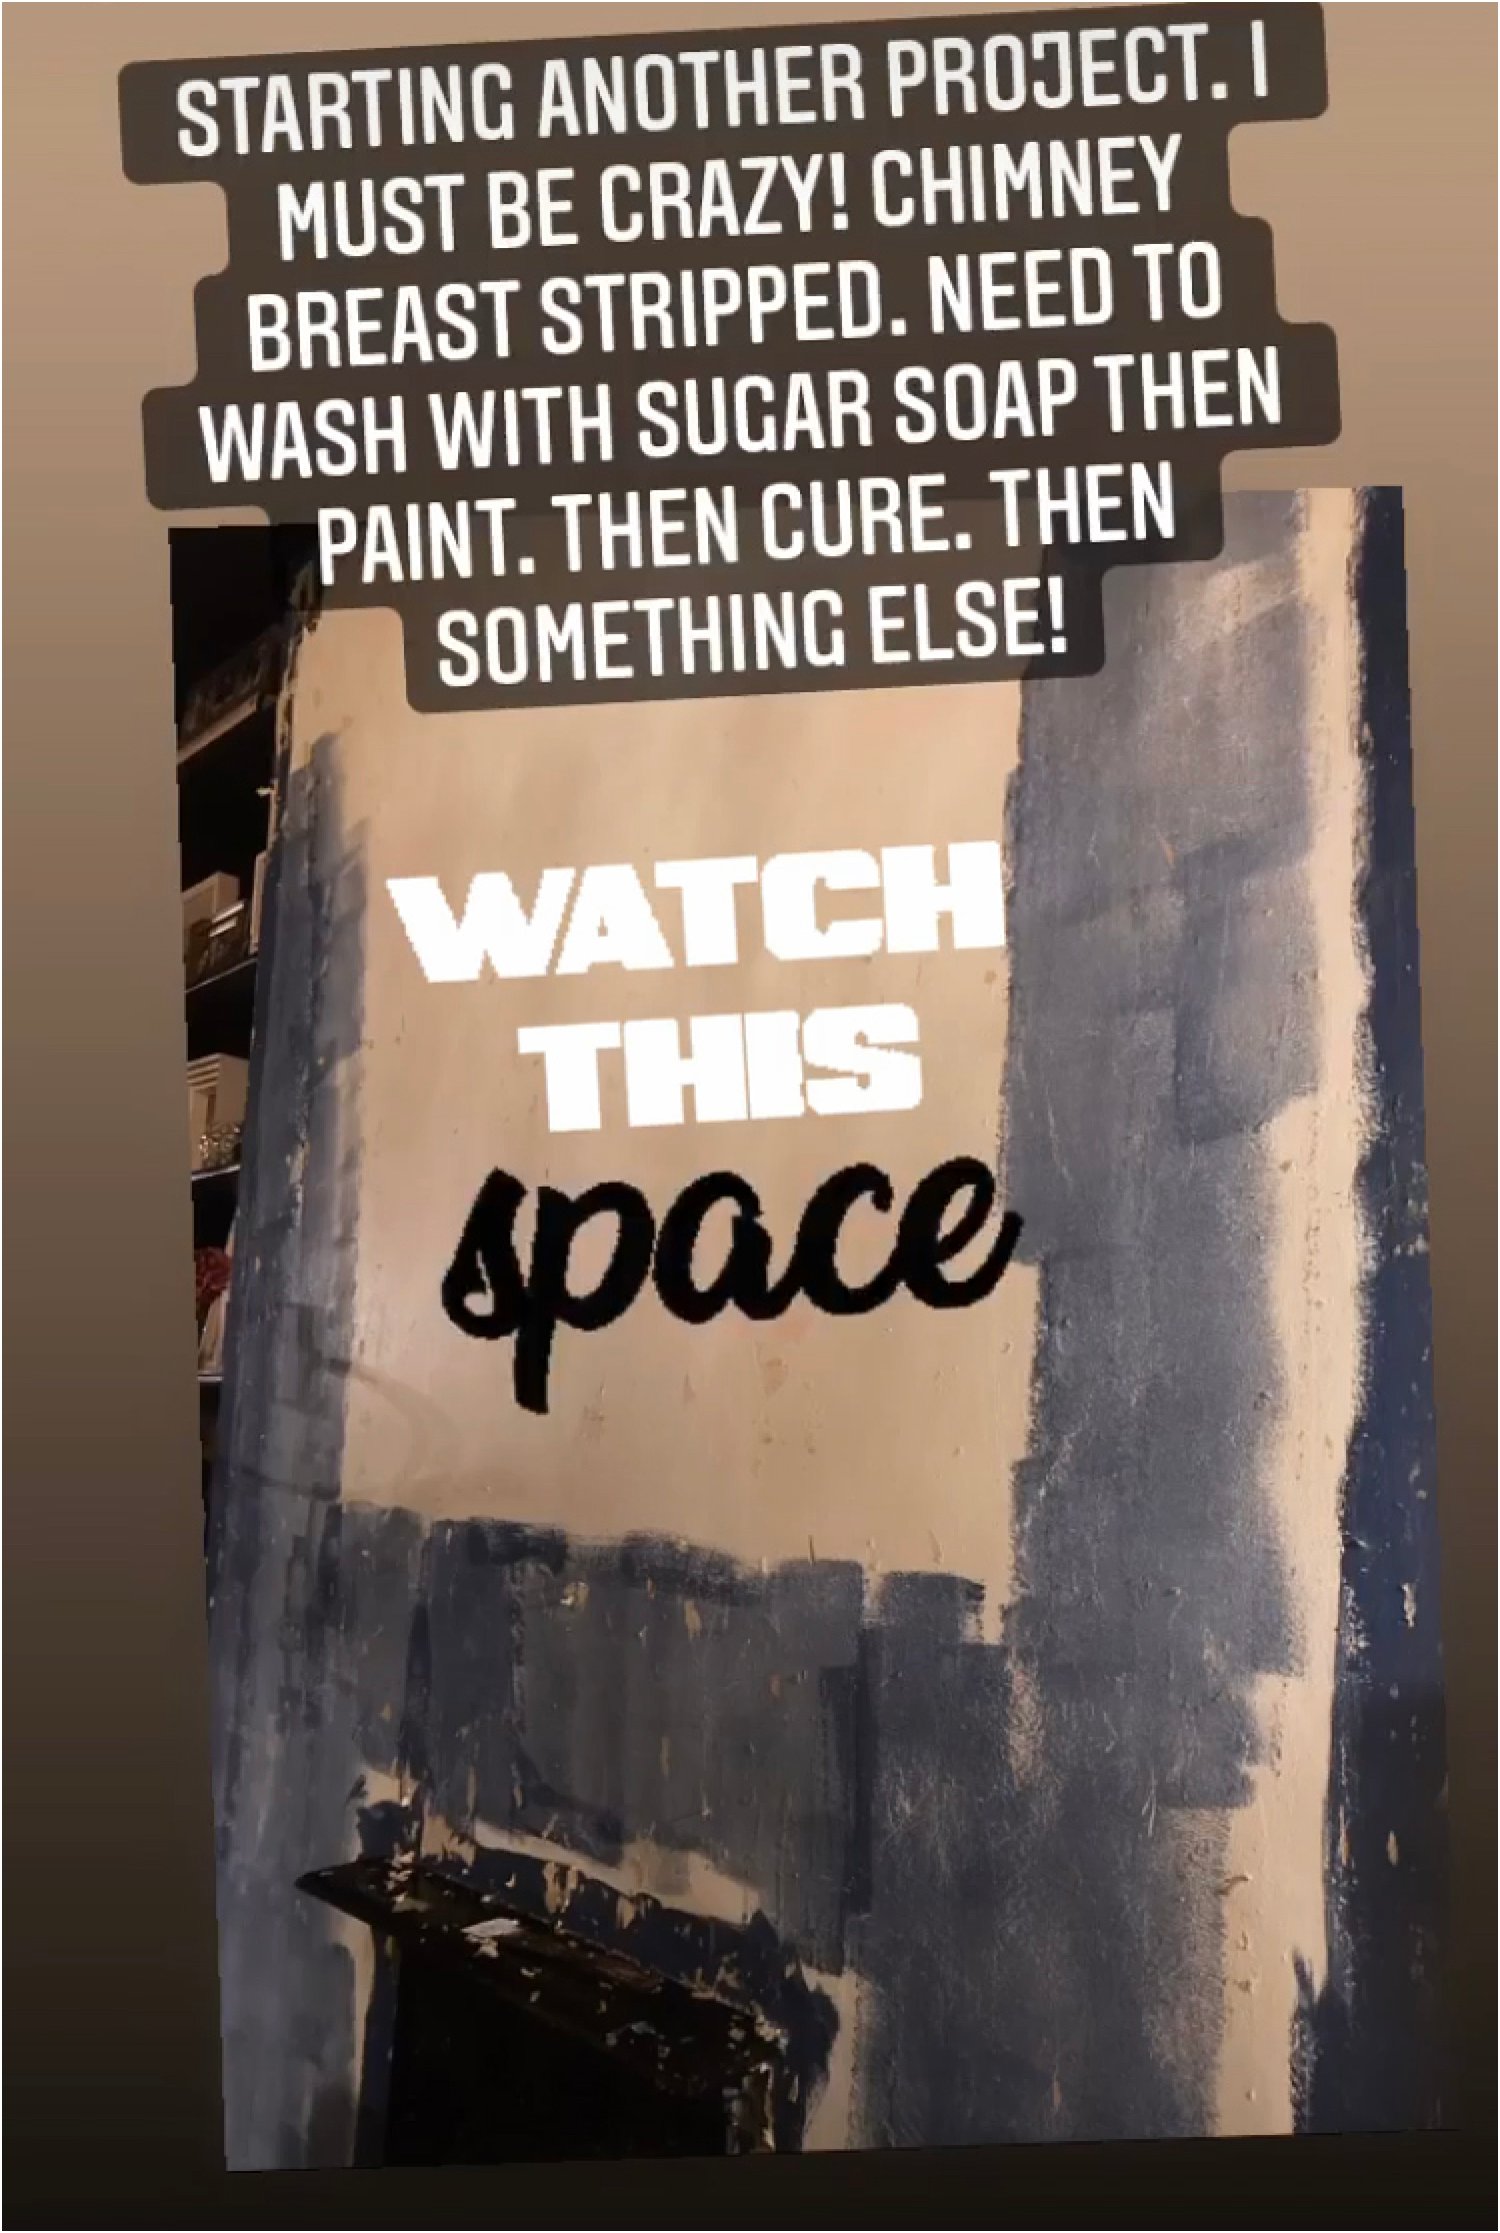
I first prepared my wall by stripping the old wallpaper, cleaning the newly stripped wall with sugar soap and painting it with a colour of my choice. This is my chimney breast in the process of being stripped and cleaned.
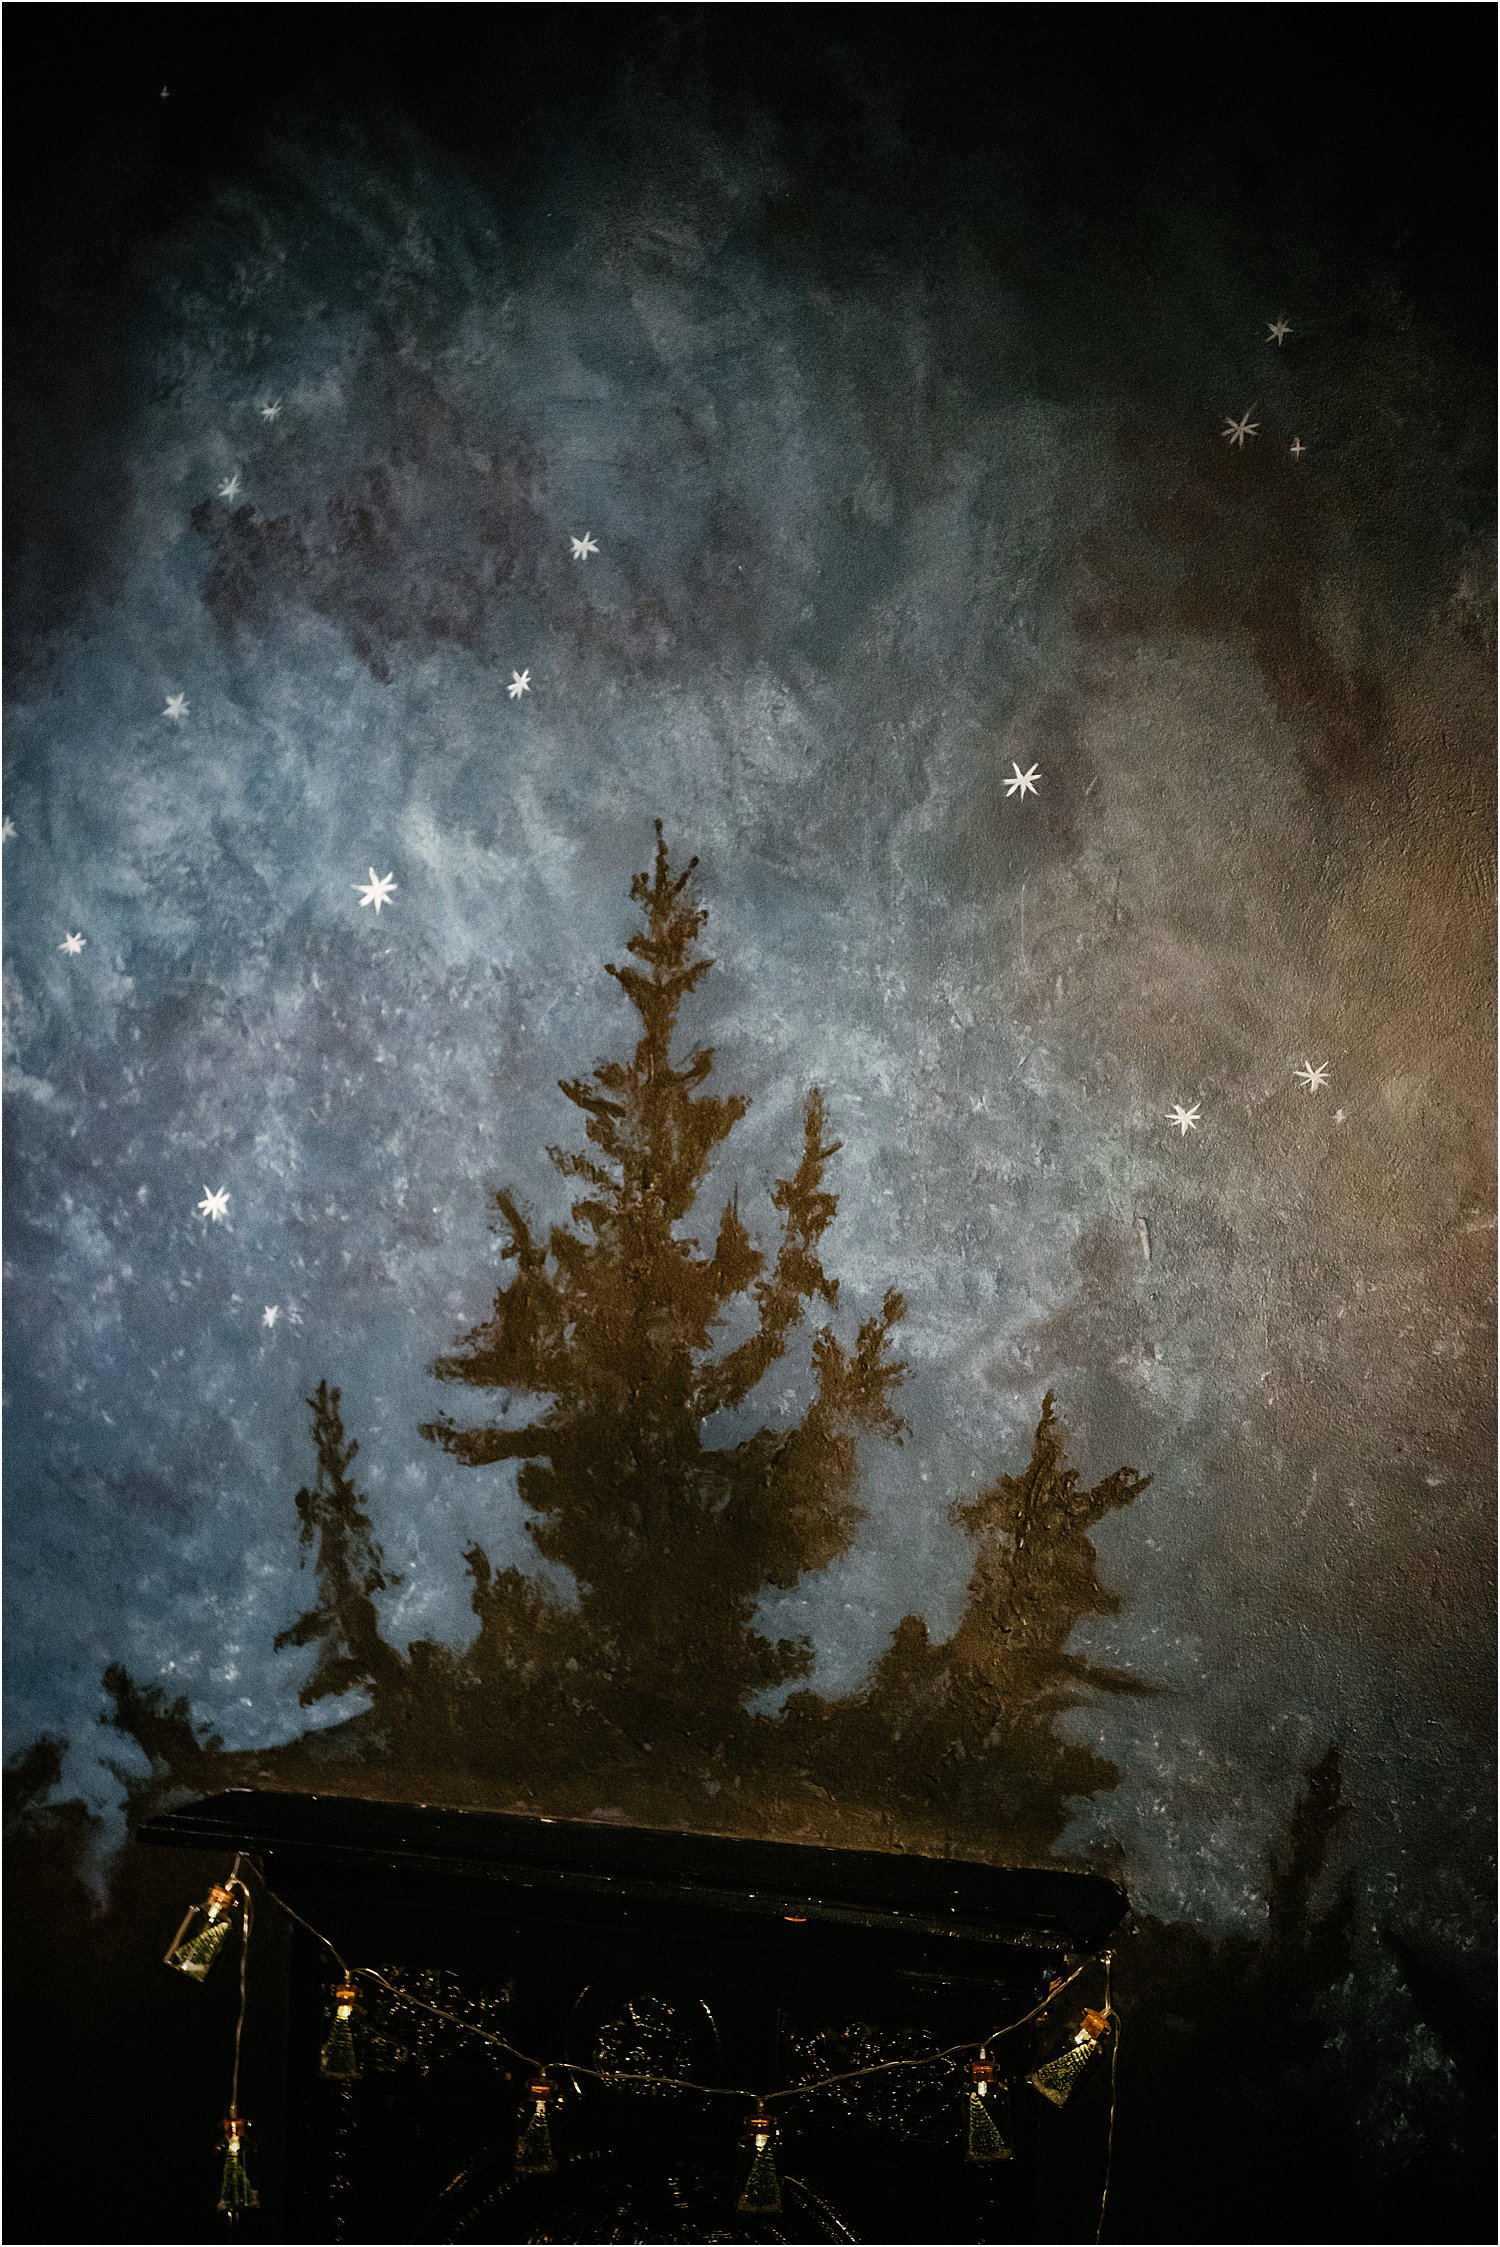
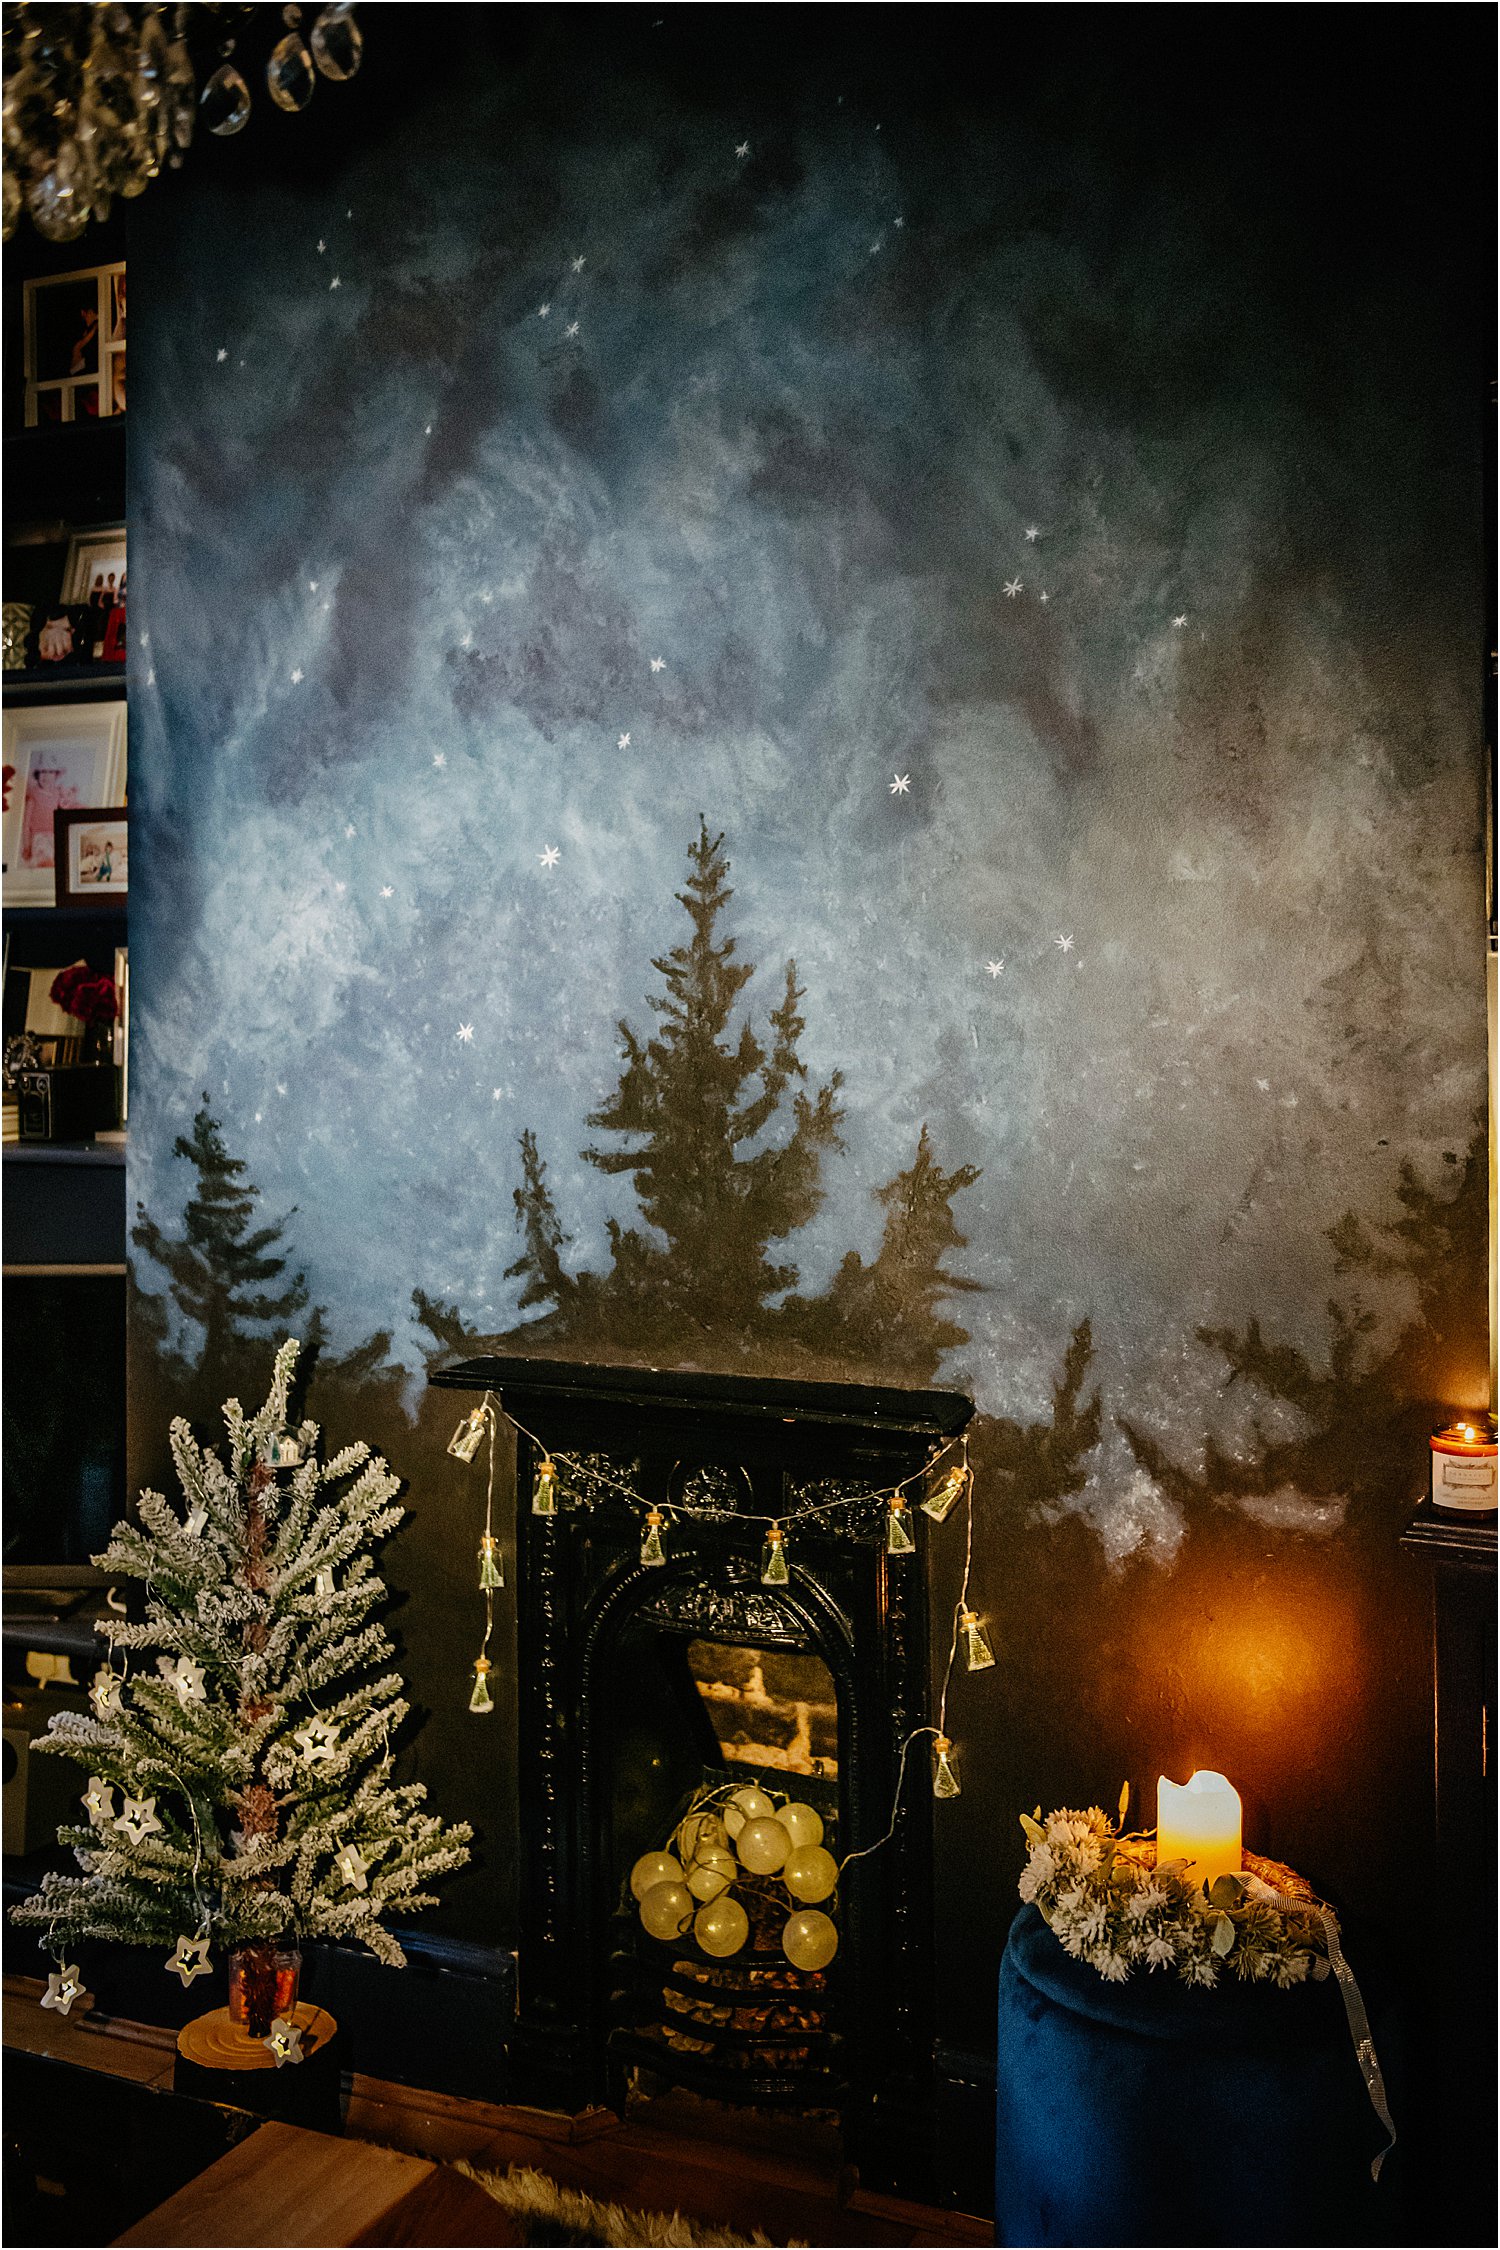
And here is the chimney breast after I was done with painting this textured wall which literally took just a couple of hours!
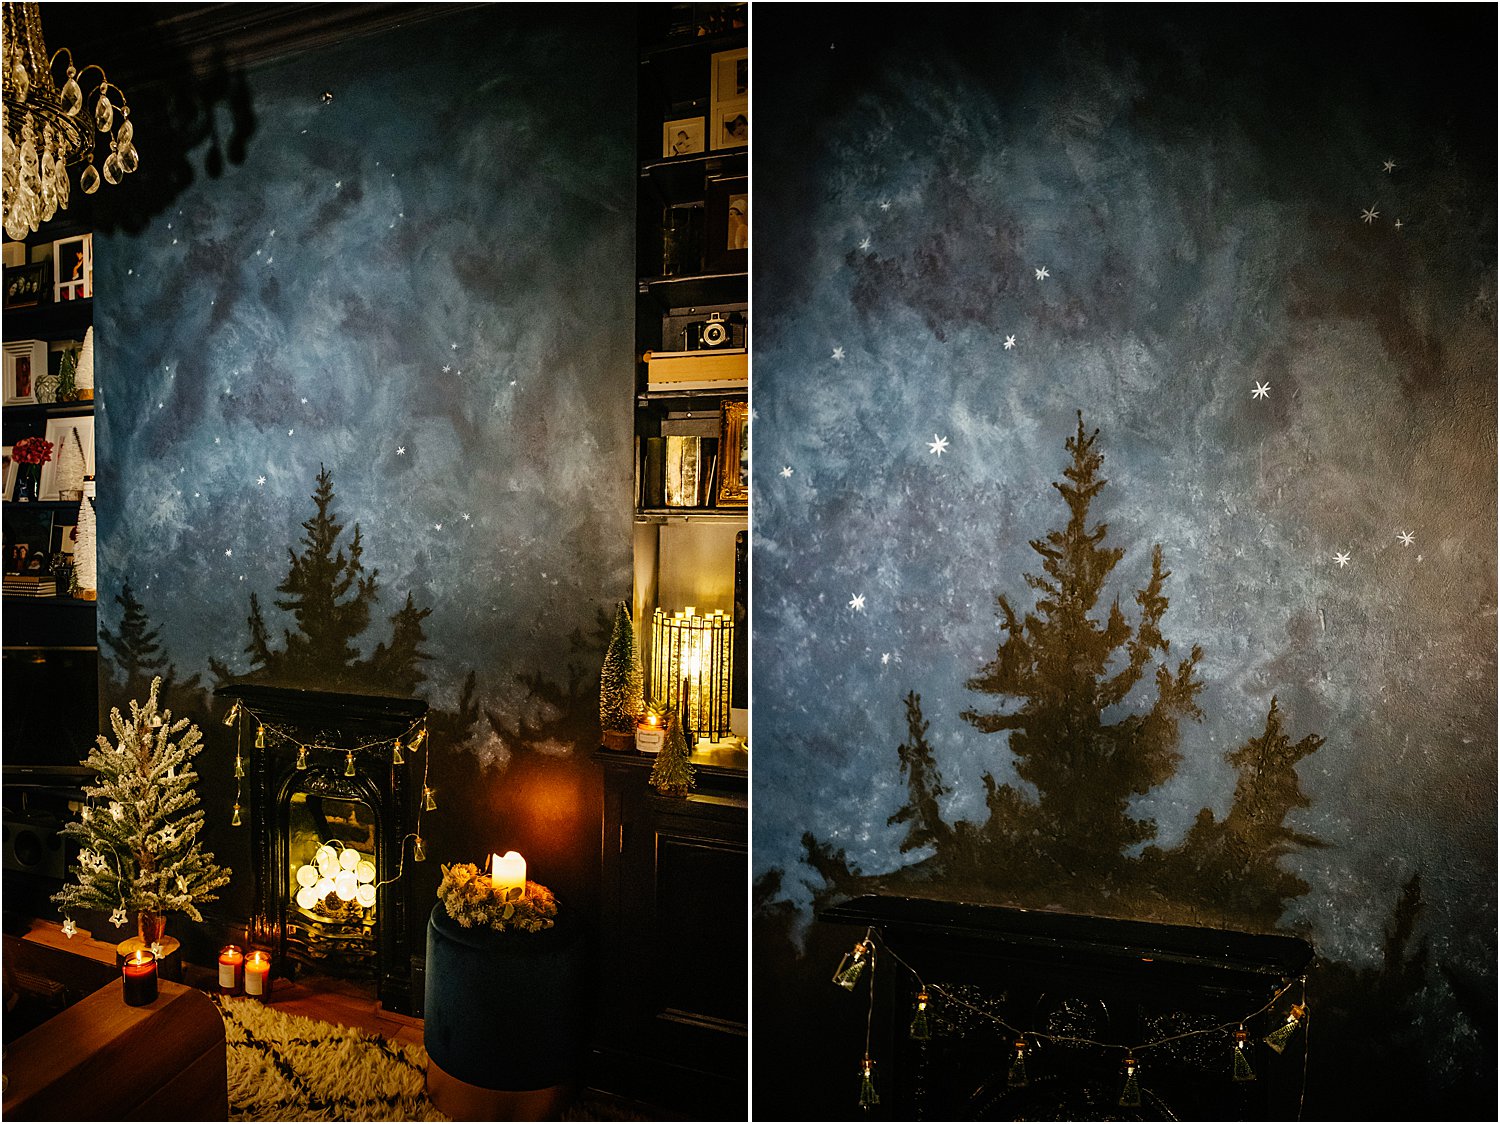
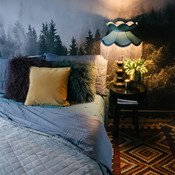
On our middle living room chimney breast, I painted a night sky Christmas tree mural using Craig and Rose paints – one of the most superior quality paints I have ever tried.
Craig and Rose have an Artisan paint range that allows you to create many various paint special effects such as concrete, marble and patina amongst others in various colours and metallics.
Here I used Chalk Wash which results in a highly textured surface. It’s a simple process – one that surprised me as I thought this would be so complicated to do!
The process of how to create a textured wall effect using paint in 3 easy steps: PAINT, LIFT, SPONGE!
Here it is step-by-step.
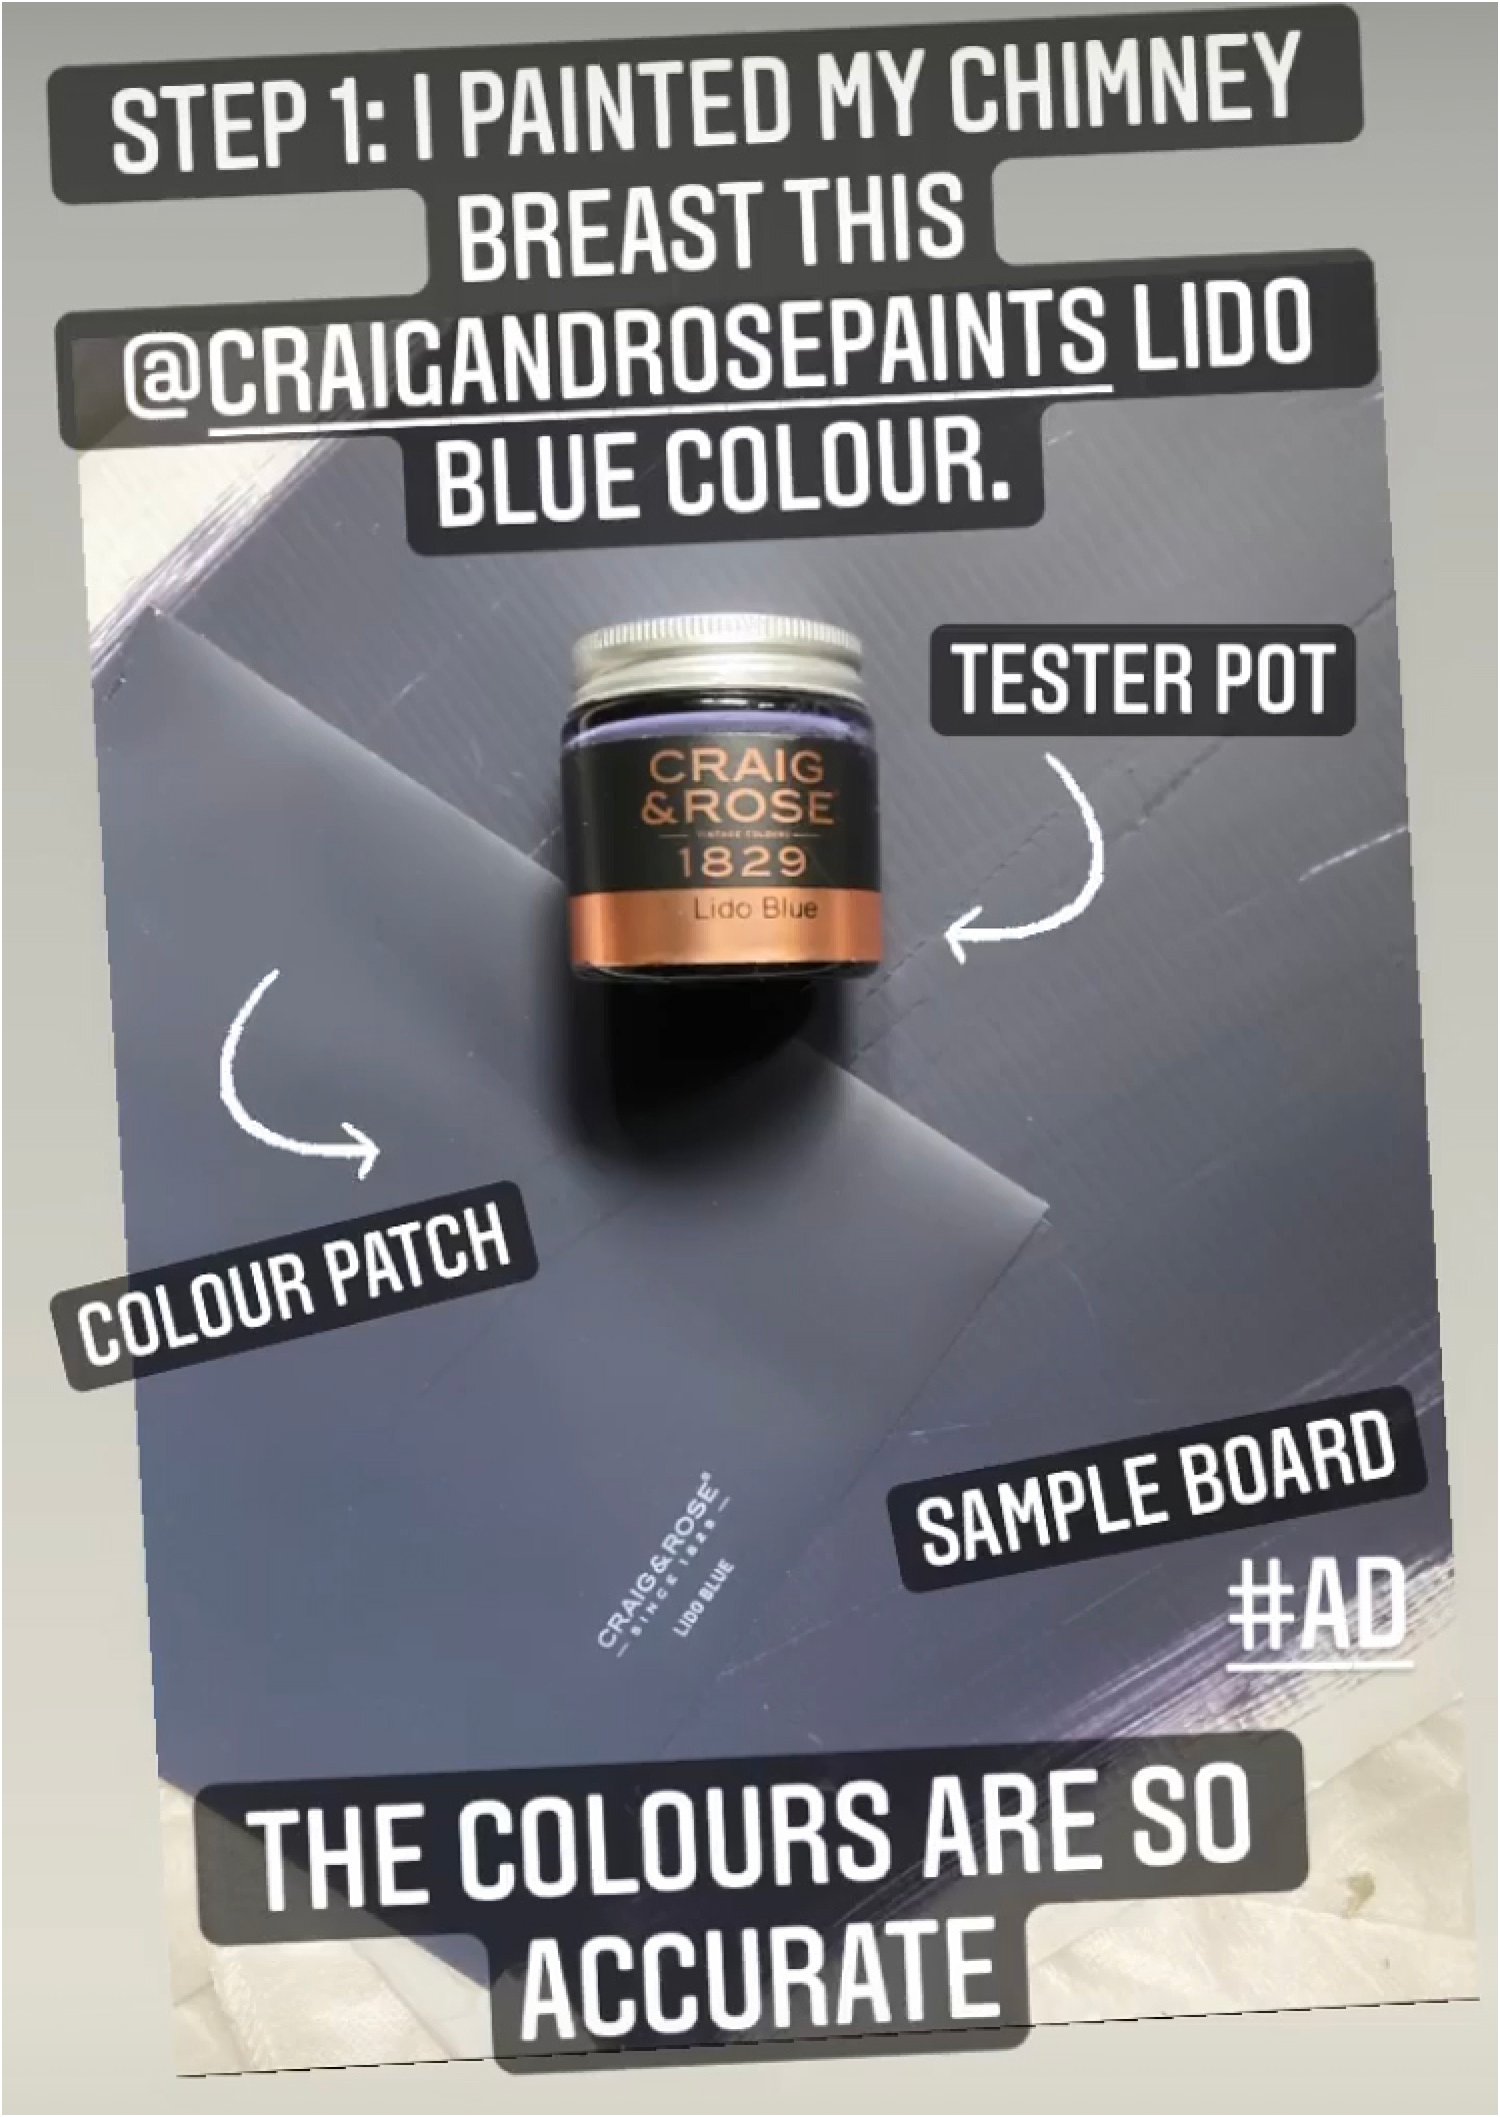
Step 1: Paint the wall a colour of your choice. I chose a darker base colour – Craig and Rose Lido Blue which is the colour of the walls and ceiling in this room. The base colour needs to be different in darkness or lightness from the other colours you’ll use in order to create contrast.
Step 2: After 7 days when the wall has dried and cured completely, paint over the base colour with Chalk Wash.
I used Blue Ochre which is a sky blue hue and covered the wall with it. You can see me in action painting the wall in this short time-lapse video.
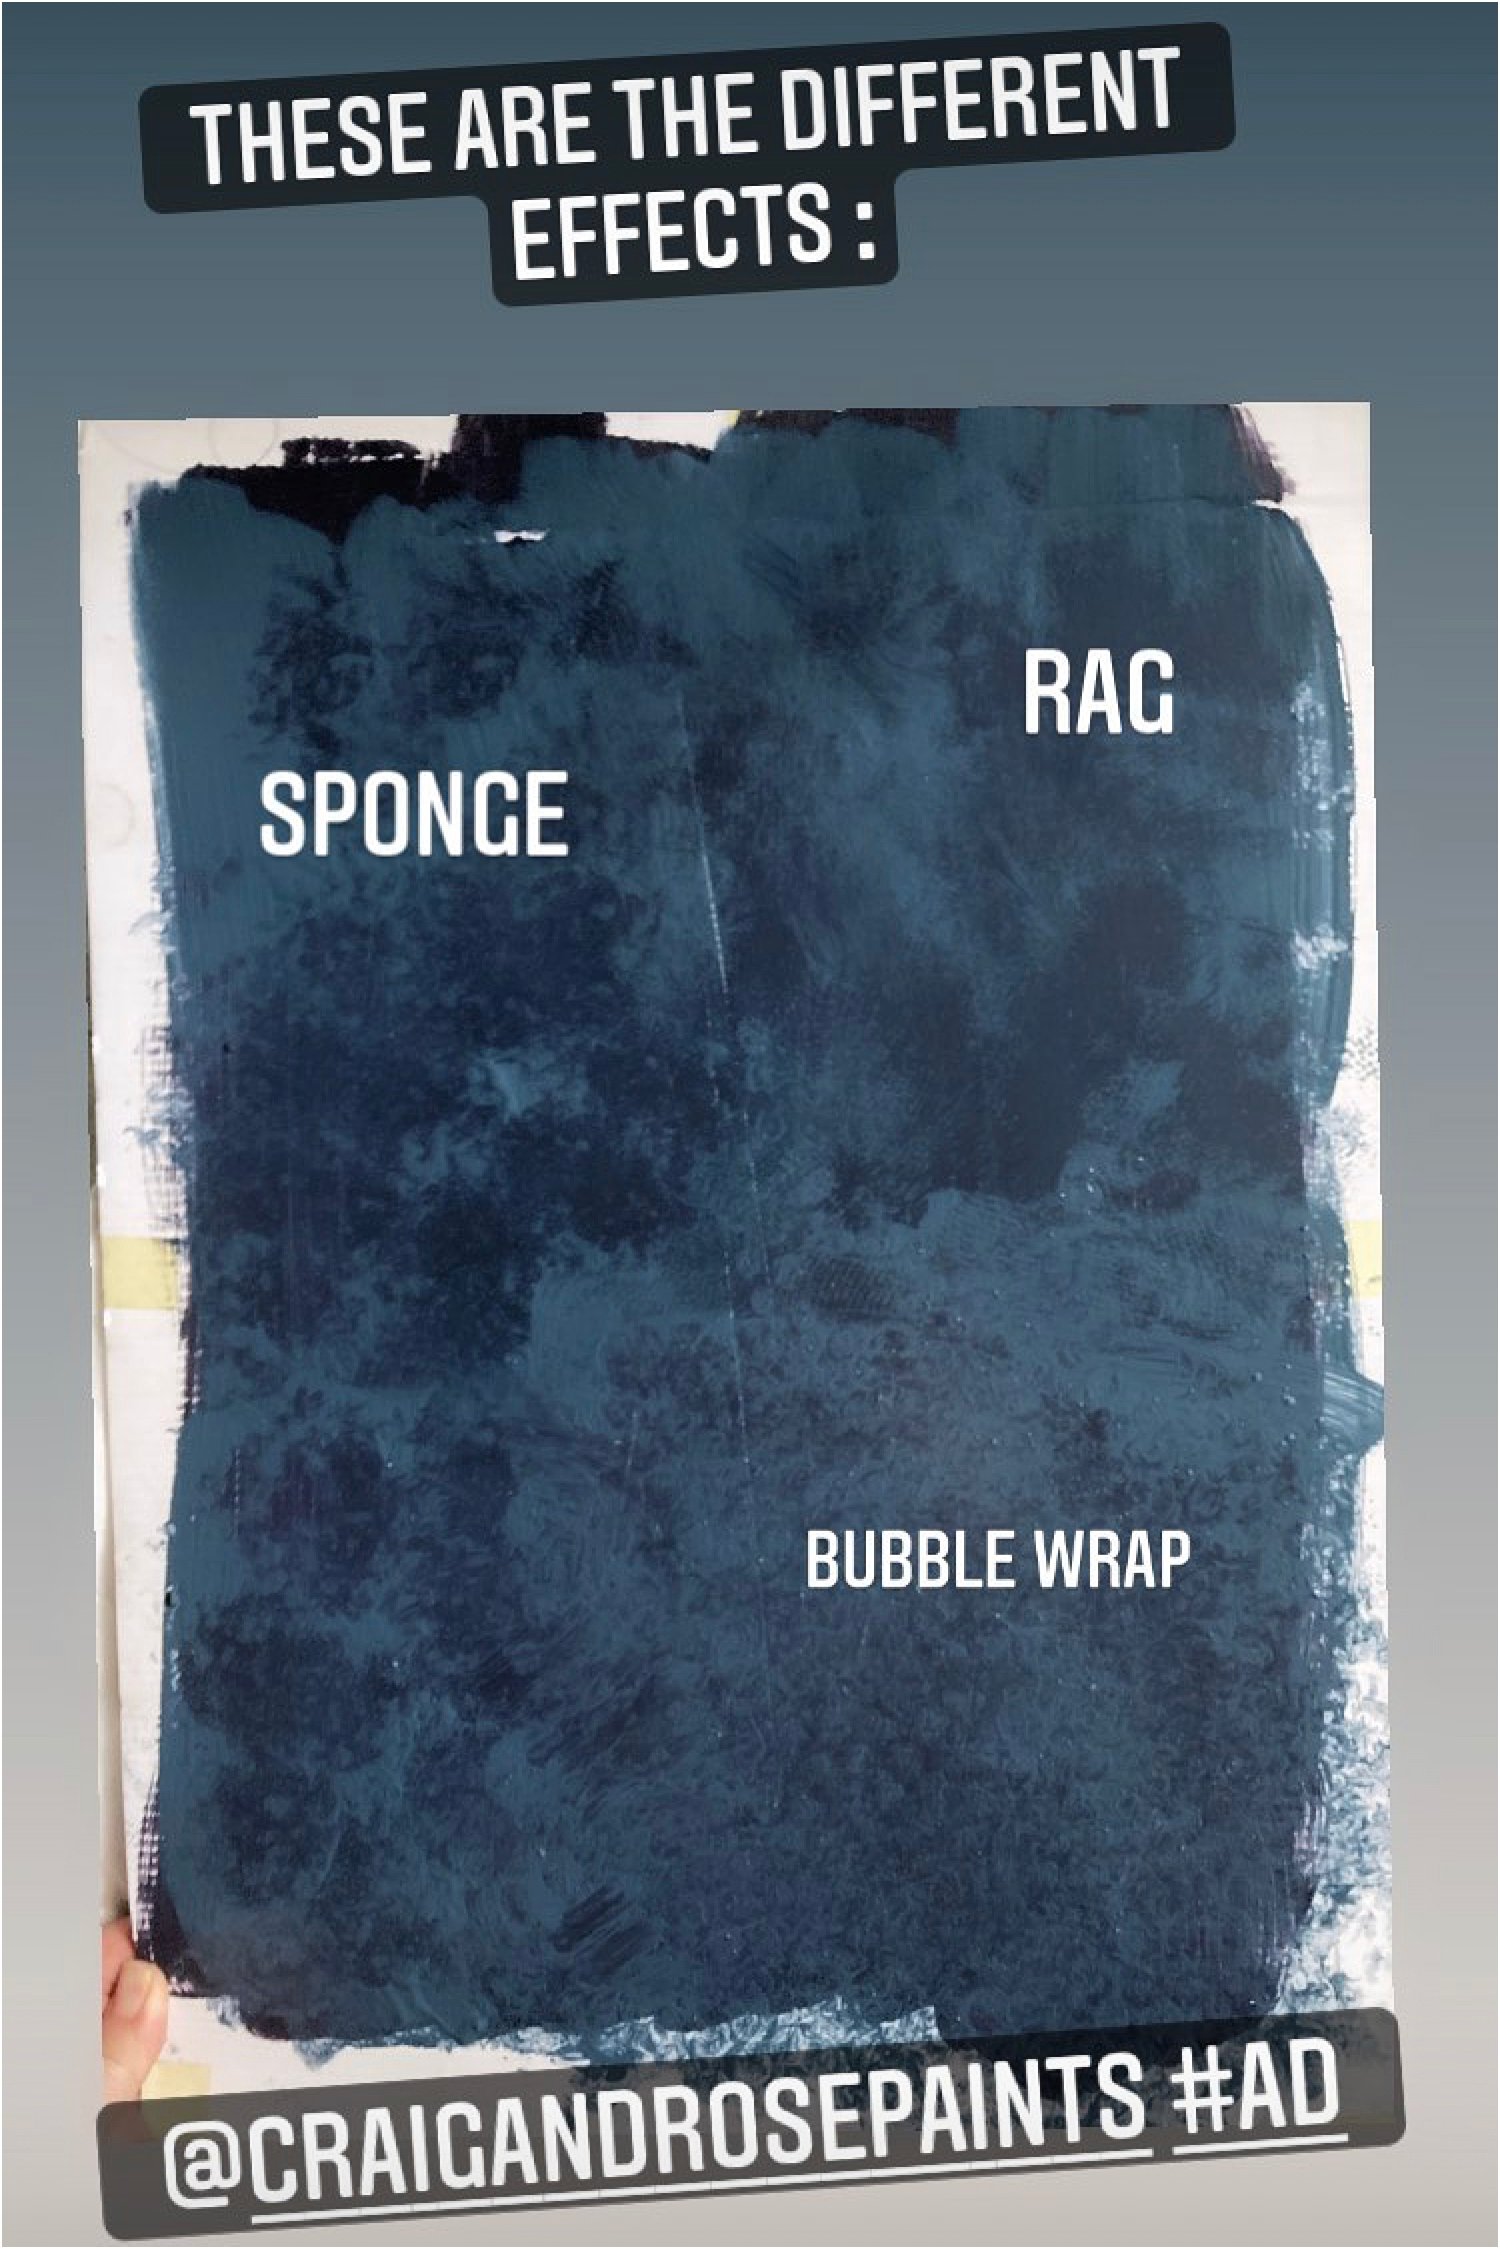
Step 3: As soon as the wall is covered with one coat, lift off the Chalk Wash with a material of your choice like muslin, rag, sponge or in my case bubble wrap!
I tested these options first on a piece of cardboard to make sure it worked. You can see the texture results below from the 3 different materials I used to lift up the Chalk Wash paint.
This resulted in some of the dark blue base colour showing through. So now I have two colours on the wall – dark blue and mid blue.
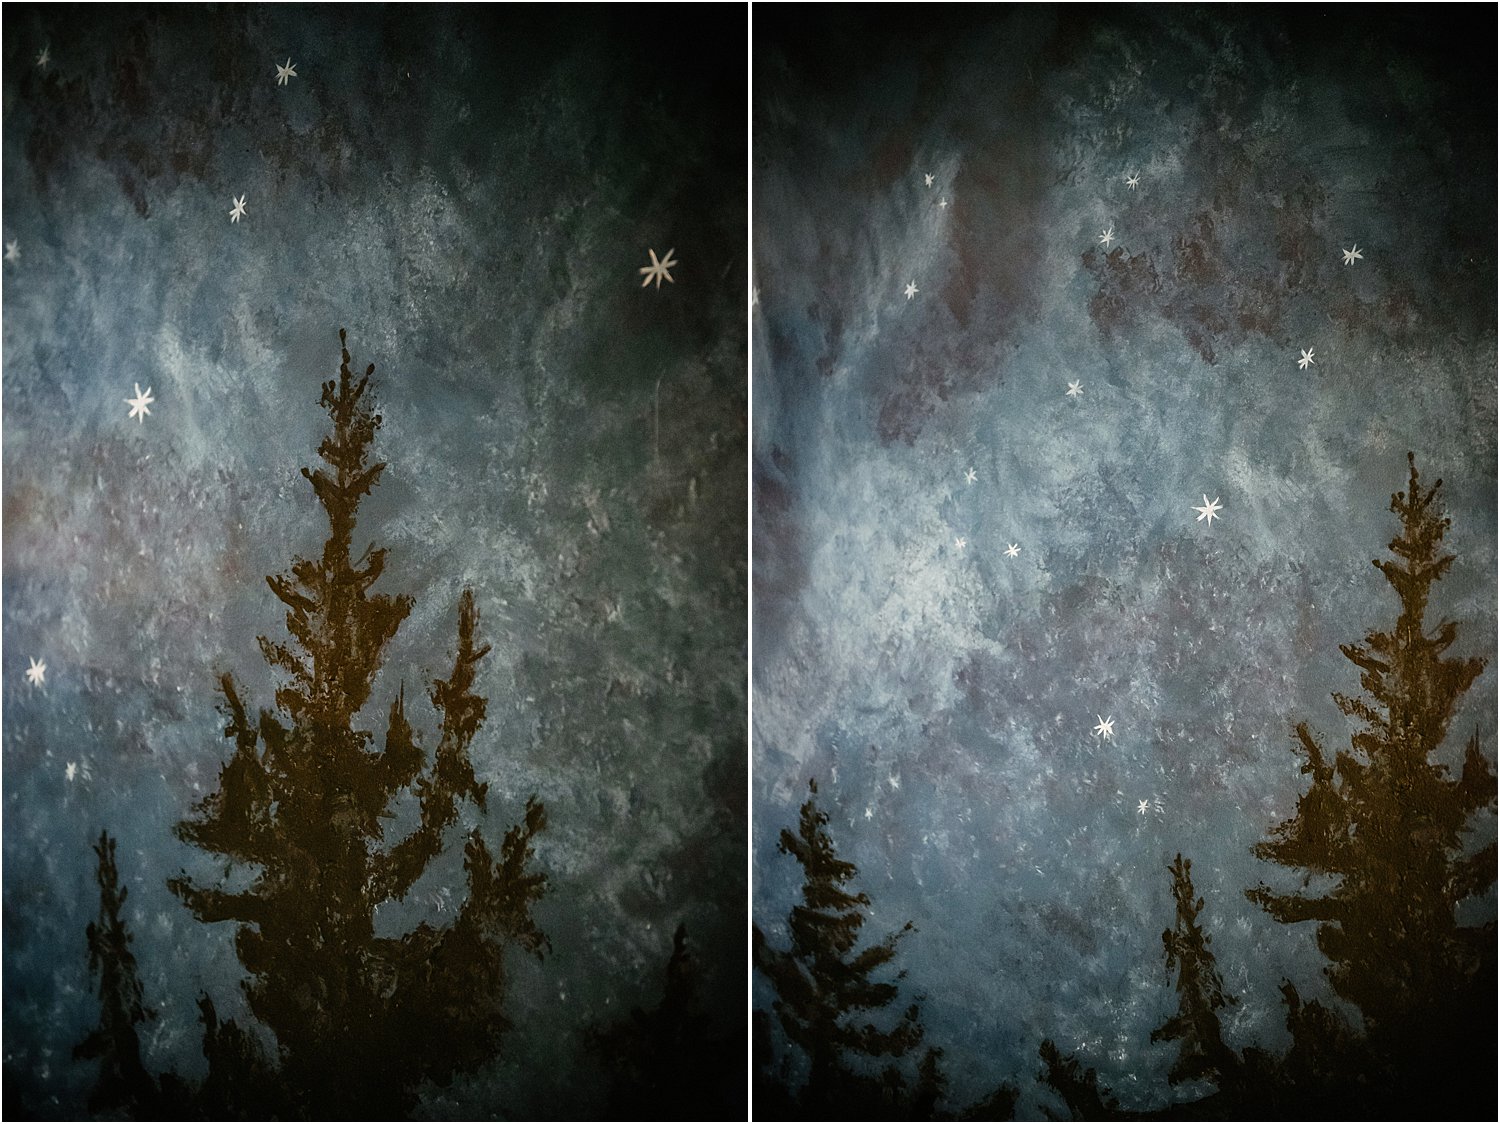
Step 4: Sponge a lighter colour on areas you want to appear lighter. In my case, I used a small amount of Craig and Rose Marble White mixed with some Chalk Wash and using a sponge I applied this lighter colour on areas that I wanted to look like grey and light blue sky.
I mixed the white with some of the blue to get different tones of white and simply sponged them on. Similarly, I also sponged on some of the darker colours over the light where I wanted to add more contrast and texture.
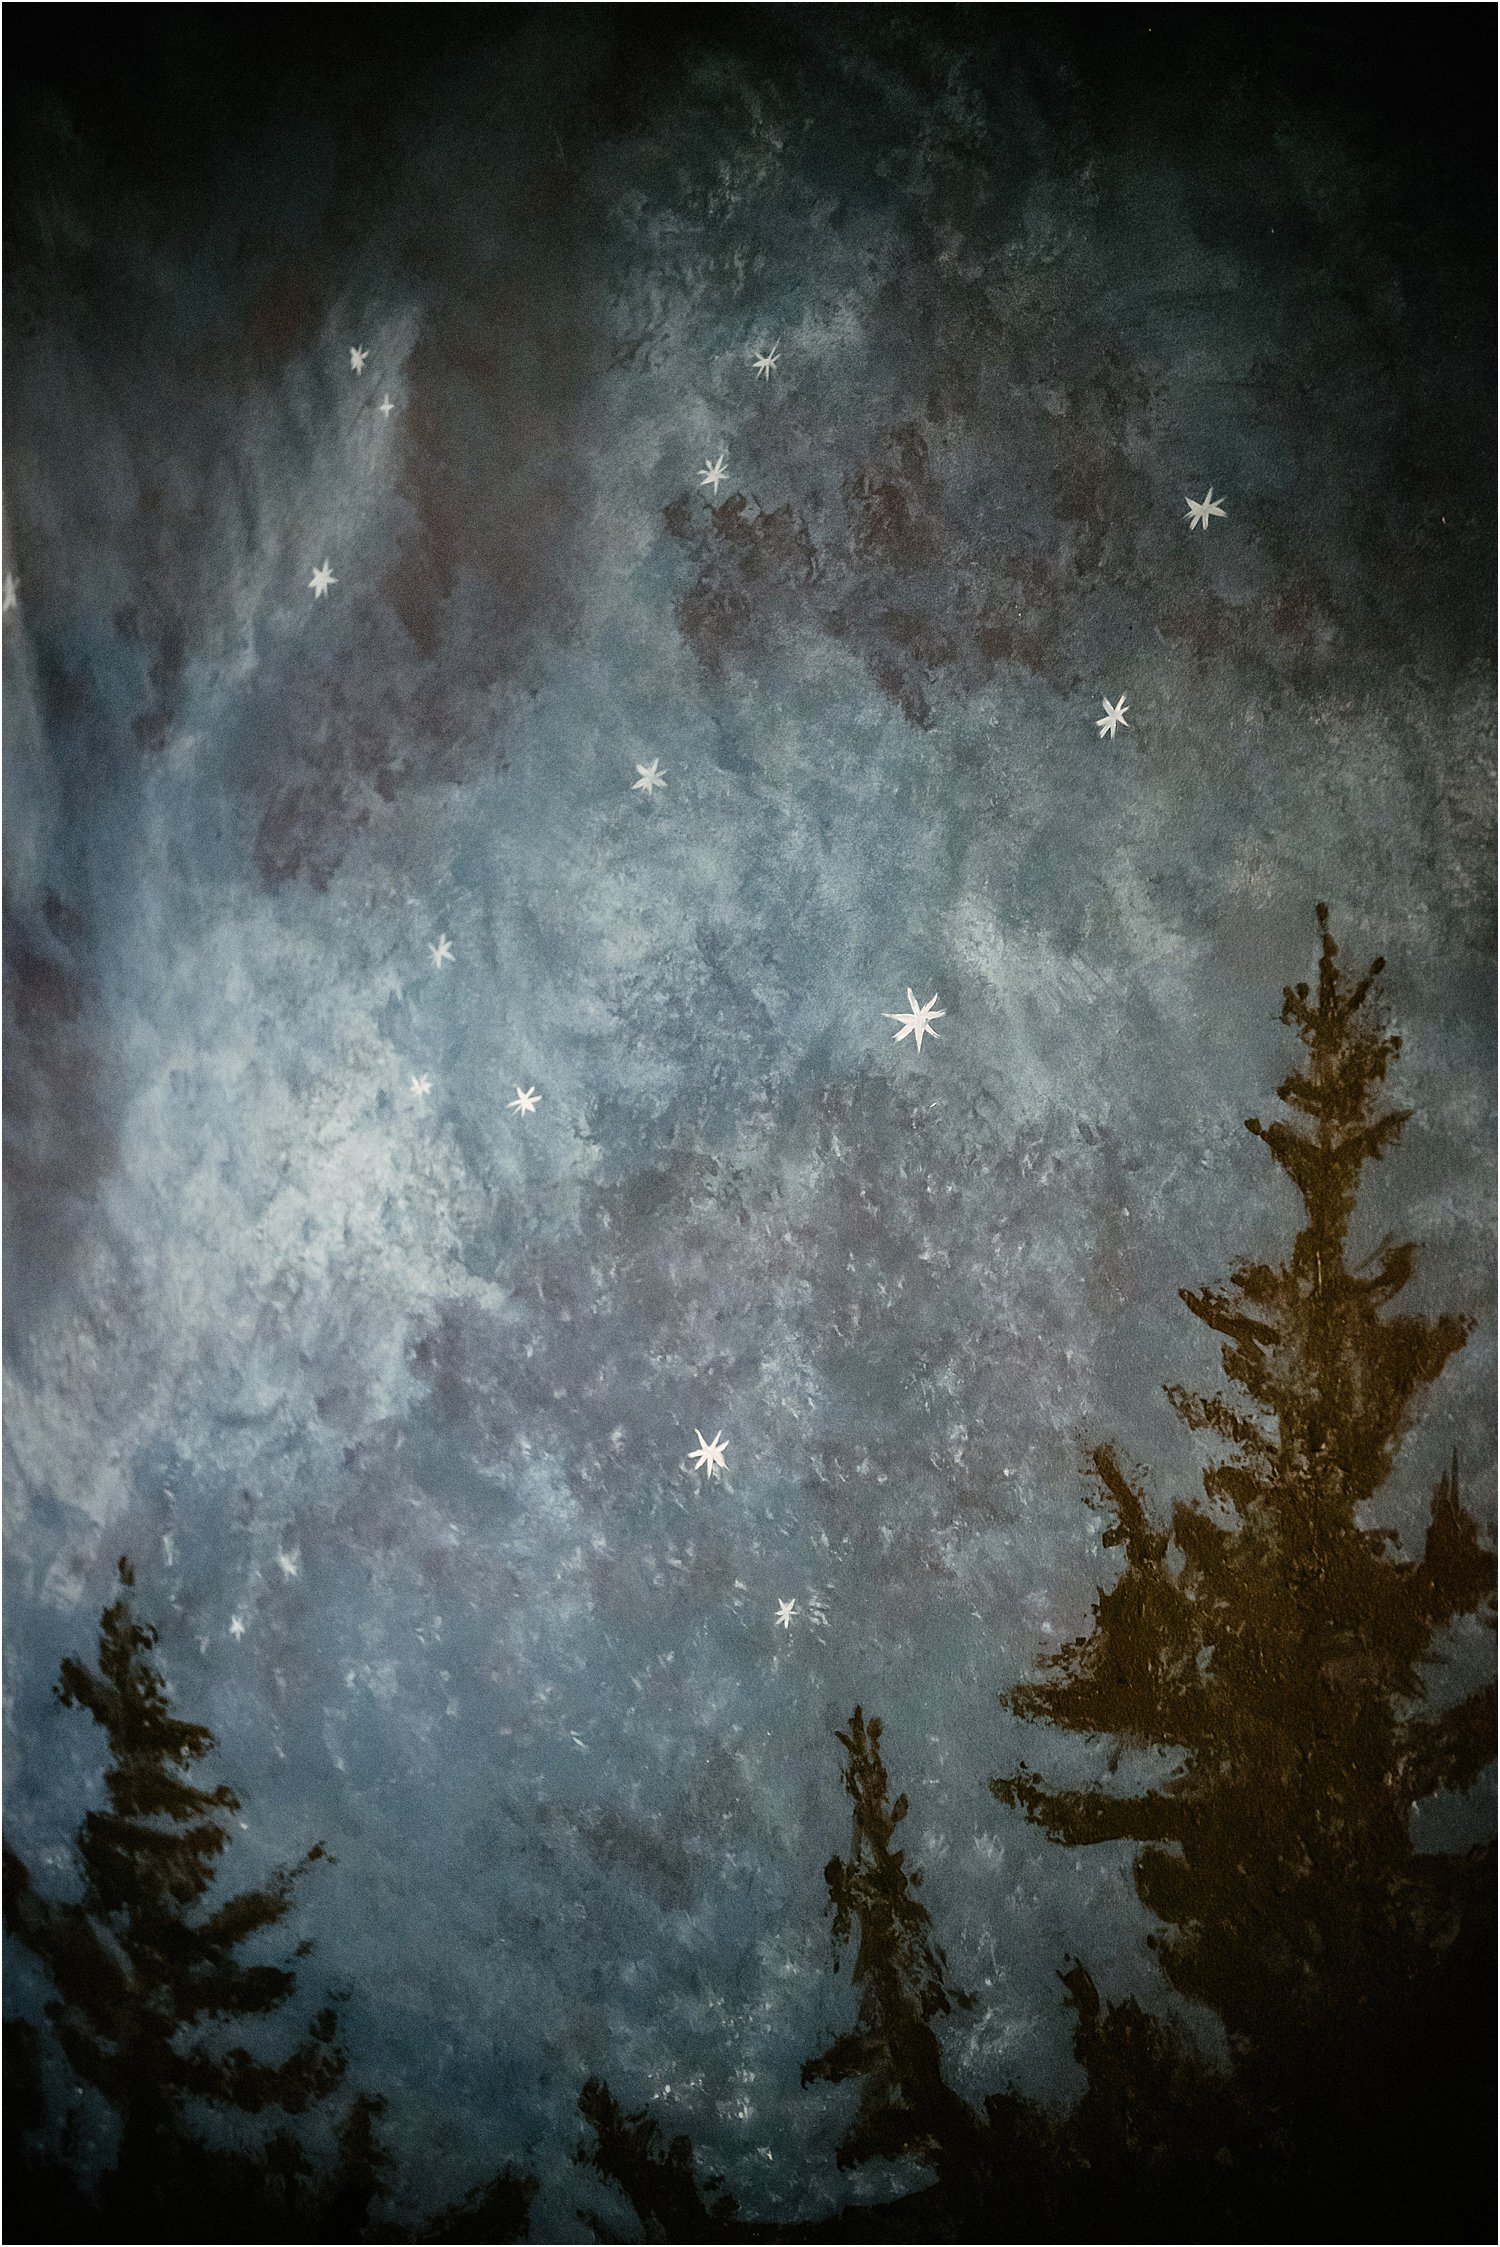
Step 5: Because I planned this as a Christmas mural, I decided to paint Christmas tree silhouettes using a sponge dipped in a black paint and just sponged the paint on where I wanted the trees to go.
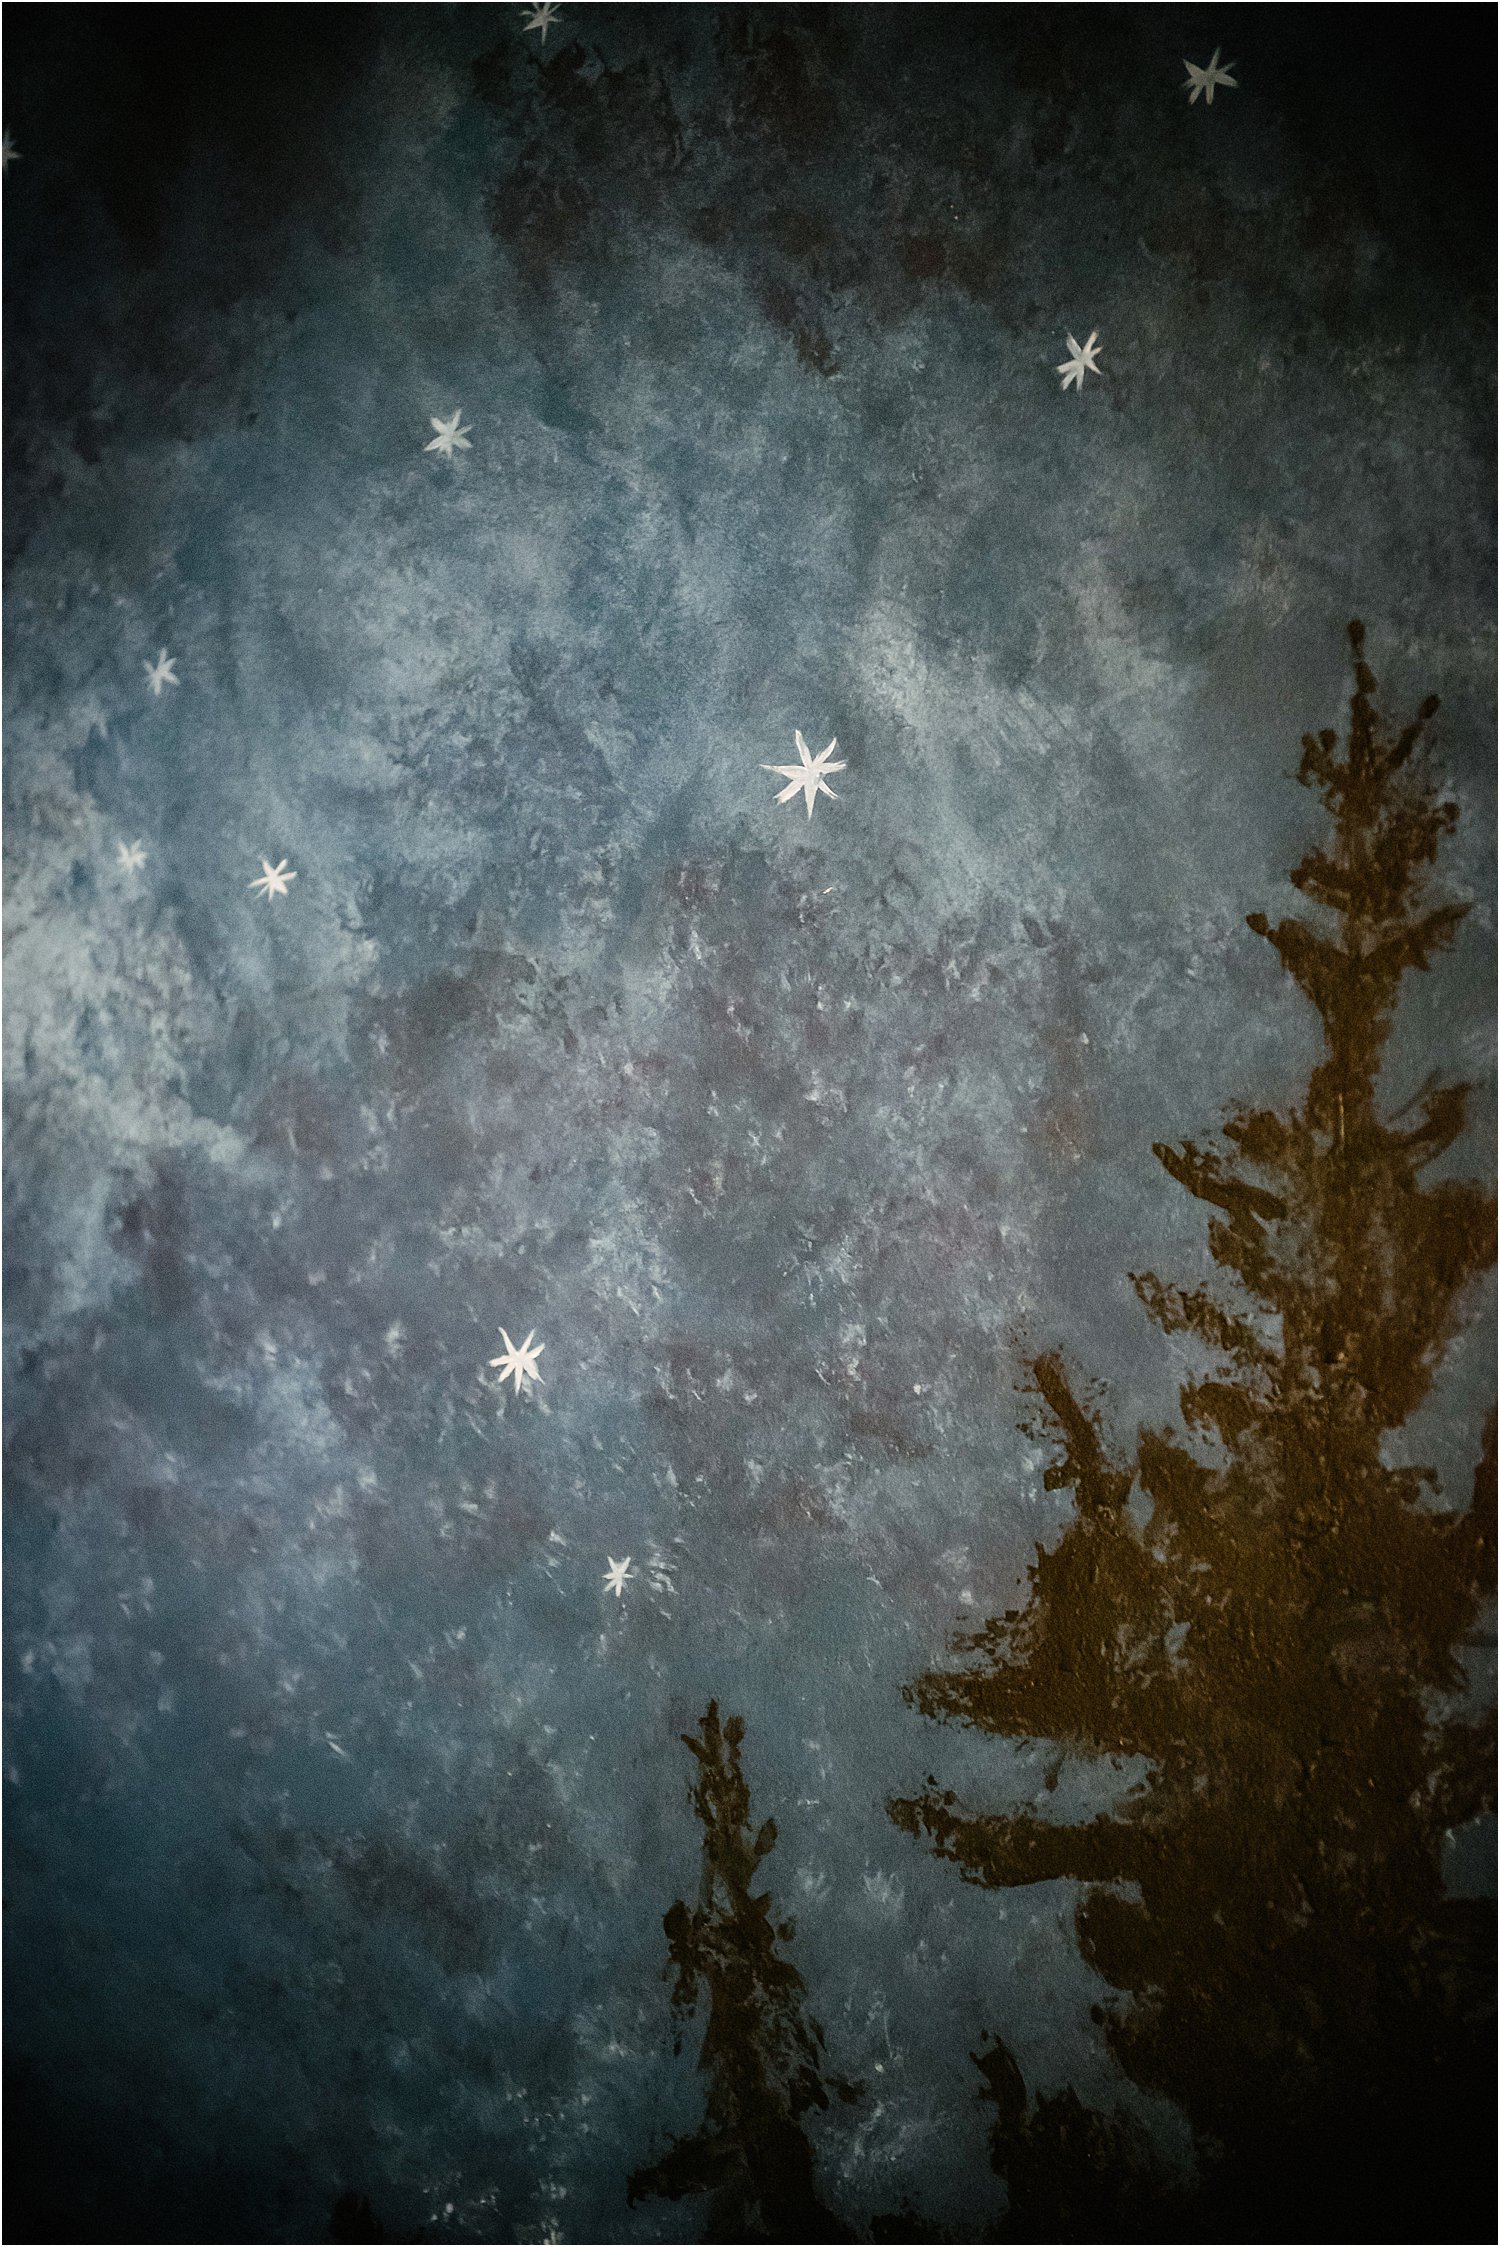
Step 6: Paint some small stars using a fine brush to create highlights.
Summary on how to create a textured wall effect using paint in 3 easy steps
Use artisan paint that is specifically formulated to achieve the texture you want. Then paint, lift and sponge your way into creating your textured wall.
With this easy trick, painting a textured wall is a walk in the park using a tin of artisan paint that helps you achieve your desired effect whether that be concrete, rust, patina, metallics or even marble.
I hope you enjoyed this short article on how to create a textured wall effect using paint in 3 steps.
I did this mural project as part of a paid partnership with Craig and Rose. You can read more about it here.
Don’t forget to download my free resources that will help you design your own interiors and grow your Instagram account! Let’s chat on Instagram and follow me on layered.home for more inspiration.