3 Tips for displaying family photos on your gallery wall with Inkifi
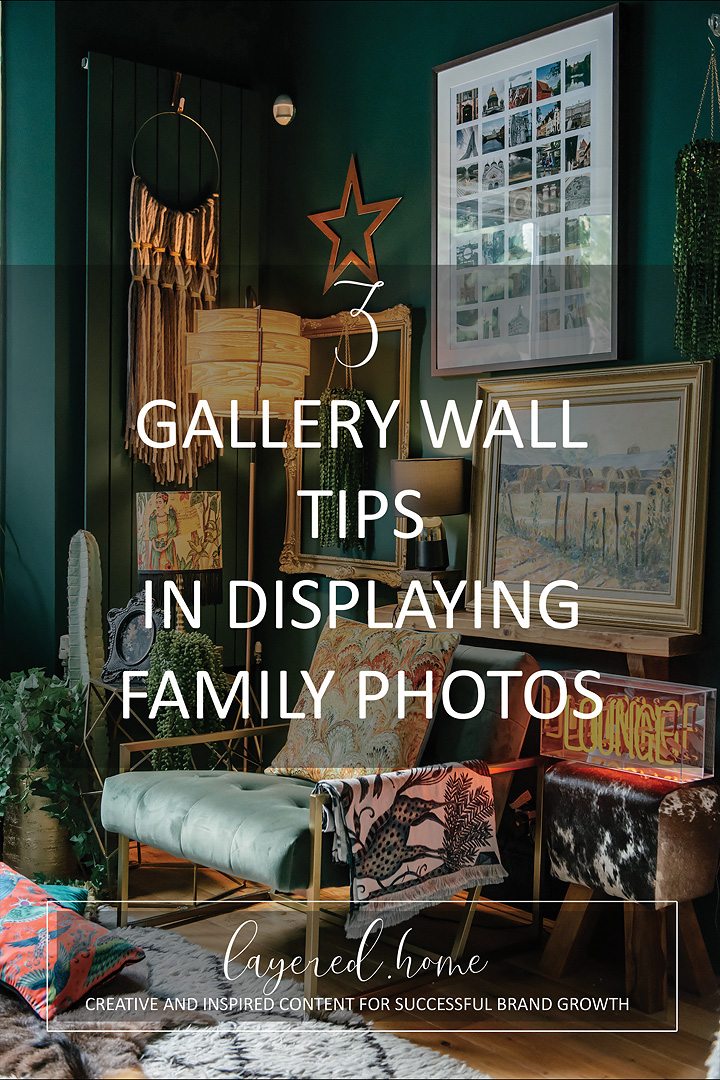
I’m a professional photographer and I have a passion for printing photographs instead of just keeping them safe in a hard drive. But how easy is it to compile your favourite photos, make them into an album or print them for your gallery wall? Easy enough although, I have to be honest with you, the process can be very time-consuming. First you have to go through and decide which photos make the cut, then you design them in an album or carefully measure out your wall and print them in various sizes to fit the spaces in the house and you have to get the frames for them too.
Whichever way I display my photographs, it always takes time. I make a family album for us every year and in spite of the fact that I do this for a living, it still requires a good amount of time investment. But, I have some tips! Don’t forget to download my free resources that will help you design your own interiors and grow your Instagram account!
THINK OF THE FINAL OUTCOME.
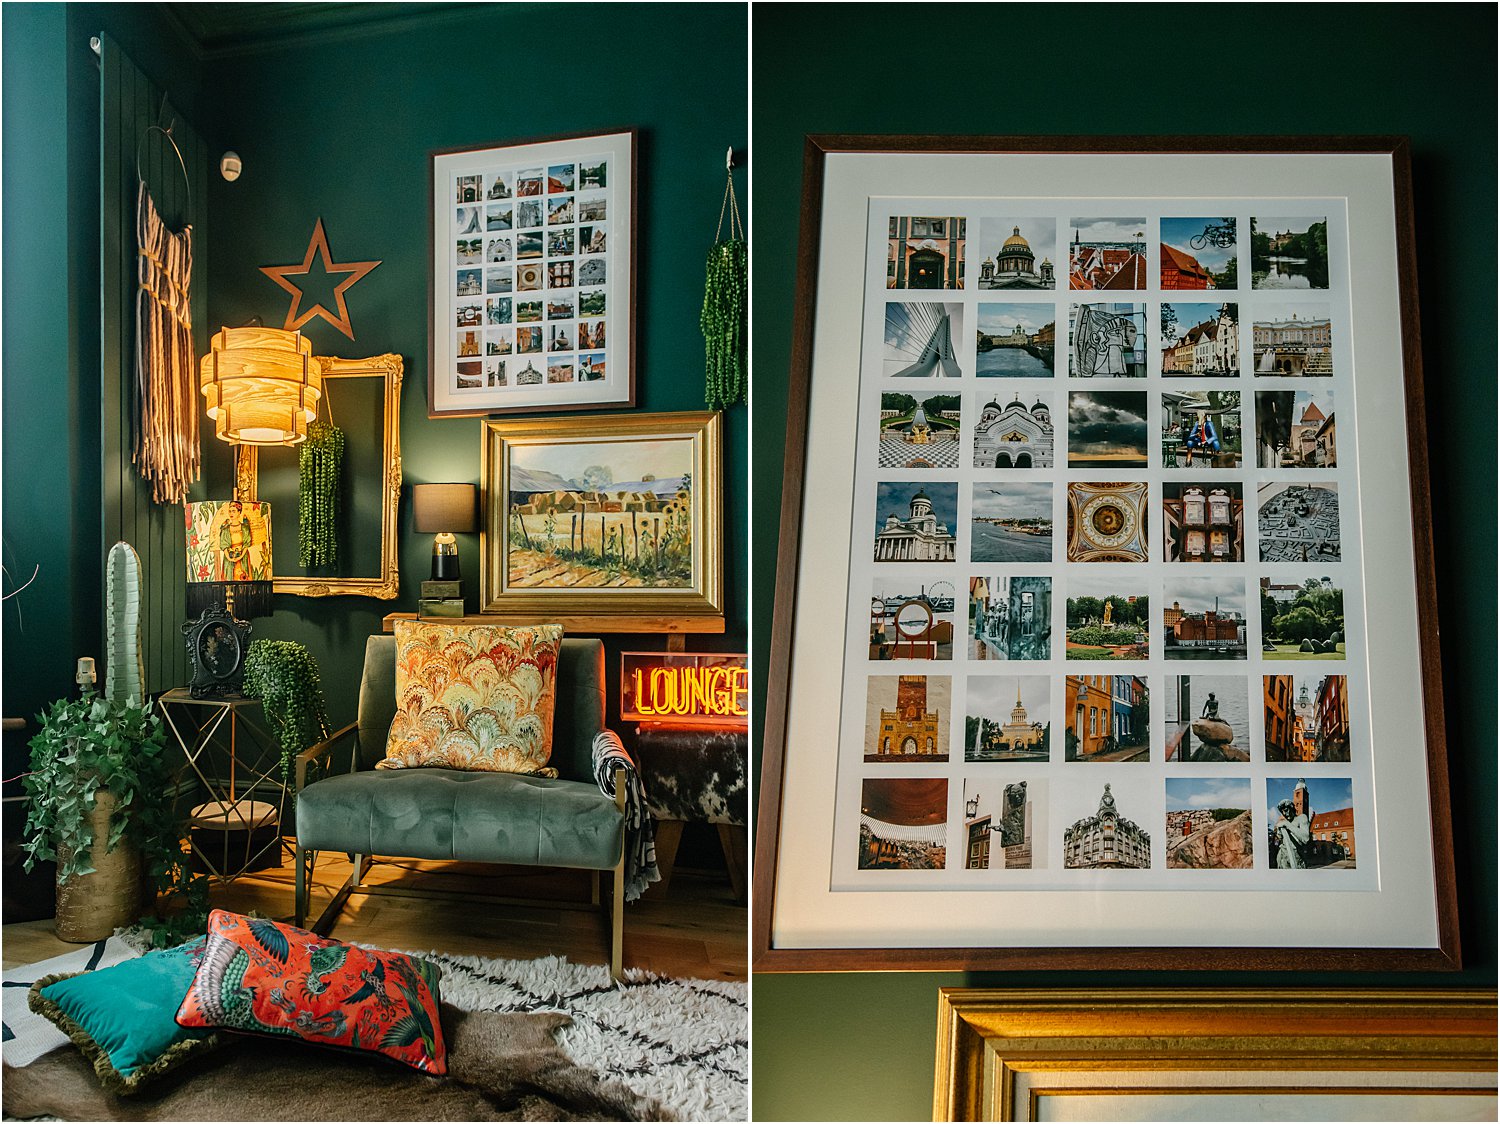
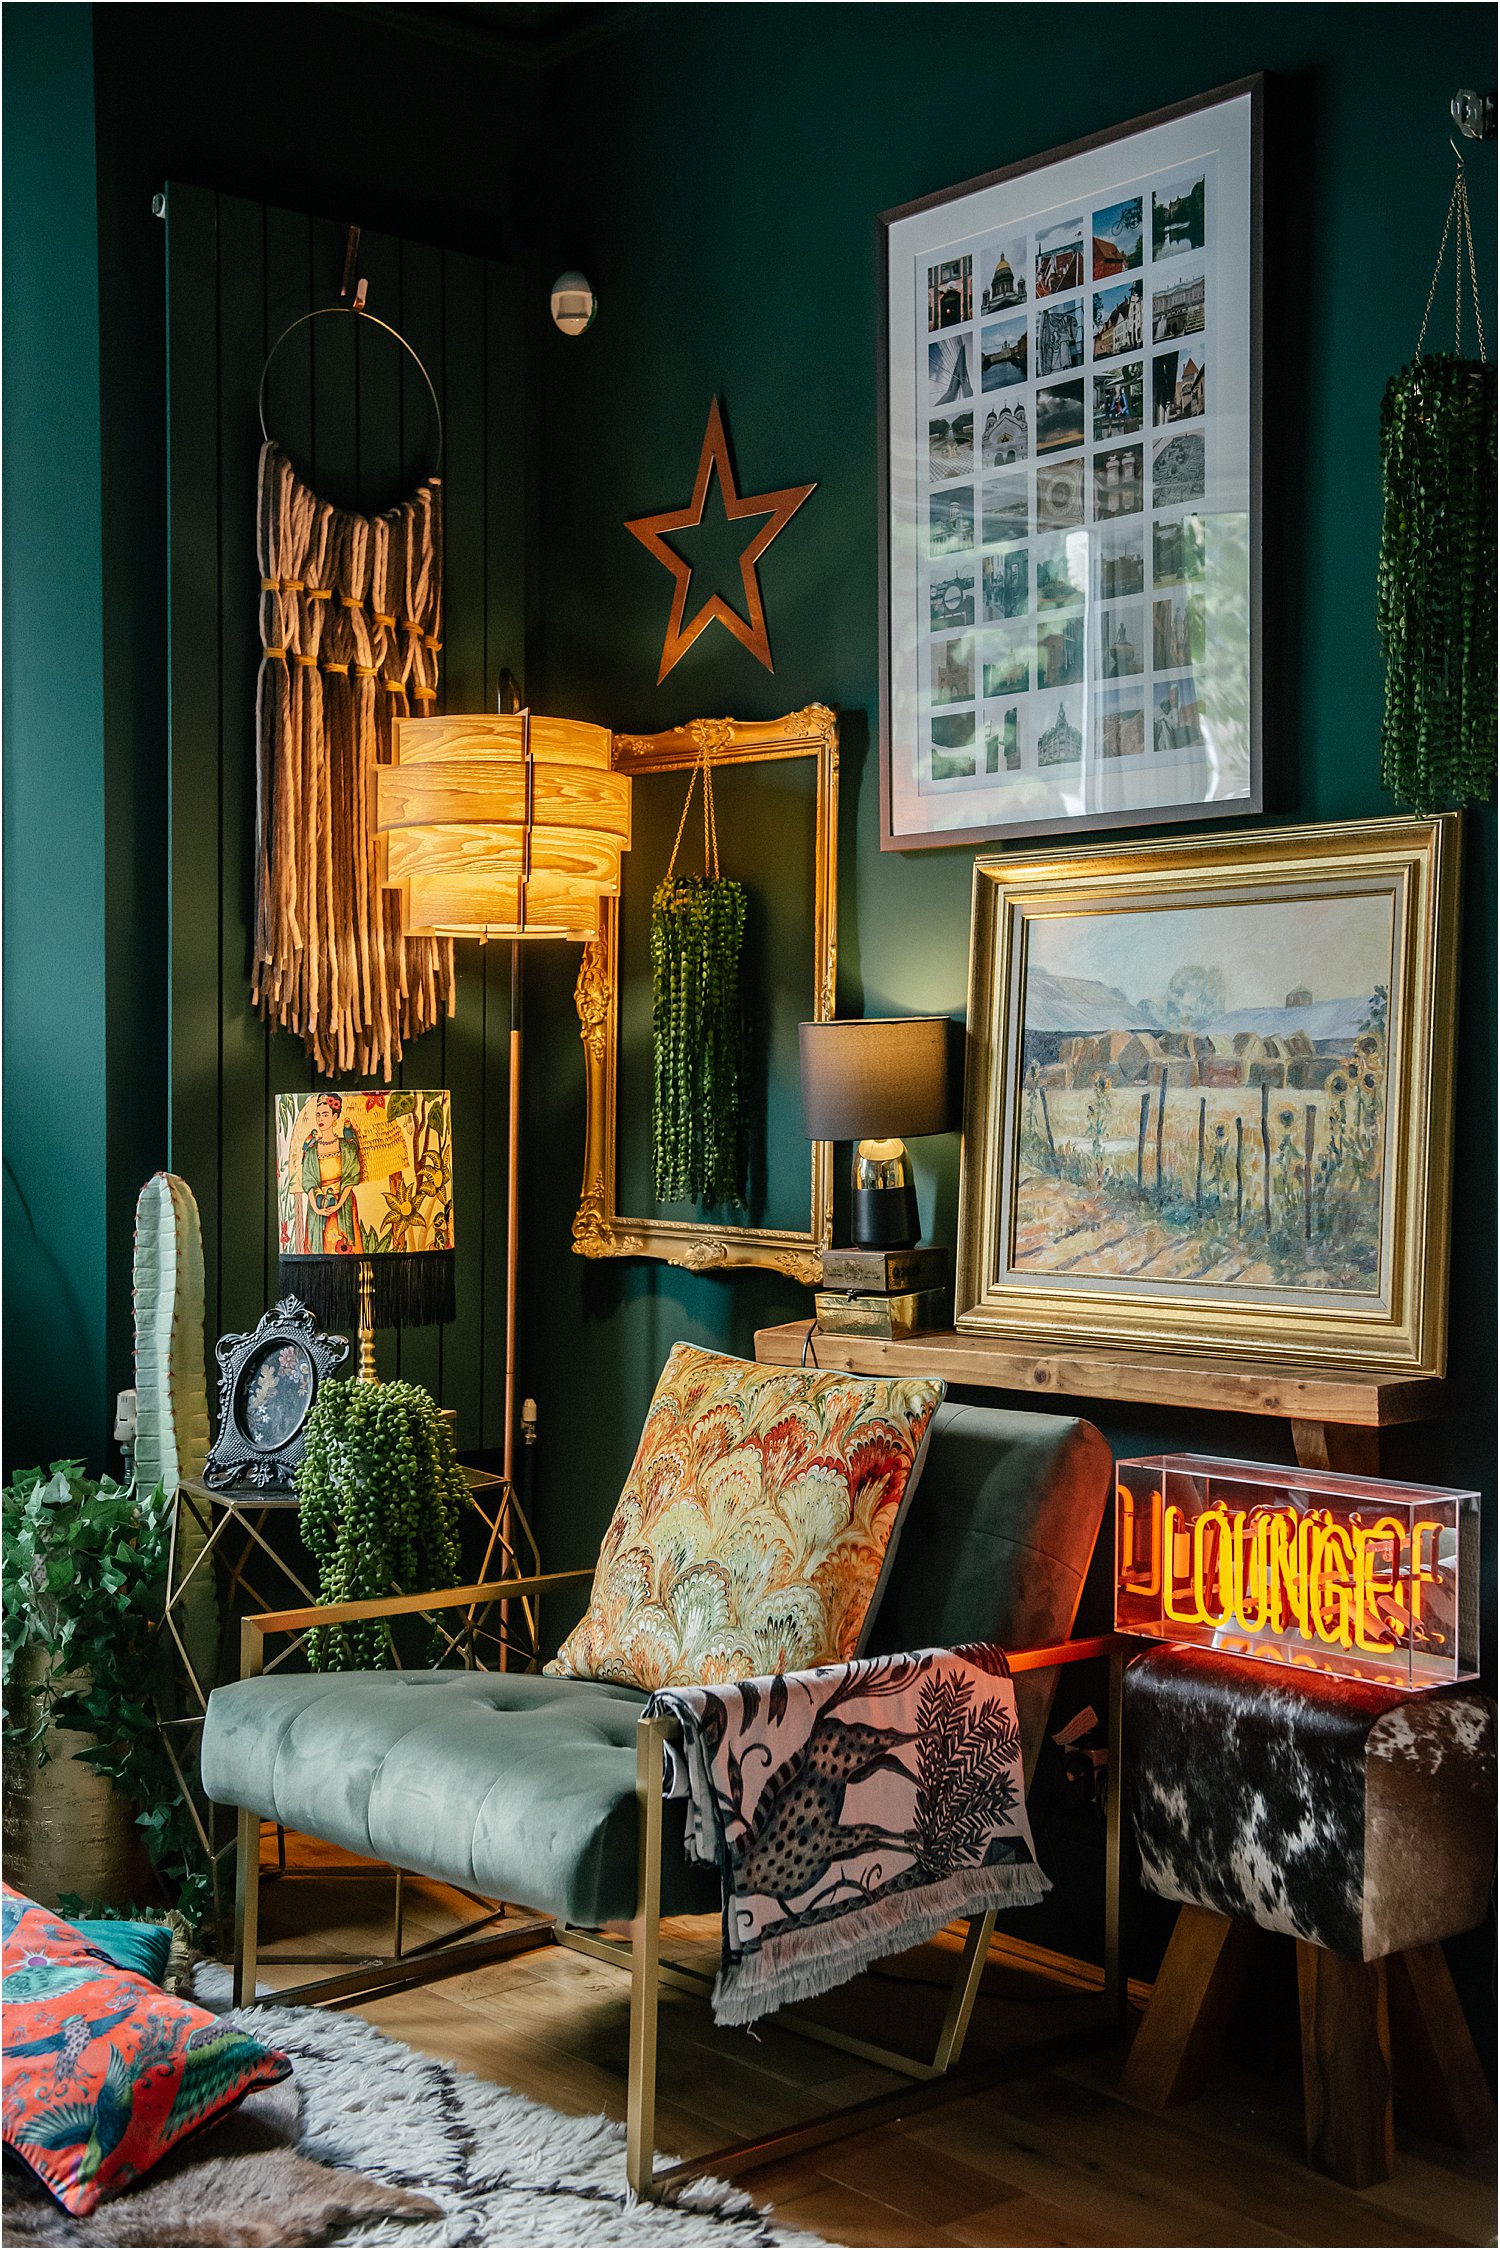
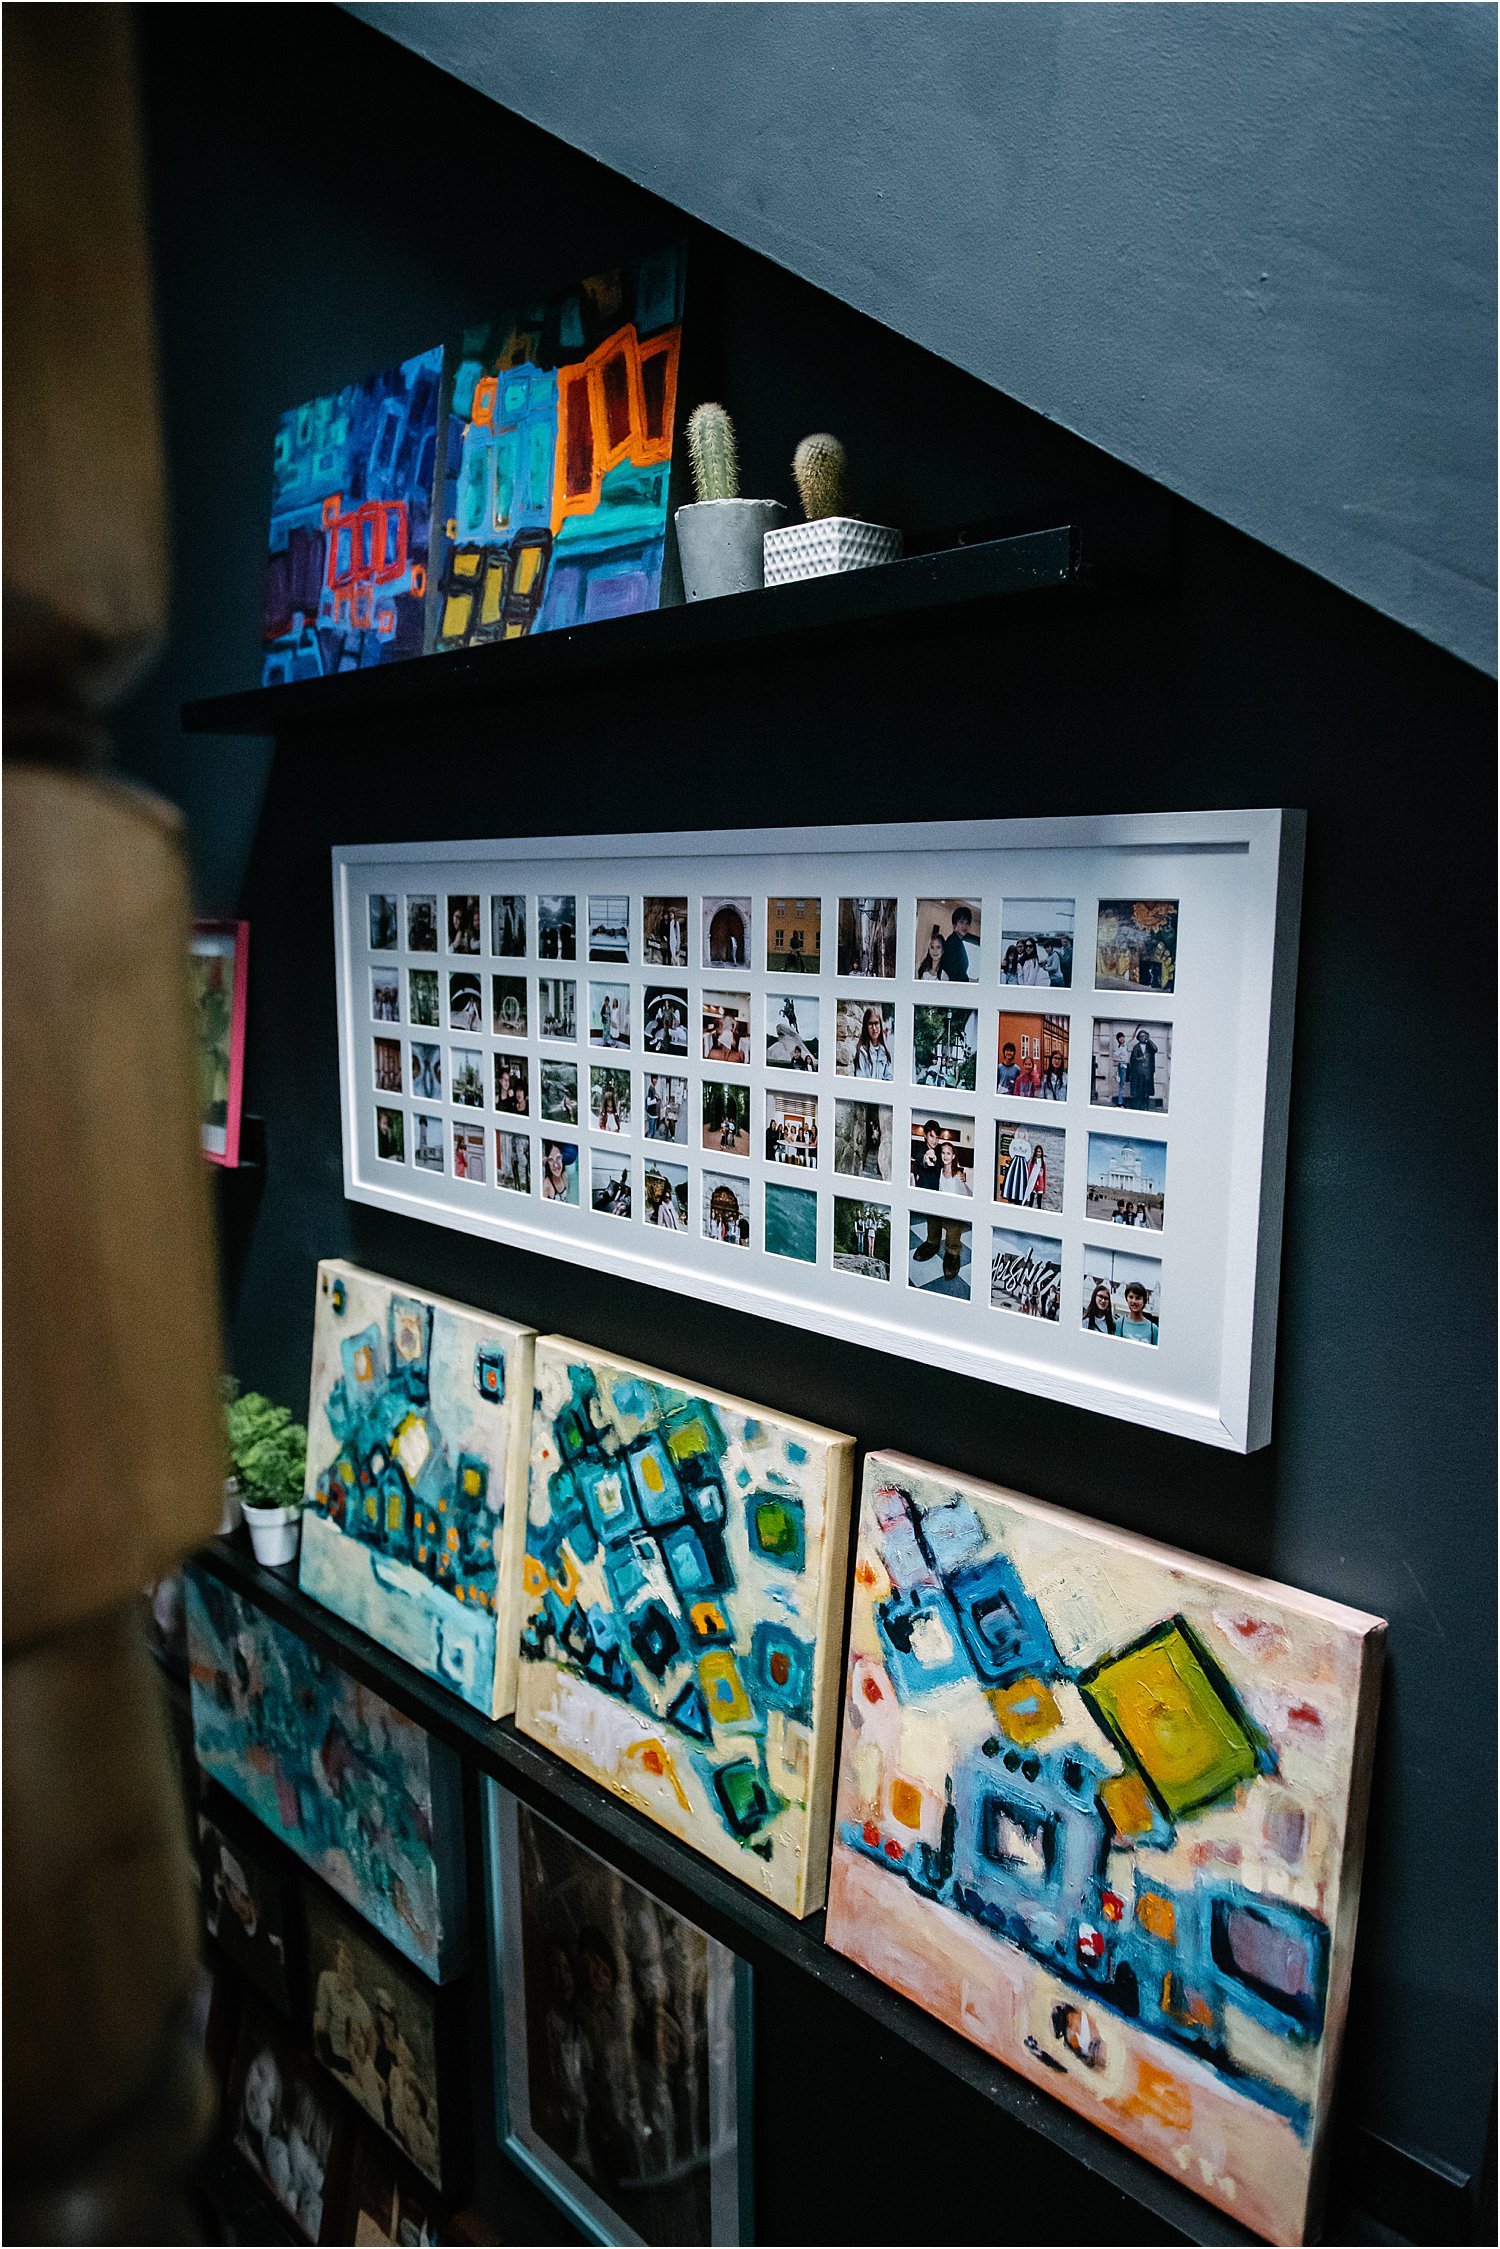
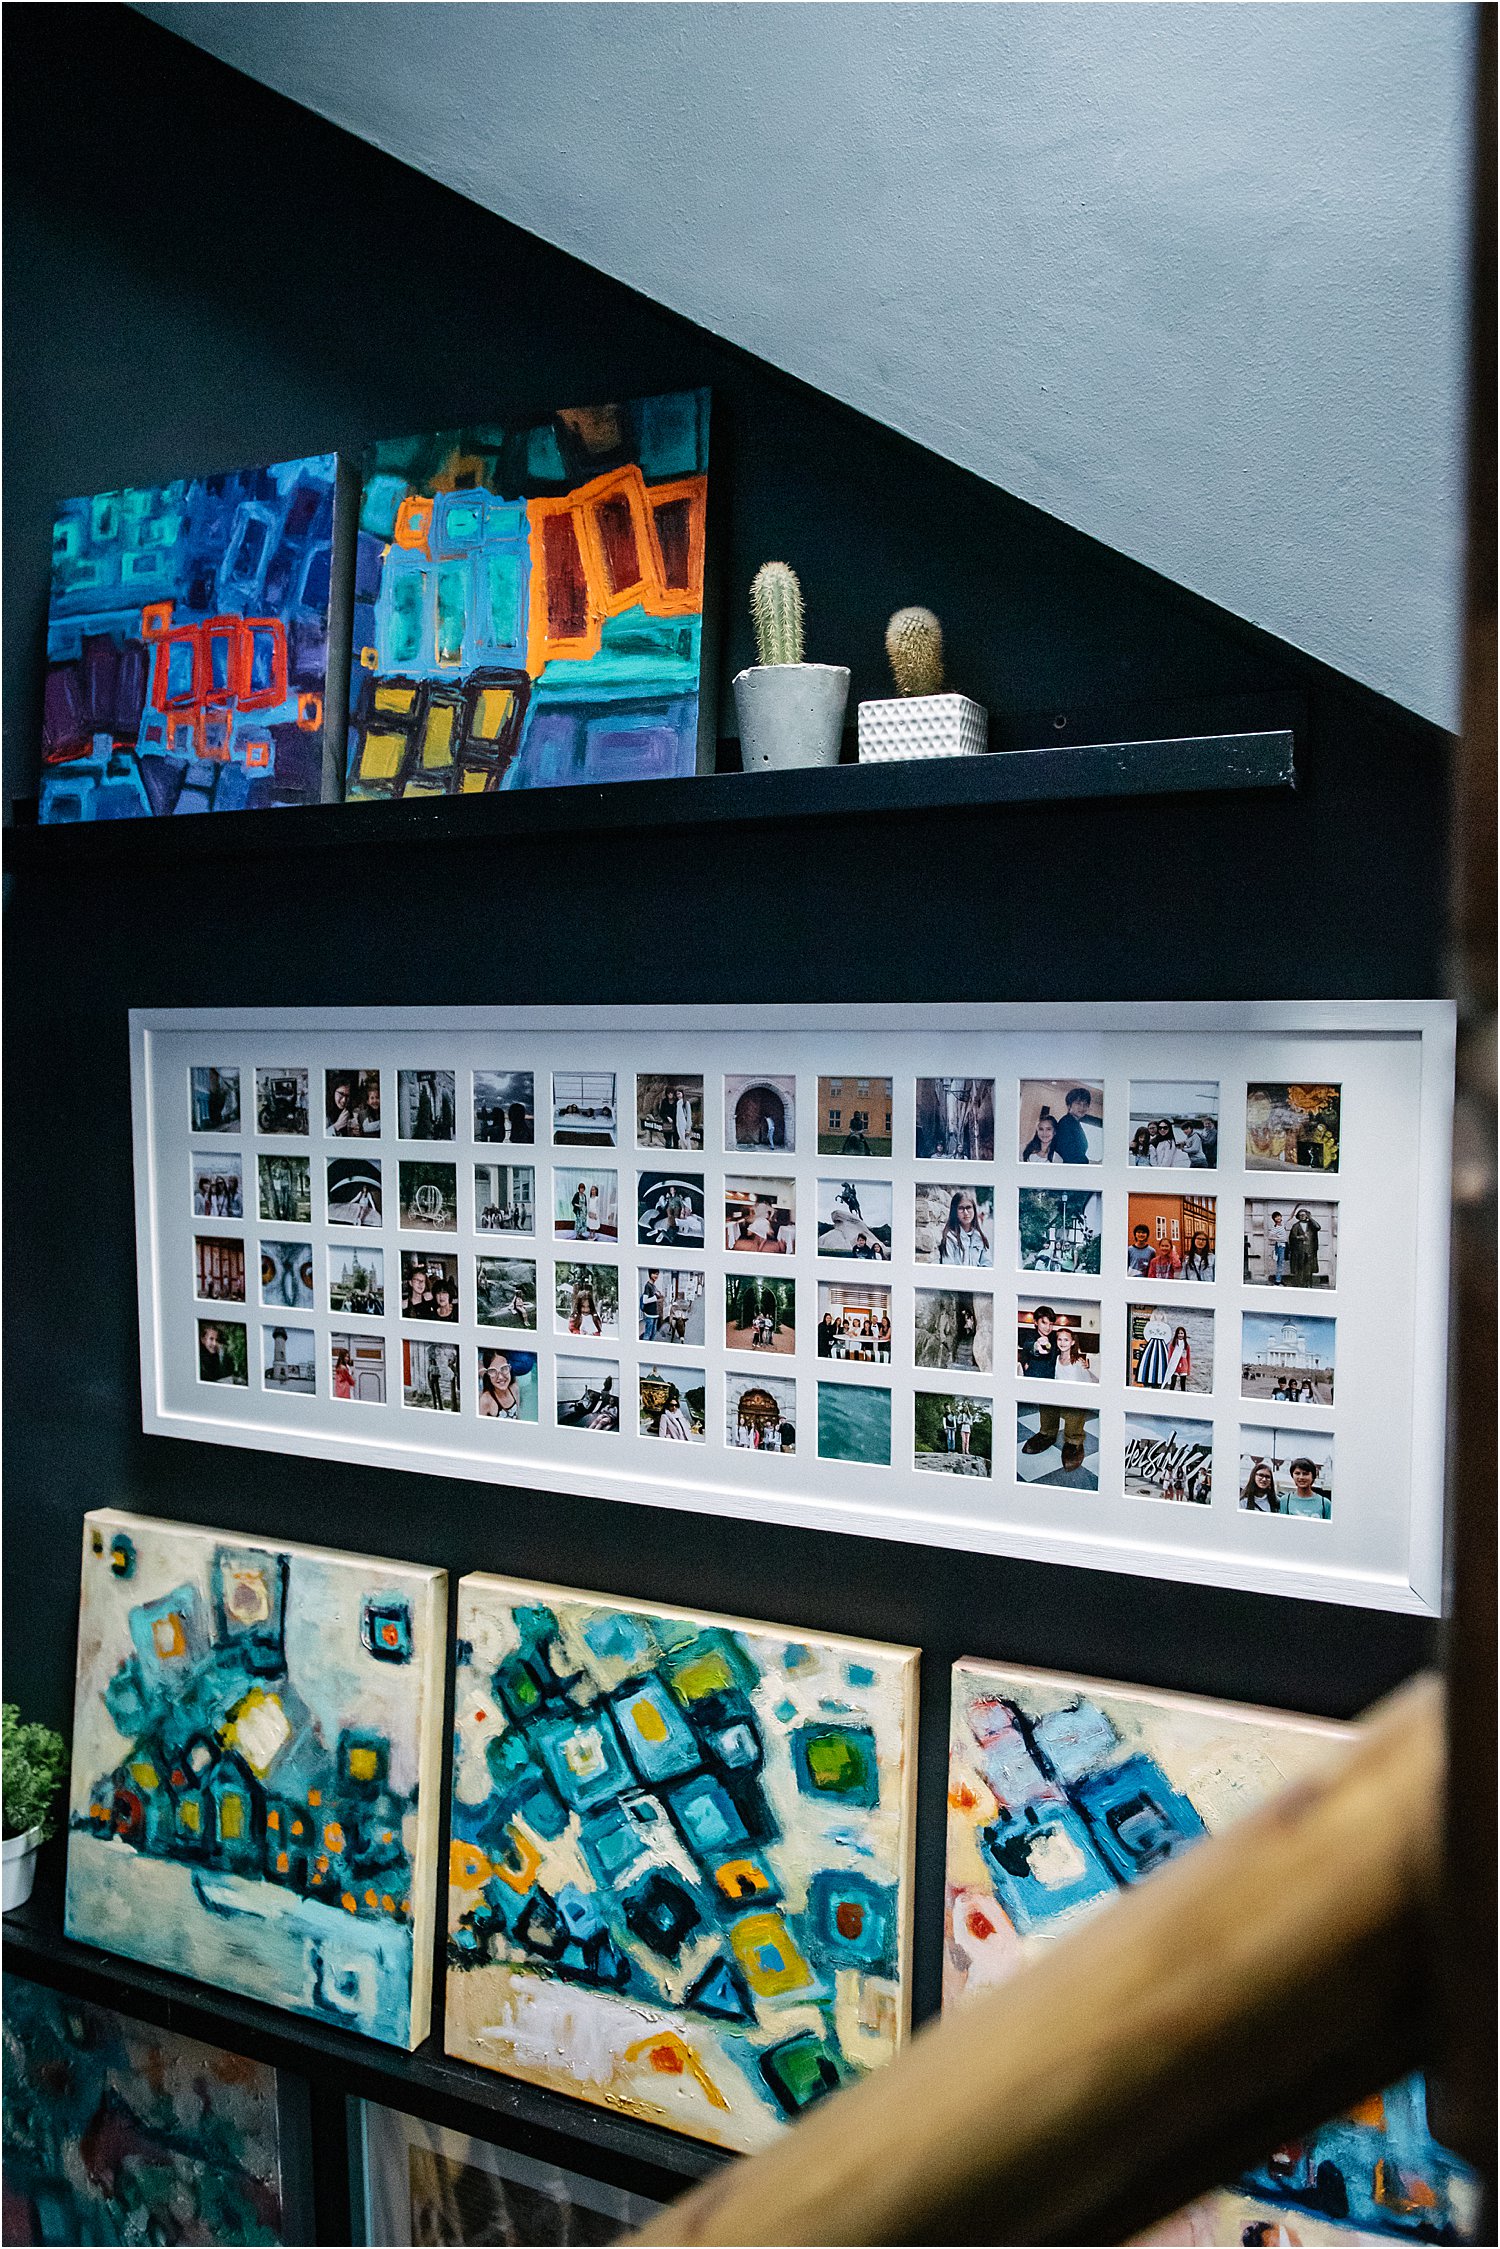
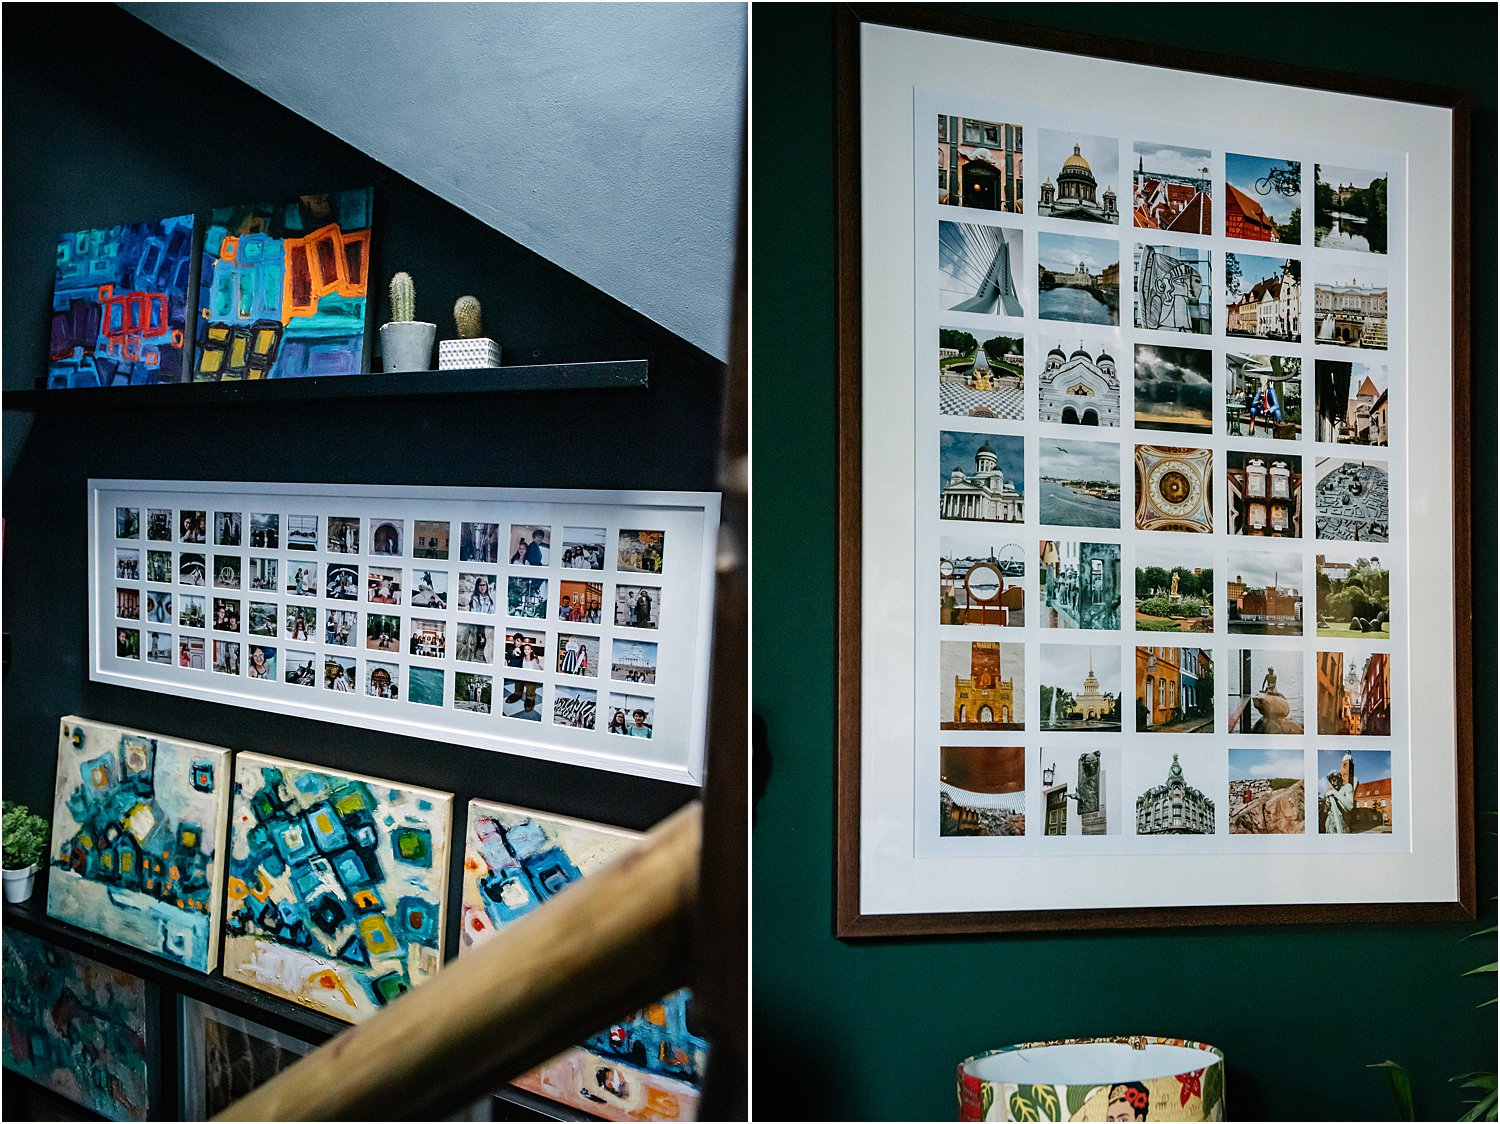
Is it an album that you want to make? Is it various sizes framed on a wall? Is it a collage or wall art? Talking of which, a collage wall art is by far the quickest way to get this done! The photos above show two types of Inkifi frames: the Moments frame which has 52 apertures and the Instagram Gallery frame which can either have 35 or 140 photos.
PRINT THEM AS SOON AS YOU CAN.
These frames contain our summer holiday photos! Yes summer August 2019. I did them straight away. That is my first rule, do them before the momentum passes. You’re still excited and everything is still fresh in your memory. It didn’t take me long at all. I chose 52 images, uploaded them onto the Inkifi Moments template, dragged the photos on to the 52 boxes and ordered!
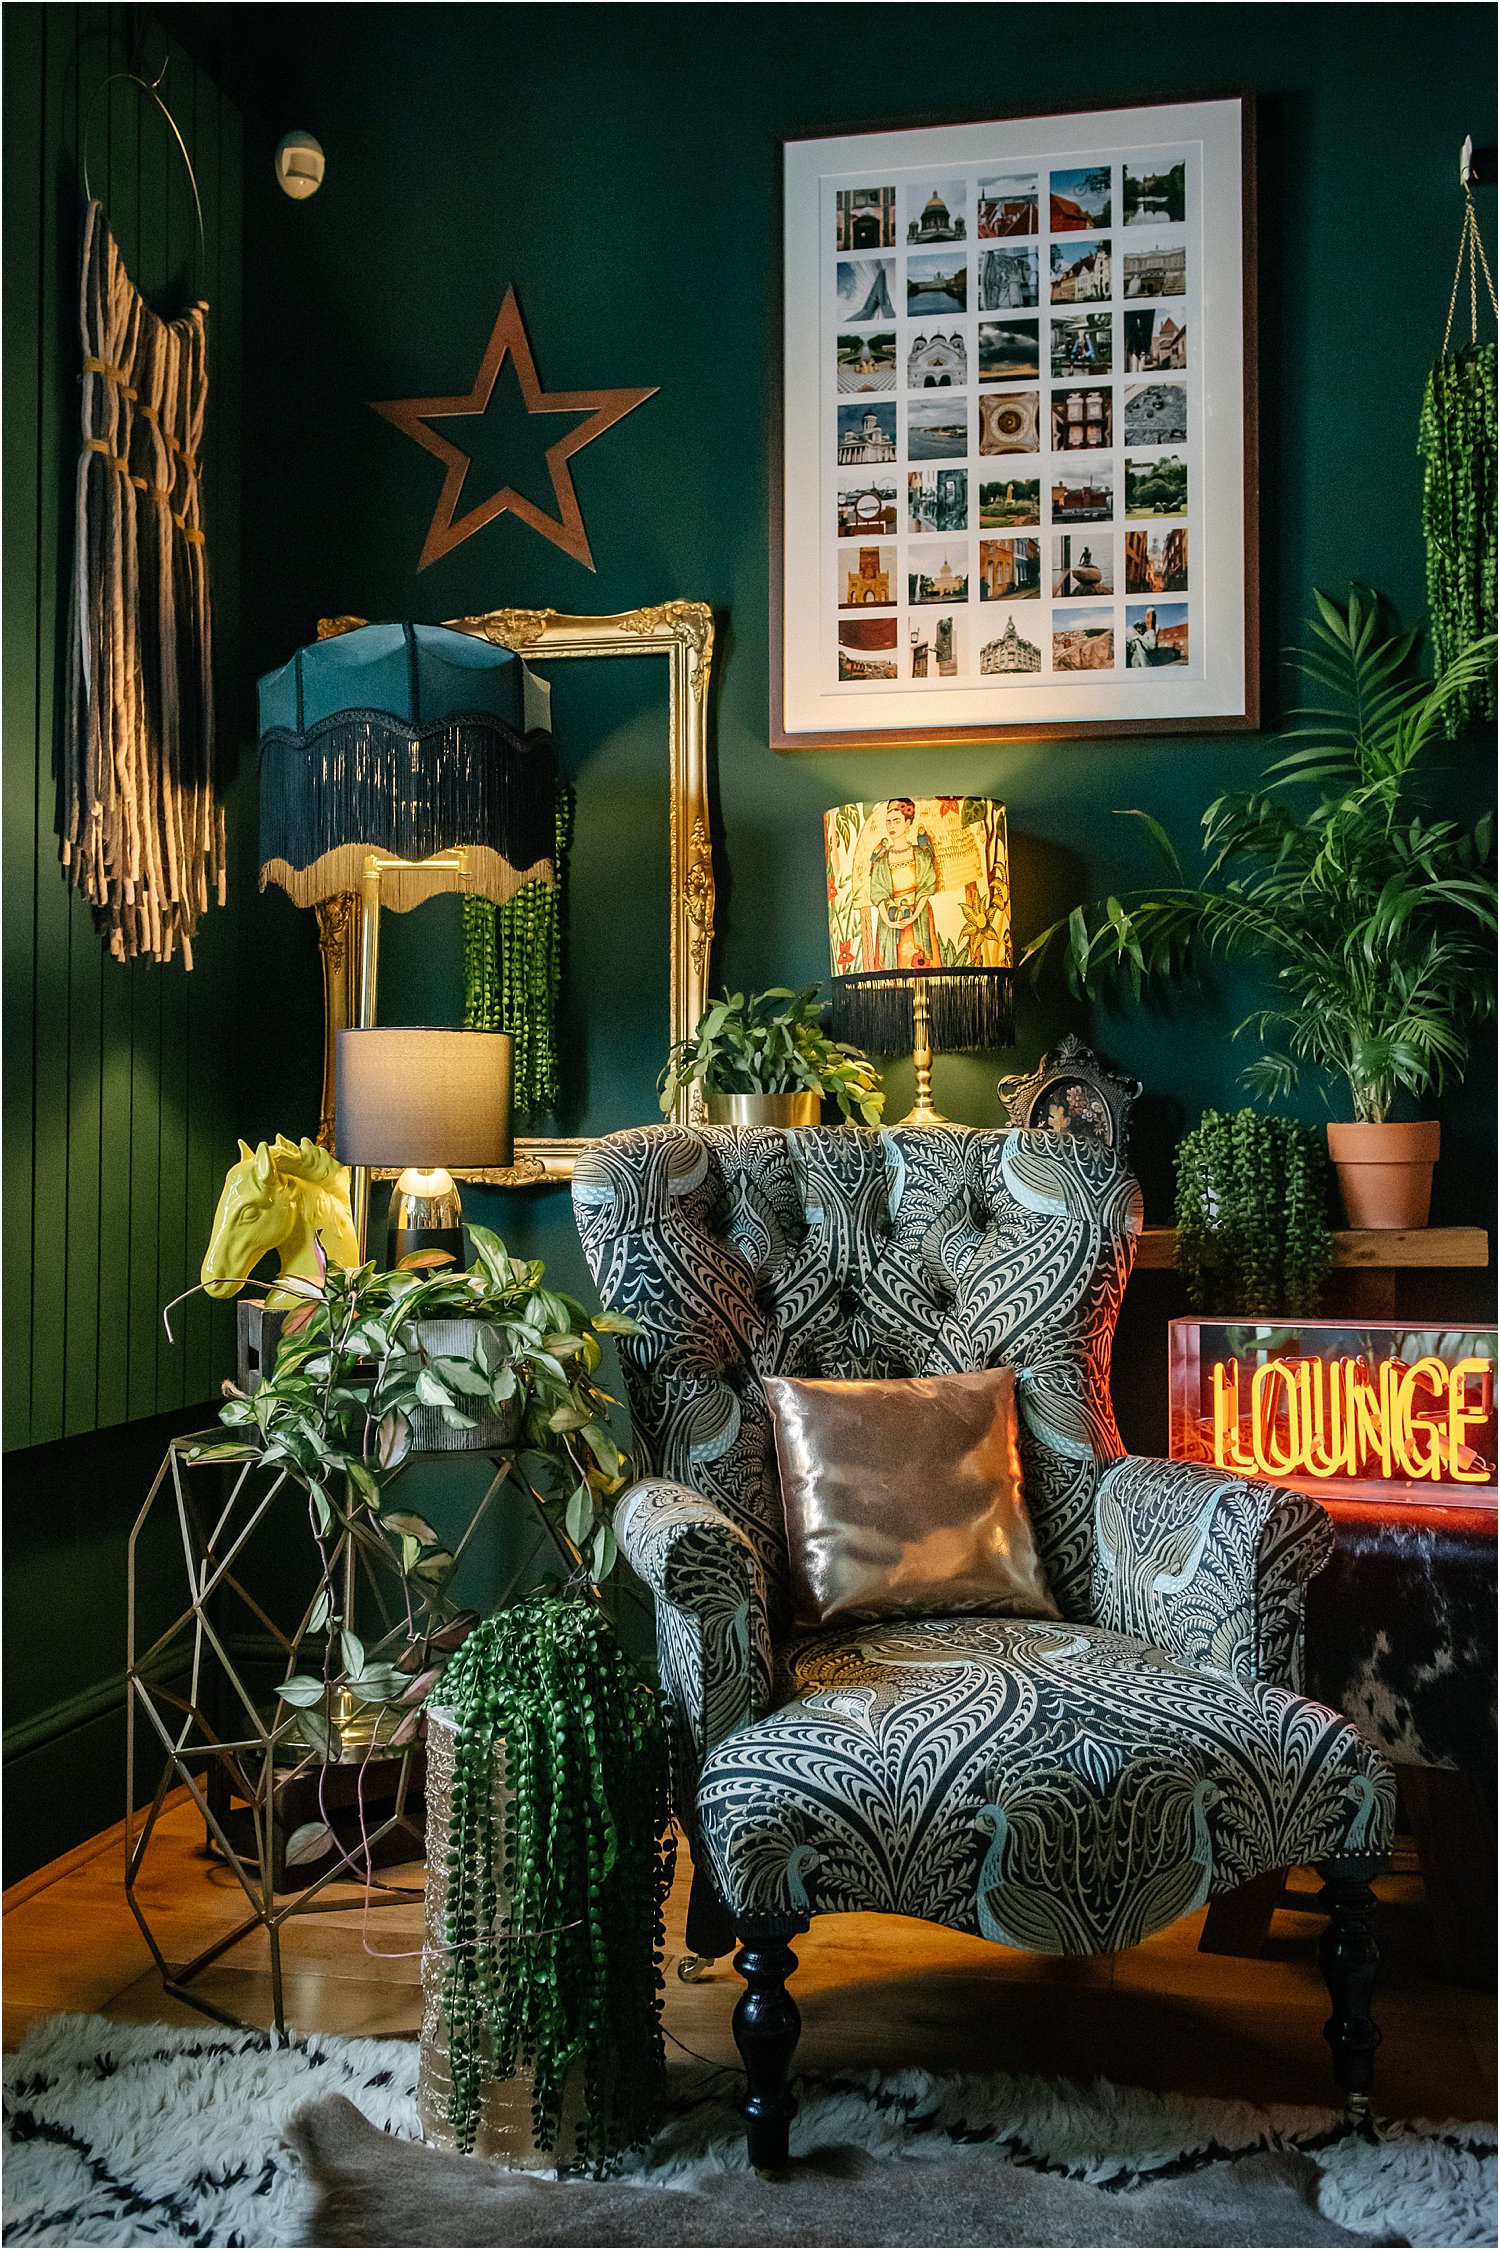
It’s the same with the Instagram Gallery frame. Easy as pie! They arrived within a few days. I am utterly delighted with the quality of the print – clear and sharp, the frame is sealed and ready to hang, and the acrylic perspex is as clear as glass without its hazards. I also love Inkifi’s ethos; they are committed to being kind to mother nature, sourcing only sustainable and environmentally friendly materials without compromising quality and design.
3 TIPS ON PUTTING UP FAMILY PHOTOS ON YOUR GALLERY WALL
1. NARROW DOWN THE PHOTOS
LOVE OR LIKE
It’s difficult to narrow down your photo choices especially when you have so many to choose from. My rule is always to choose instinctively. Go through the photos one by one and ask yourself whether you love the photo or you like it. If you love it, then it makes the cut, if you only like it, then keep going and don’t spend an hour agonising over the decision! I have written more about this process on this link – this is the advice I give to my photography clients.

2. GROUP THEM TOGETHER
I’m a big fan of grouping anything and everything together. People tend to say that although my interiors are eclectic maximalist, they do not look cluttered. Grouping is the magic ingredient there! I group items or pictures into twos, threes, etc so there’s a sense of order amongst the many many items. It’s like golden sentences – remember primary school? – you write short complete sentences separated by correct punctuation. A group of photographs, or frames or vases etc is like one sentence. Group them. Leave a gap and then start another sentence / grouping. It makes the arrangement easy on the eye and gives the viewer some breathing spaces.
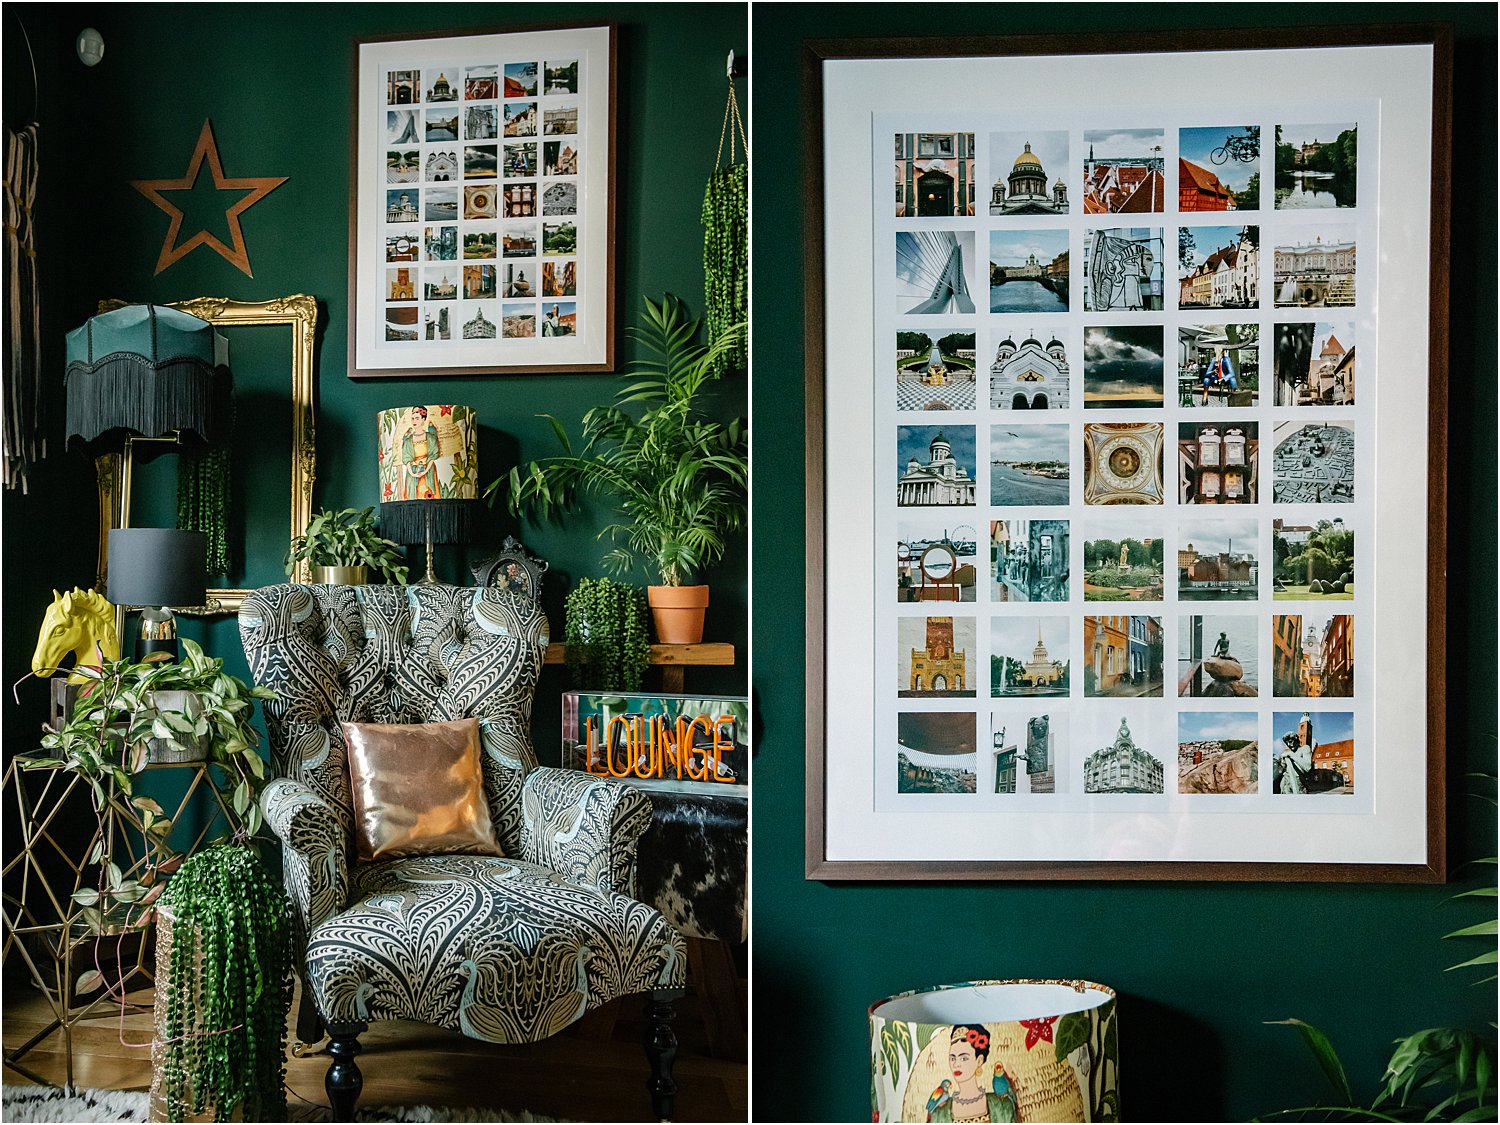
With the Inkifi Moments and Instagram Gallery frames, they are already grouped, you just have to choose the images. It’s like one golden sentence already created for you!. I placed the Moments frame in between a group of two above and a group of three below so the wall has a sense of coherence.
3. GROUP ACCORDING TO CONTENT
For the Moments frame, I knew this was going landscape orientation on this wall and having 52 apertures gave me enough family photos to choose from. These are ones with people in them – photos of the kids and us as a group, funny moments, posey photos, dynamic captures.
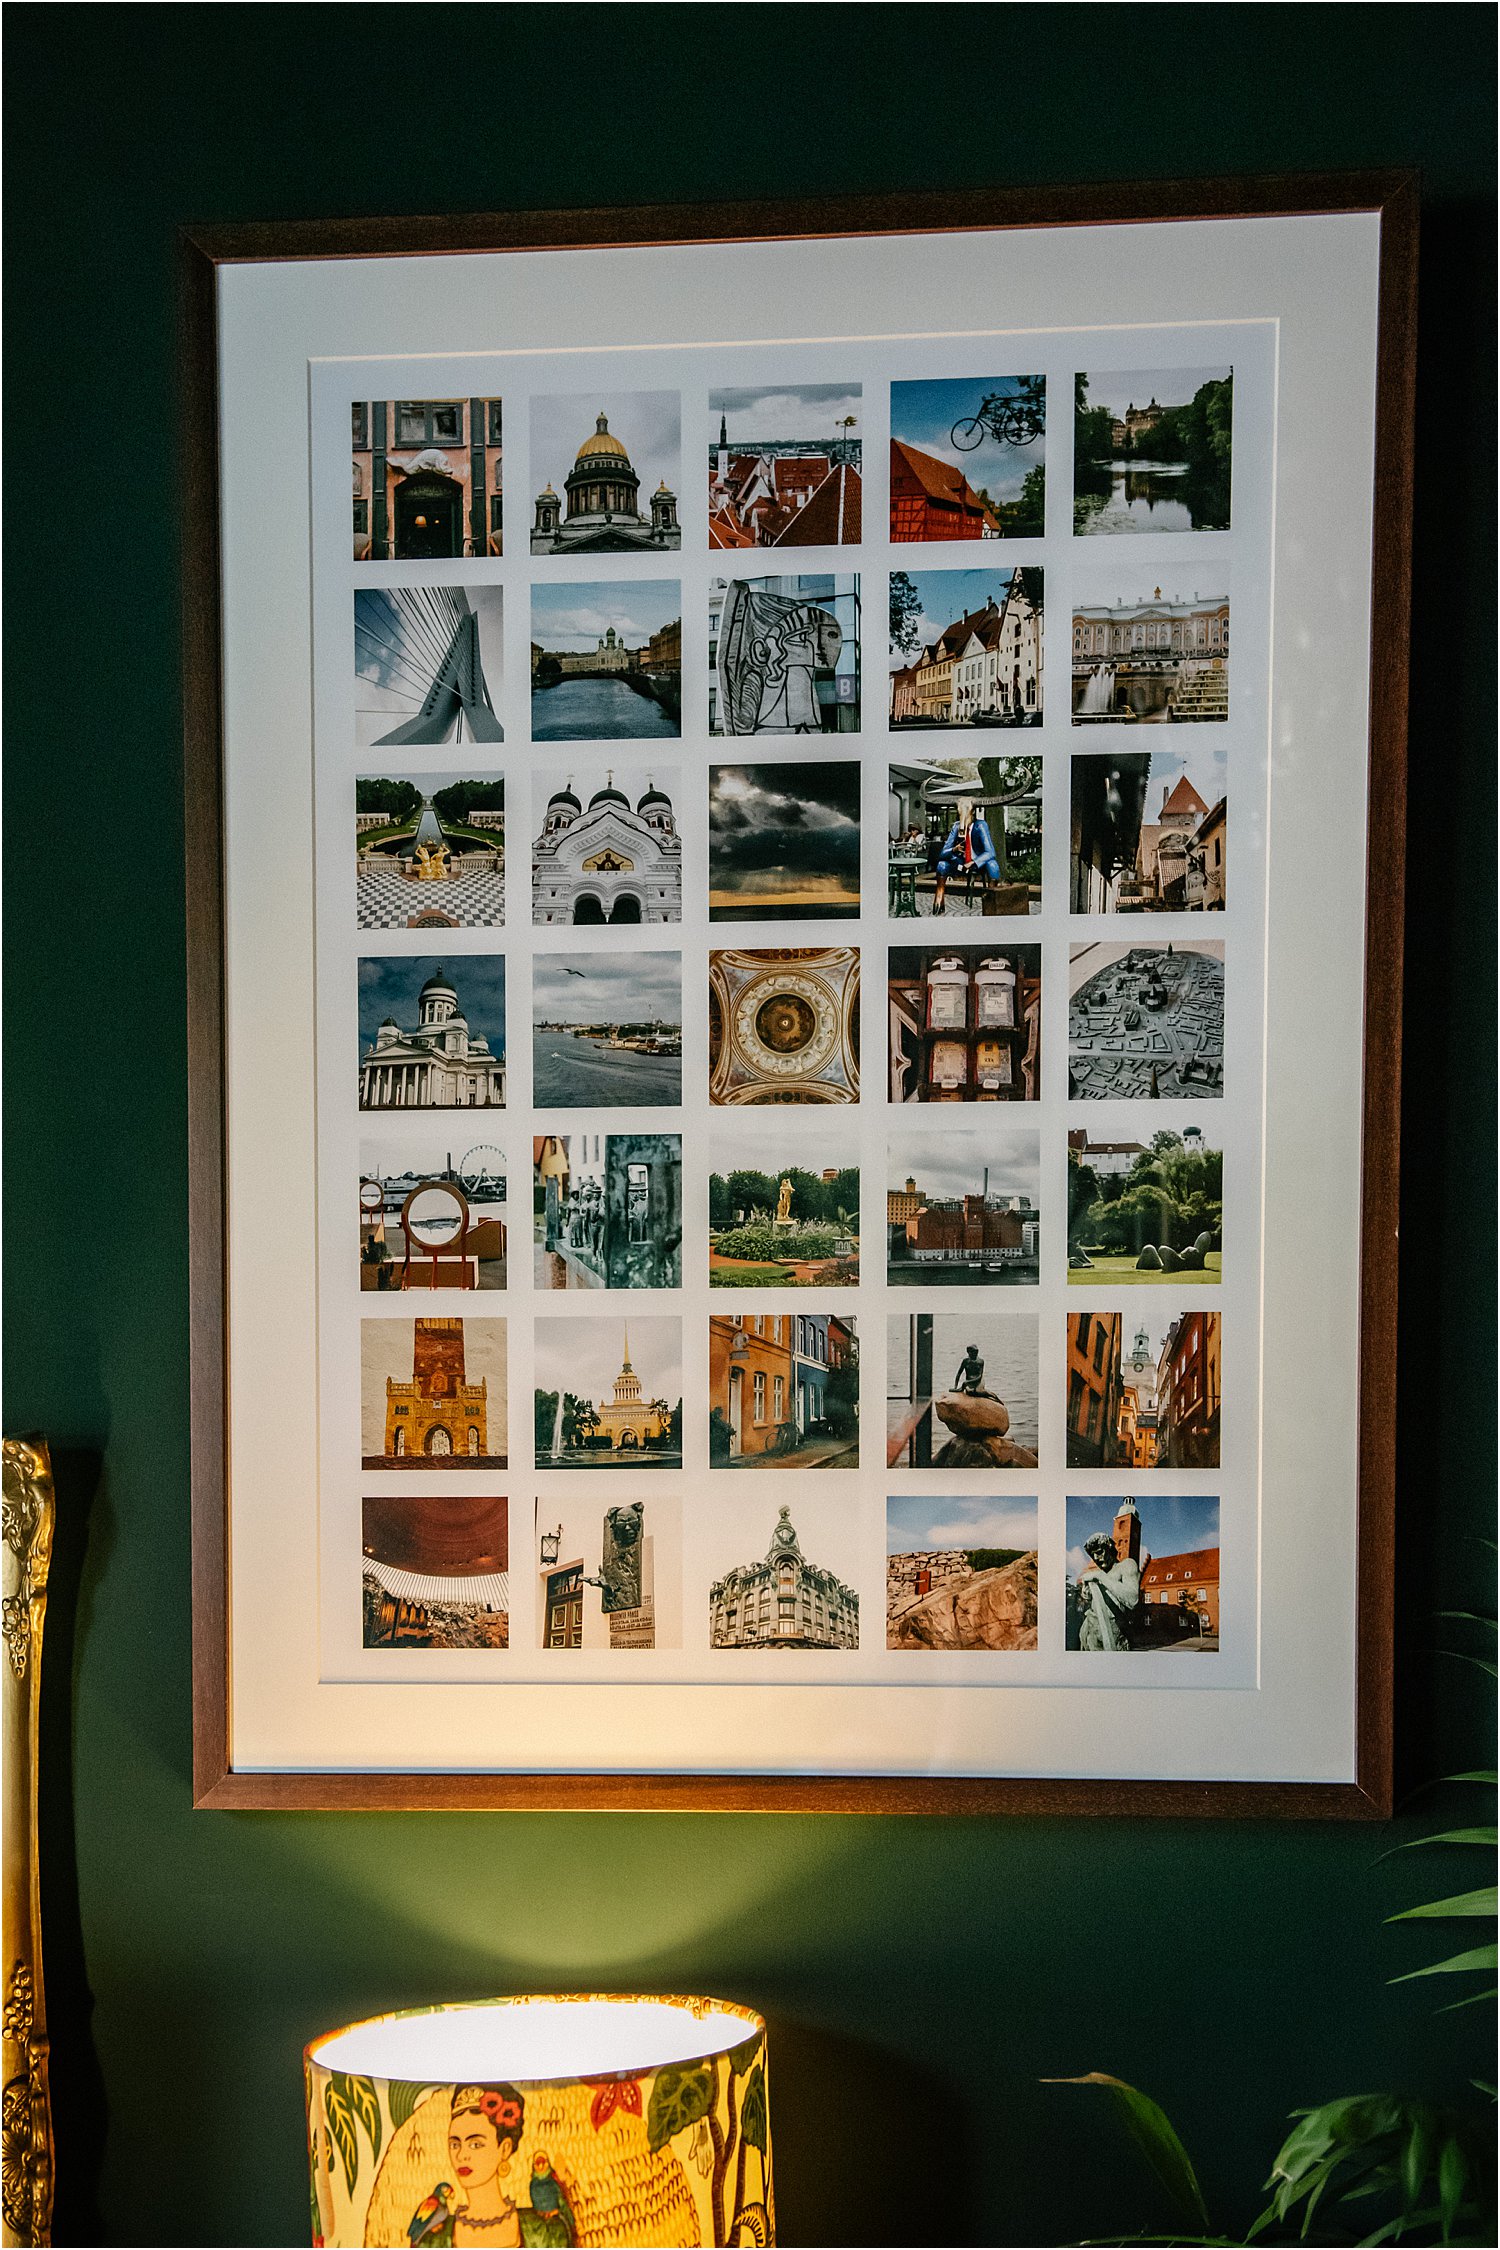
For the Instagram Gallery frame, I decided to go with the bigger photos so went for the 35 photos option. I also decided to restrict this collection to views, scenery and sights from our summer holiday. I had to be extremely strict with myself when narrowing down the choices so that I only included what I thought were the best photos that told the story of our summer.
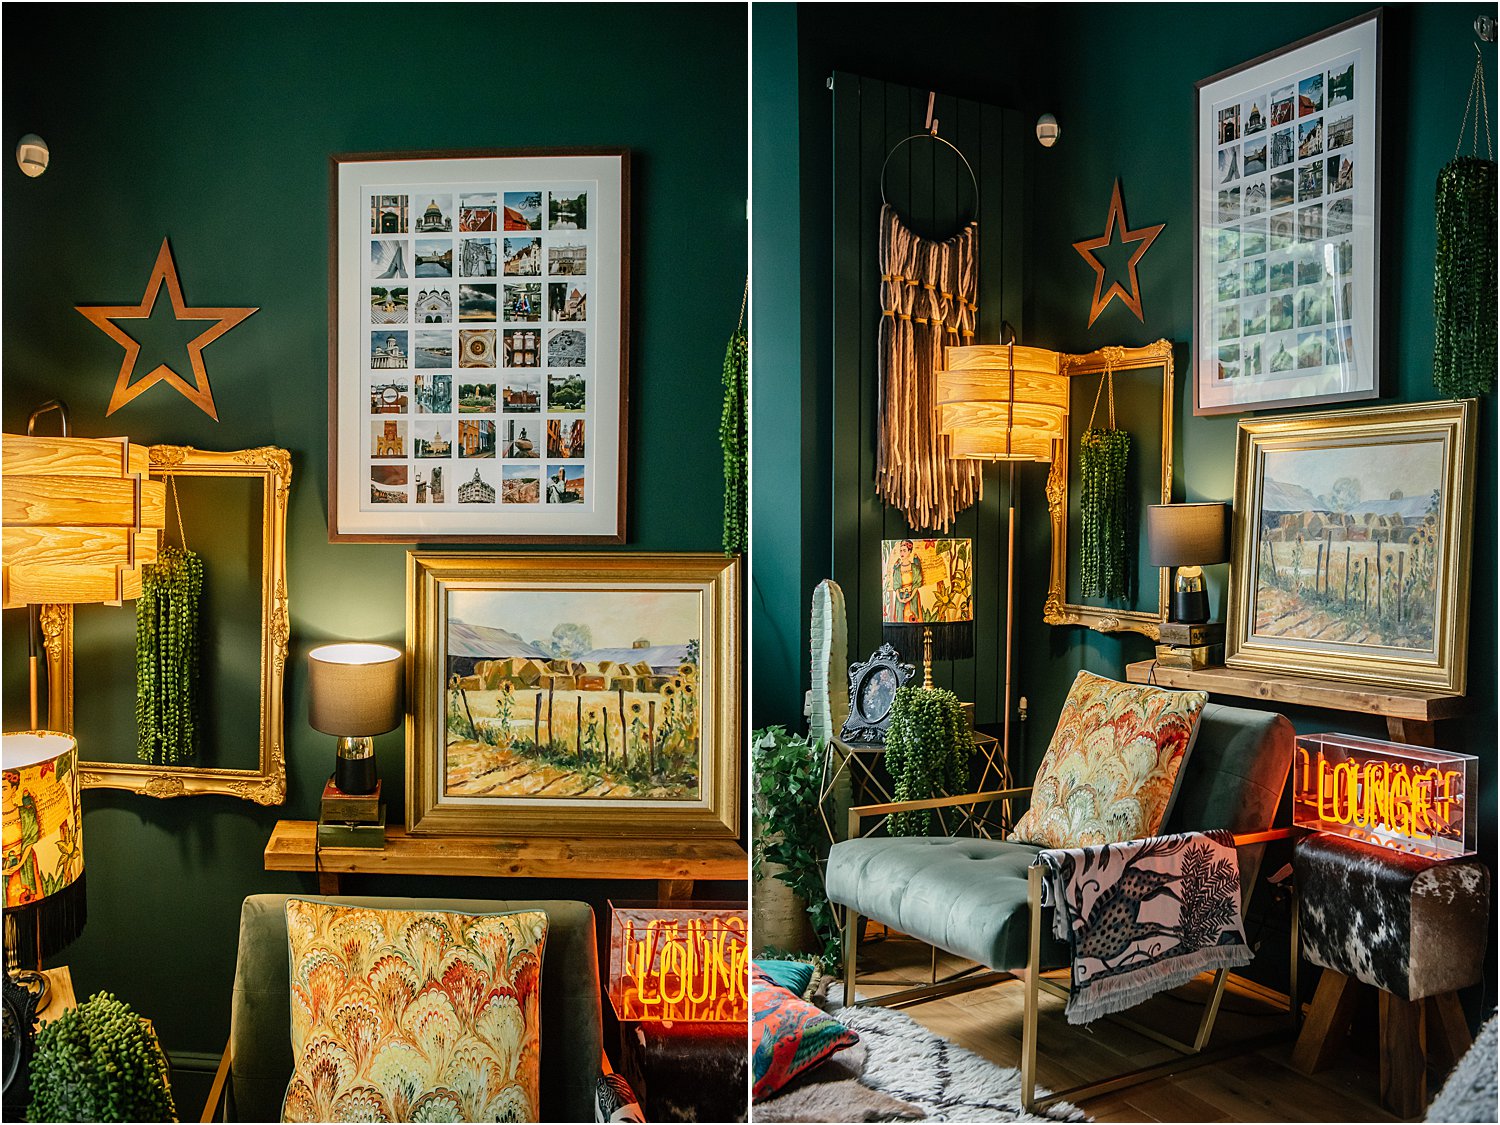
I can’t tell you again just how impressed I am with how these frames turned out! They look smart, presentable, of high quality and were so easy to order. I definitely recommend you to try them out! By the way, Inkifi has a fabulous Instagram page full of amazing photographs especially if you like beautiful places all over the world. They are incredibly inspiring so follow them there too.
Before I forget, Inkifi interviewed me a few months ago about my interiors process and inspiration, and how I create an eclectic maximalist interior. So if you want to read more and see more photos of my home, head to their blog. Don’t forget to download my free resources that will help you design your own interiors and grow your Instagram account!
I hope you enjoyed this article on 3 Tips for displaying family photos on your gallery wall with Inkifi.
The photographs in this posts contain previously gifted items as well as Inkifi’s Moments and Instagram Gallery frames. This blogpost is also sponsored by Inkifi. I’d be grateful if you would share on your stories or mention or tag me Instagram layered.home on your posts. I’d love it if you would follow me on there too!
