Here are 5 easy hacks & DIY upcycles to do at home with things that are creative and inexpensive. These are helping me through this tough time. Being at home so much this year has boosted my home upcycles.
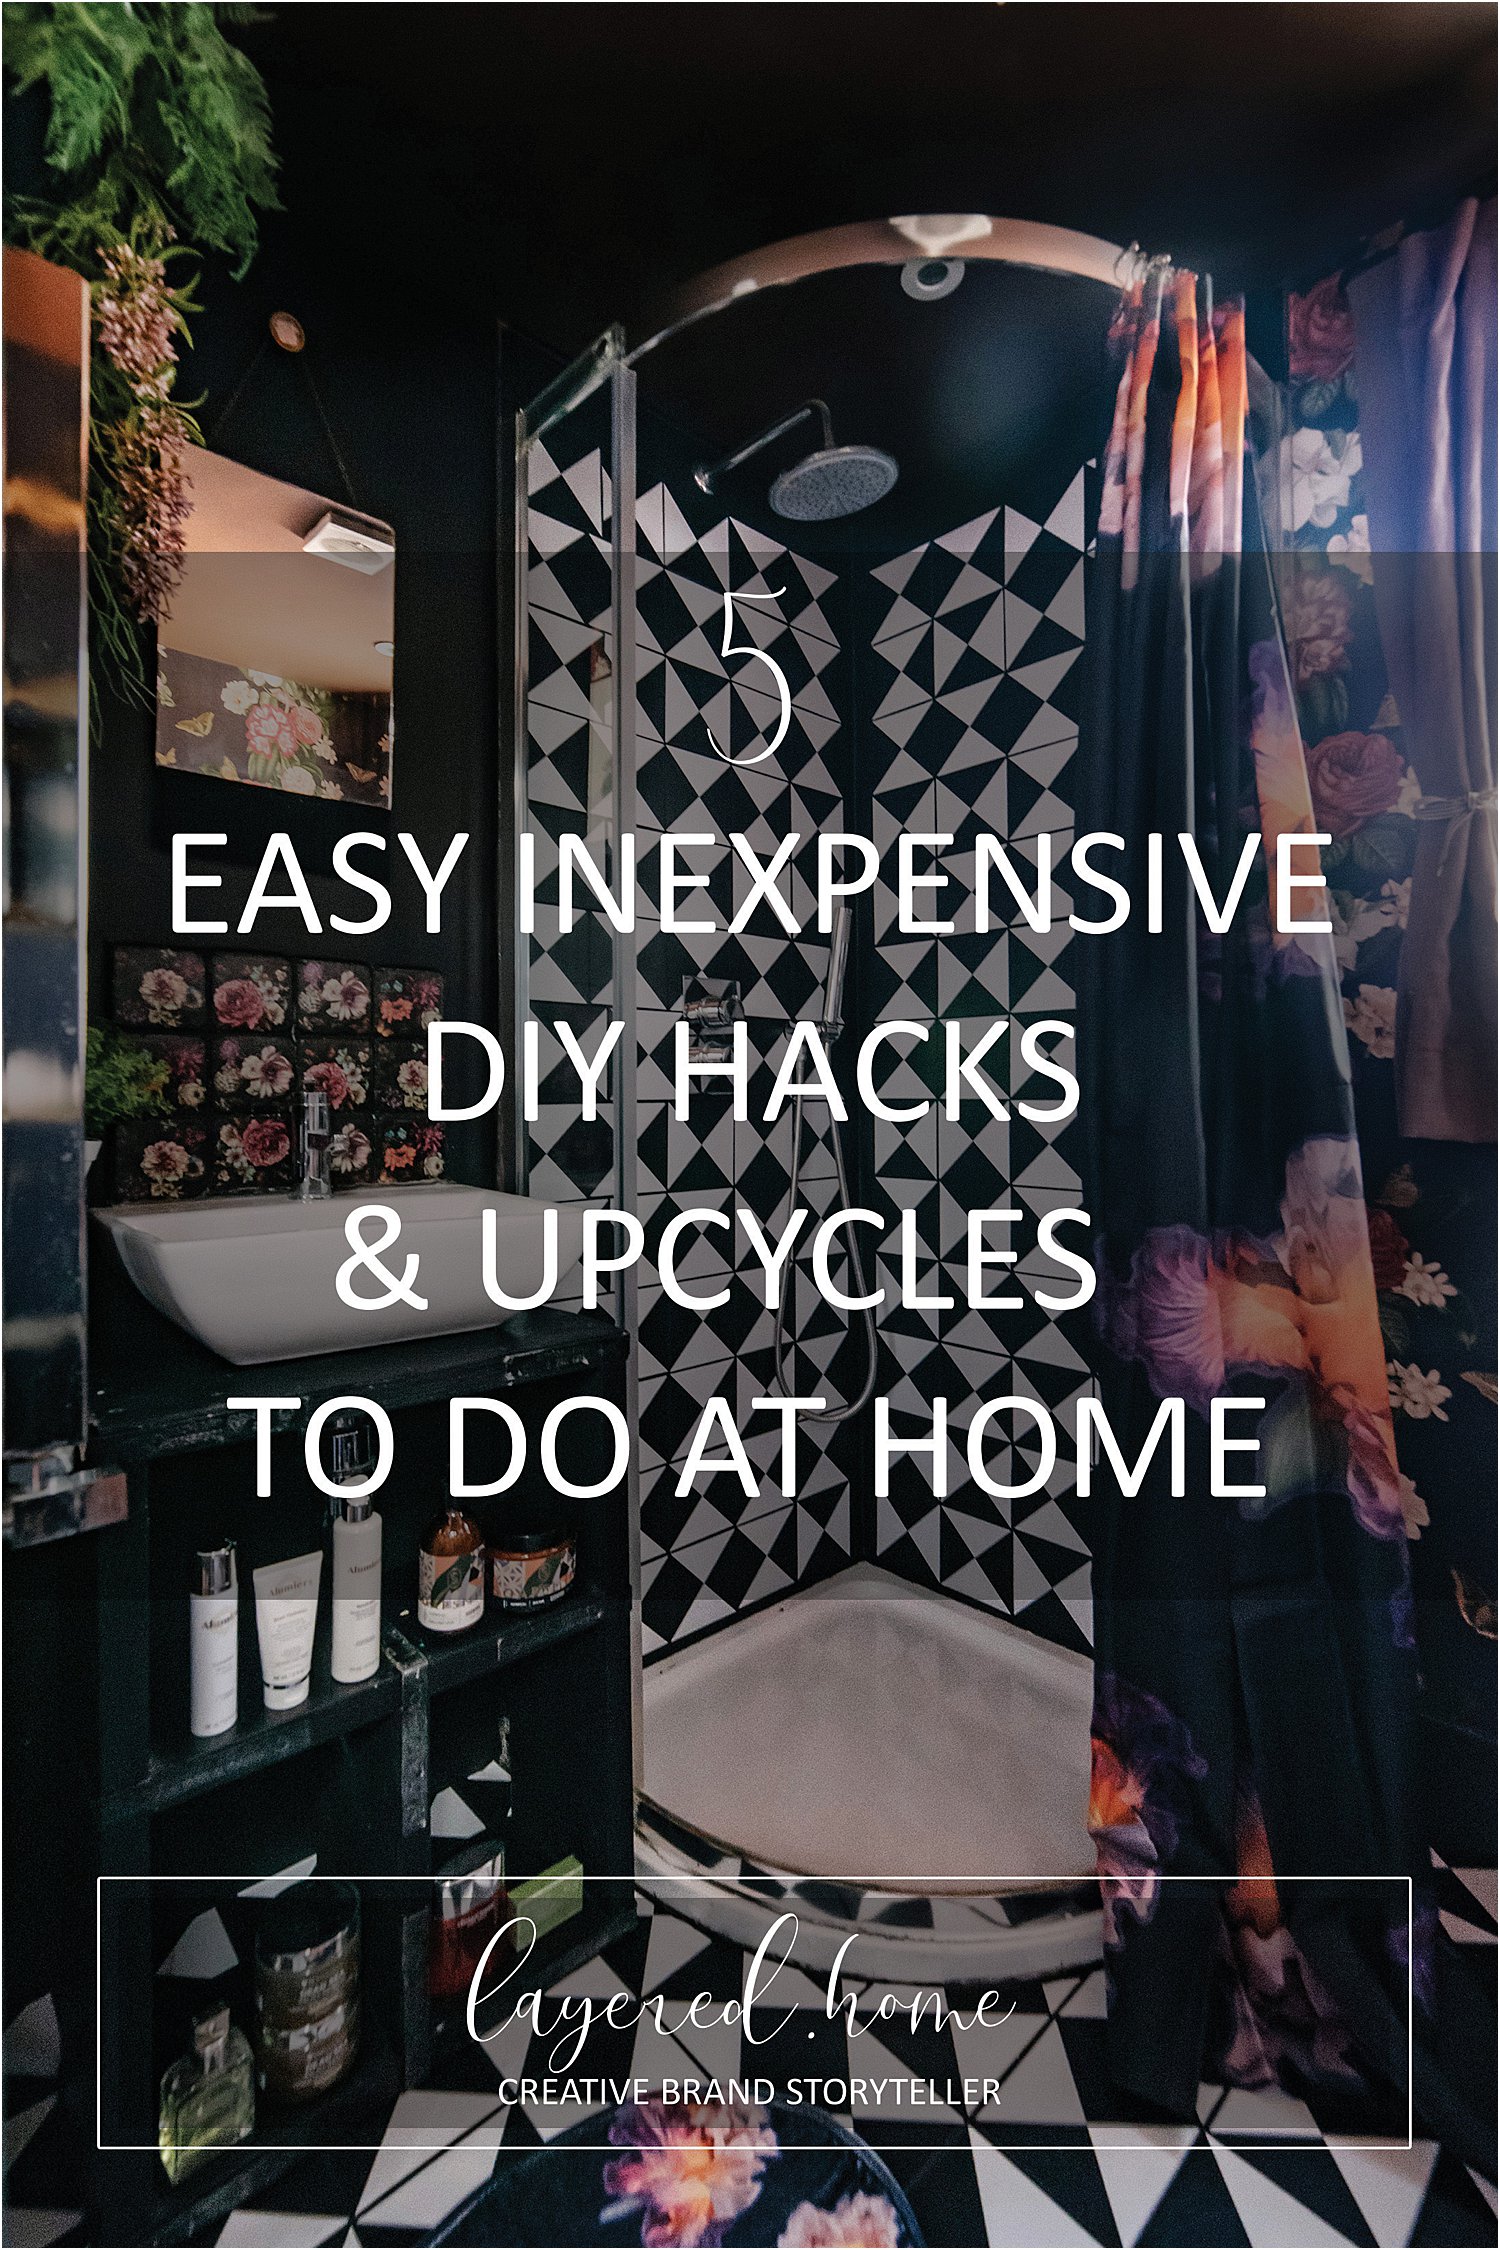
In this post I’ll share with you 5 quick and easy hacks in the home that you may find helpful in your home decorating projects. If you are changing things around, redecorating or just wanting quick updates, I hope you find some ideas and inspiration from this list.
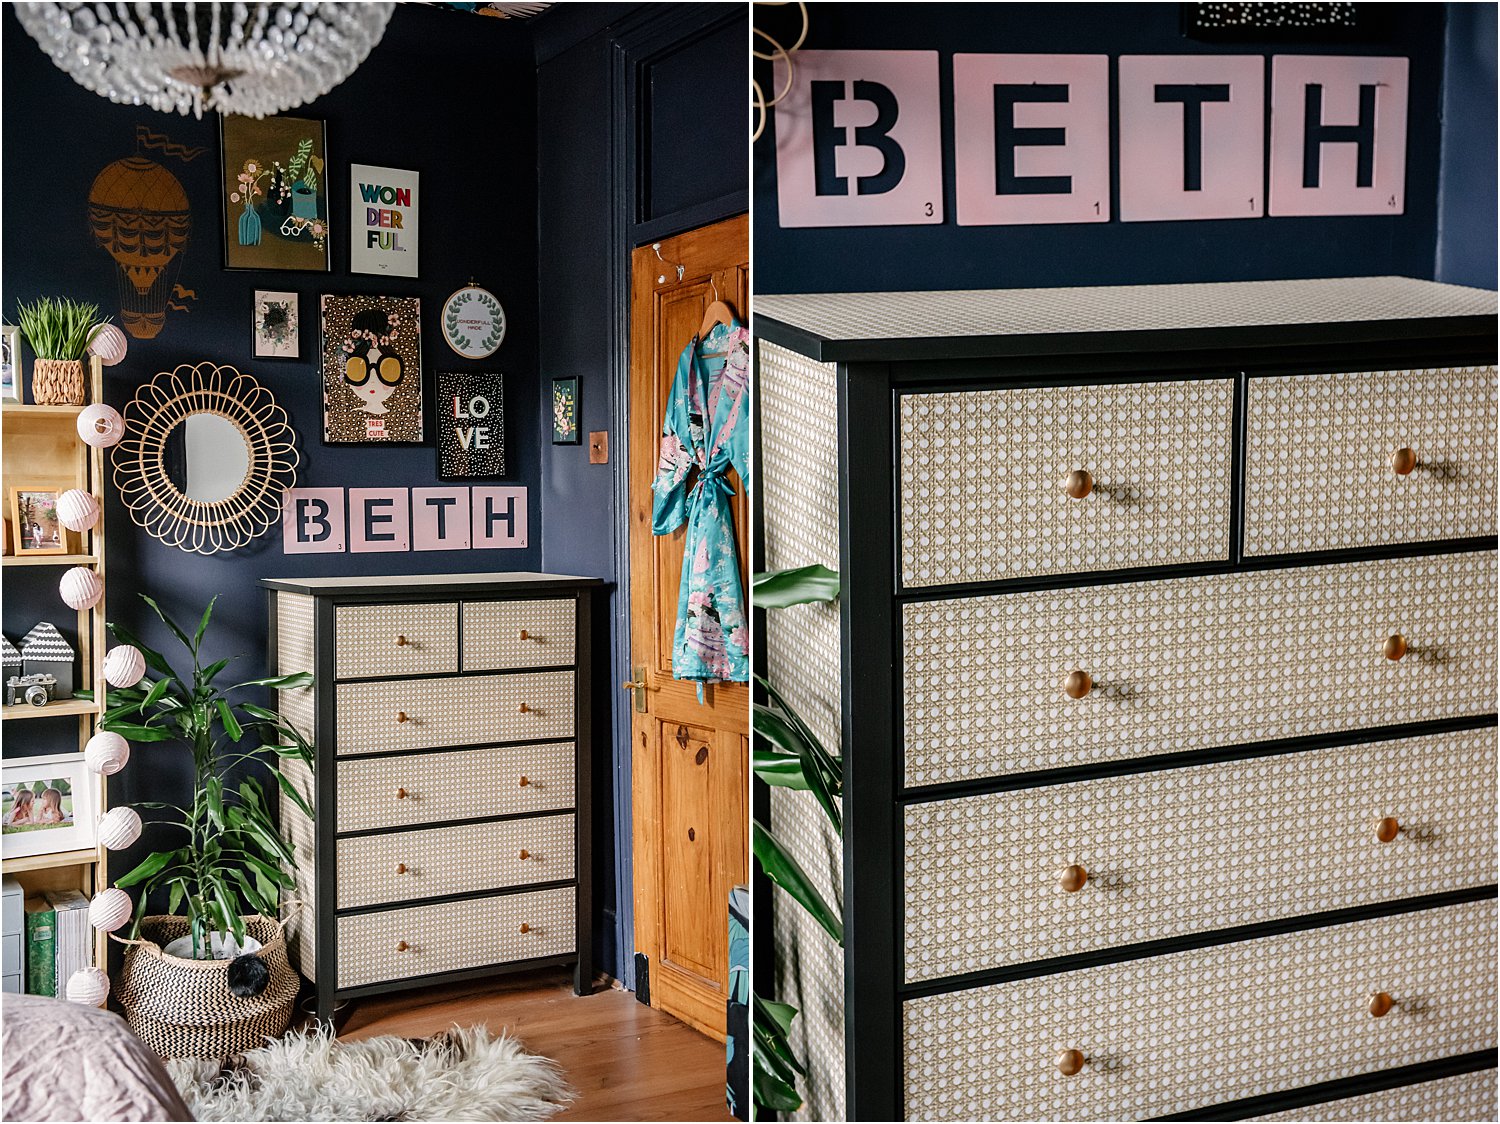
1. Wallpaper old furniture
Here is an old and inexpensive white wooden Argos chest of drawers that I’ve had for a few years. I decided to cover it with cane webbing wallpaper purchased from eBay for about £17 plus delivery from Germany which came to just under £30 in total.
It was really easy to do:
Step 1: Remove handles. Wipe and make sure it’s dust free.
Step 2: Paint with Frenchic Black Jack – a furniture paint that requires no priming and is self-levelling. Leave to dry between coats. This doesn’t take long as it’s super quick-drying. (If you want you can lightly sand the surfaces to key before painting.)
Step 3: Cut the wallpaper to size for each part of the chest that you want to cover
Step 4: Mix wallpaper paste and paste the areas you want to cover with wallpaper. Do this one area at a time and attach the paper to the pasted area.
Step 5: Smoothen and leave to dry.
Step 6: Attach the handles.
This took me one afternoon = just a couple of hours and was very satisfying to do! Here’s a 30-second video of the process.
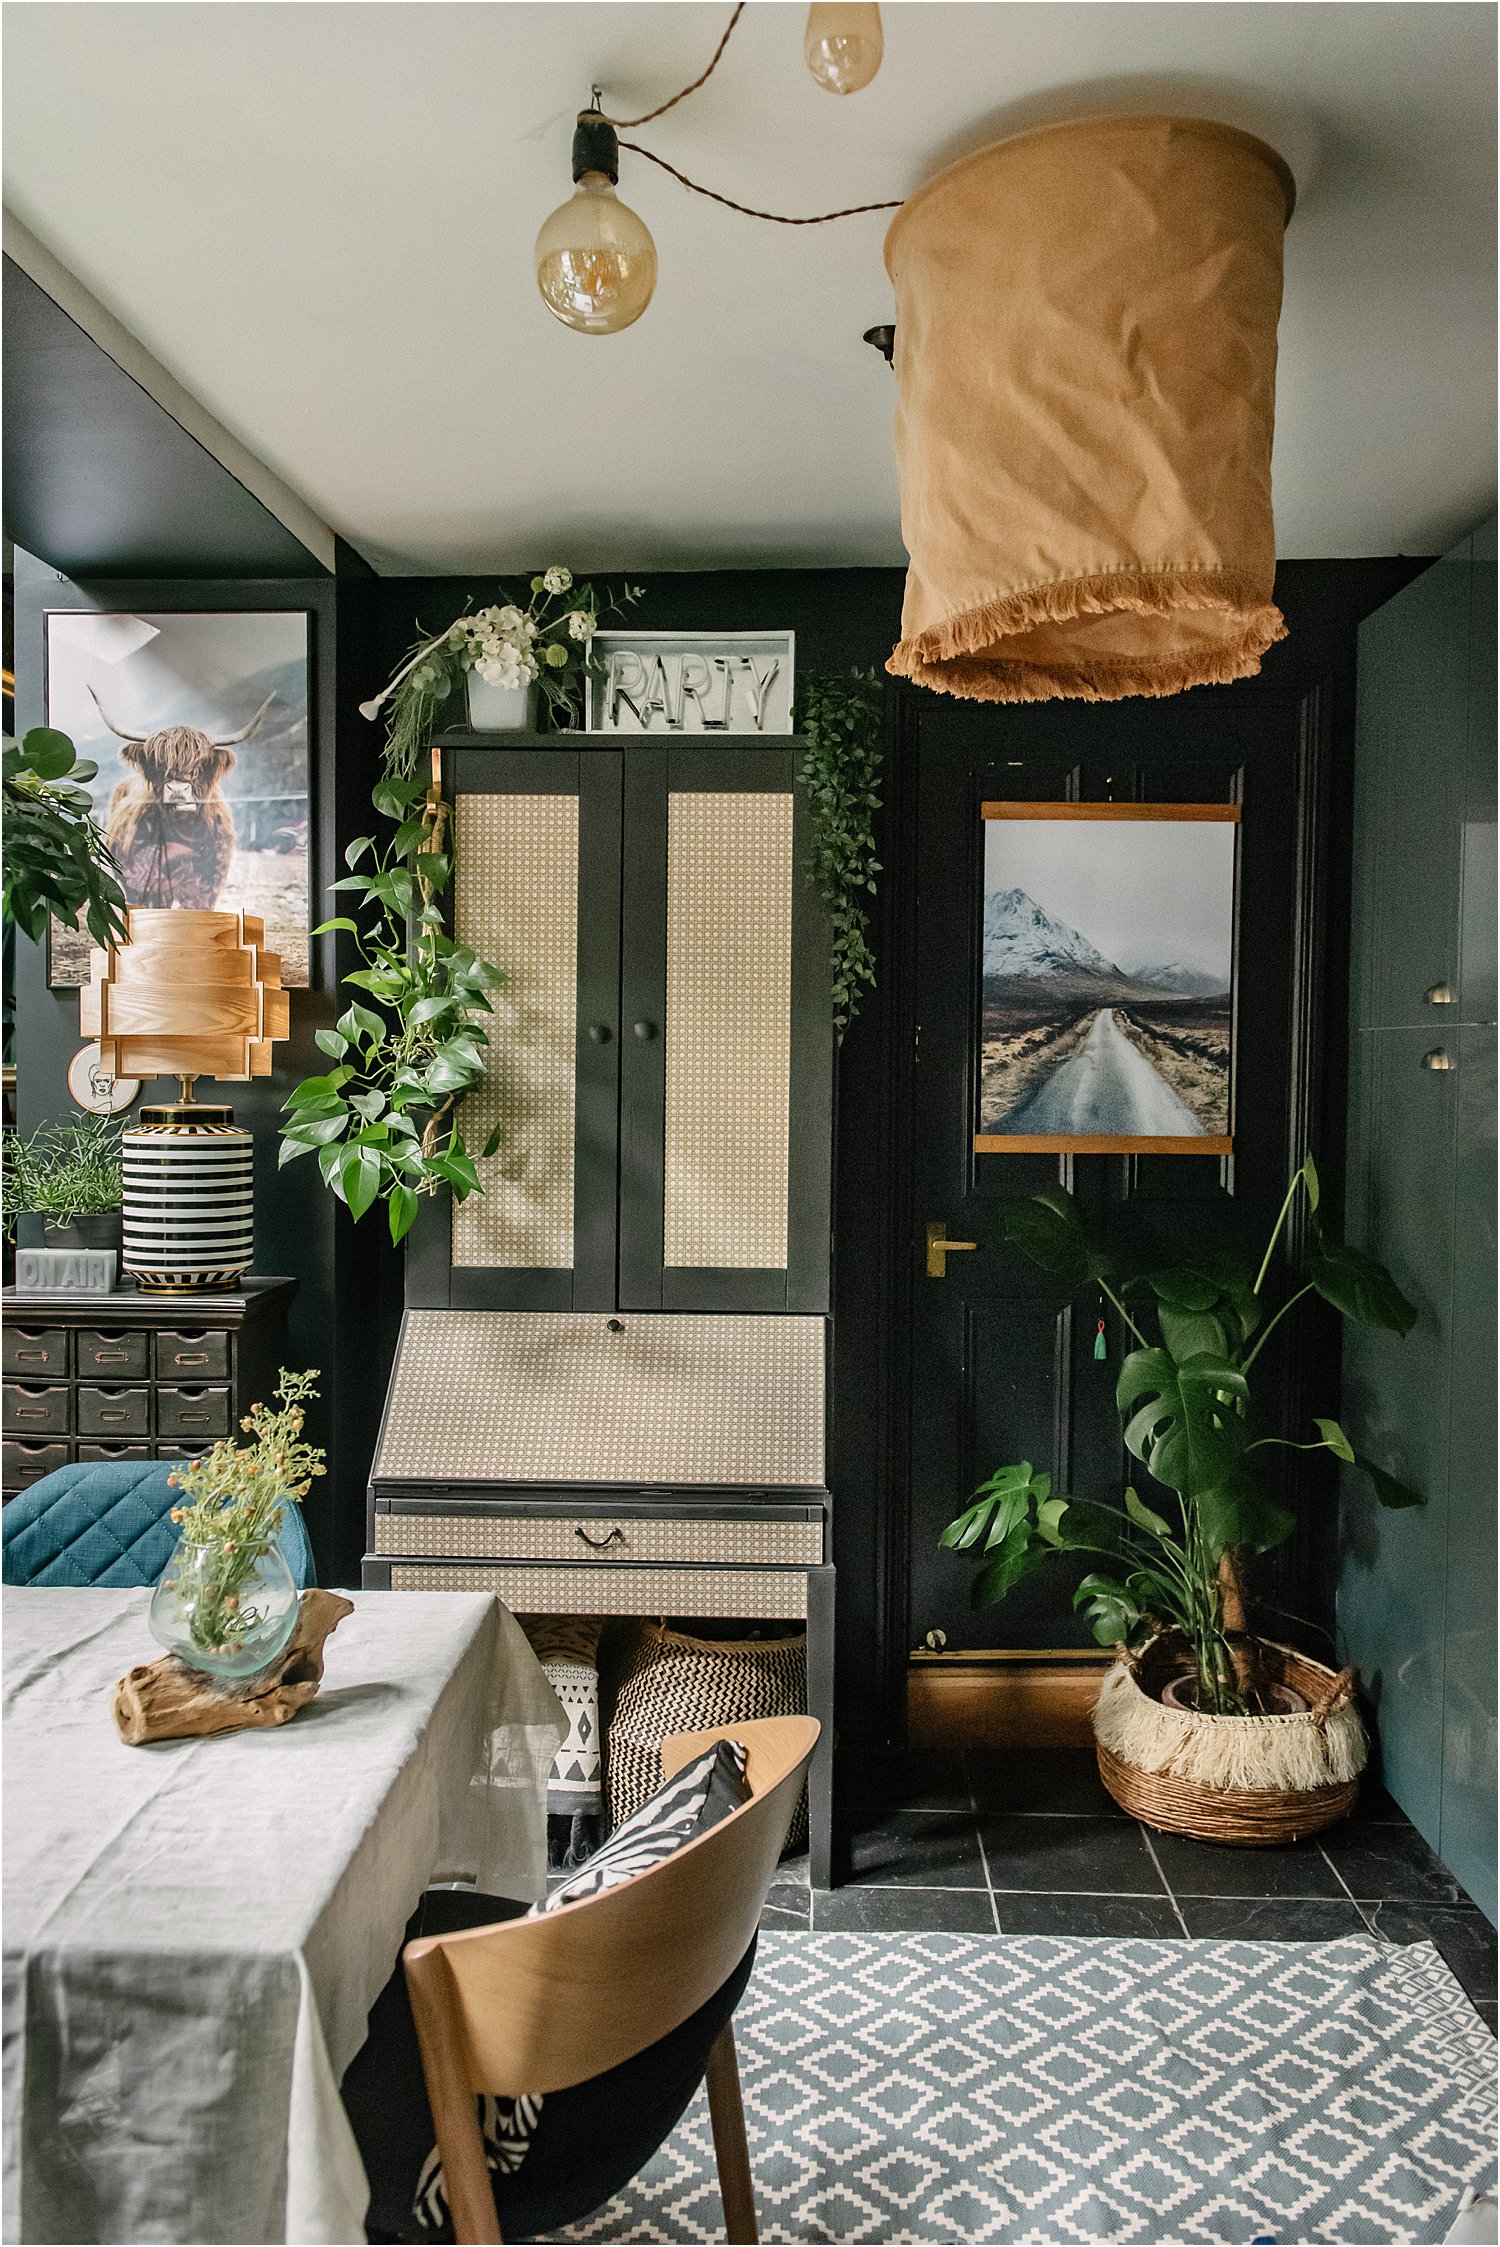
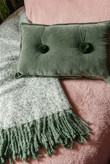
I also did the same to my old Ikea bureau in the dining room. In this space, I wanted a boho vibe so I kept it simple with just natural colours and some greenery.
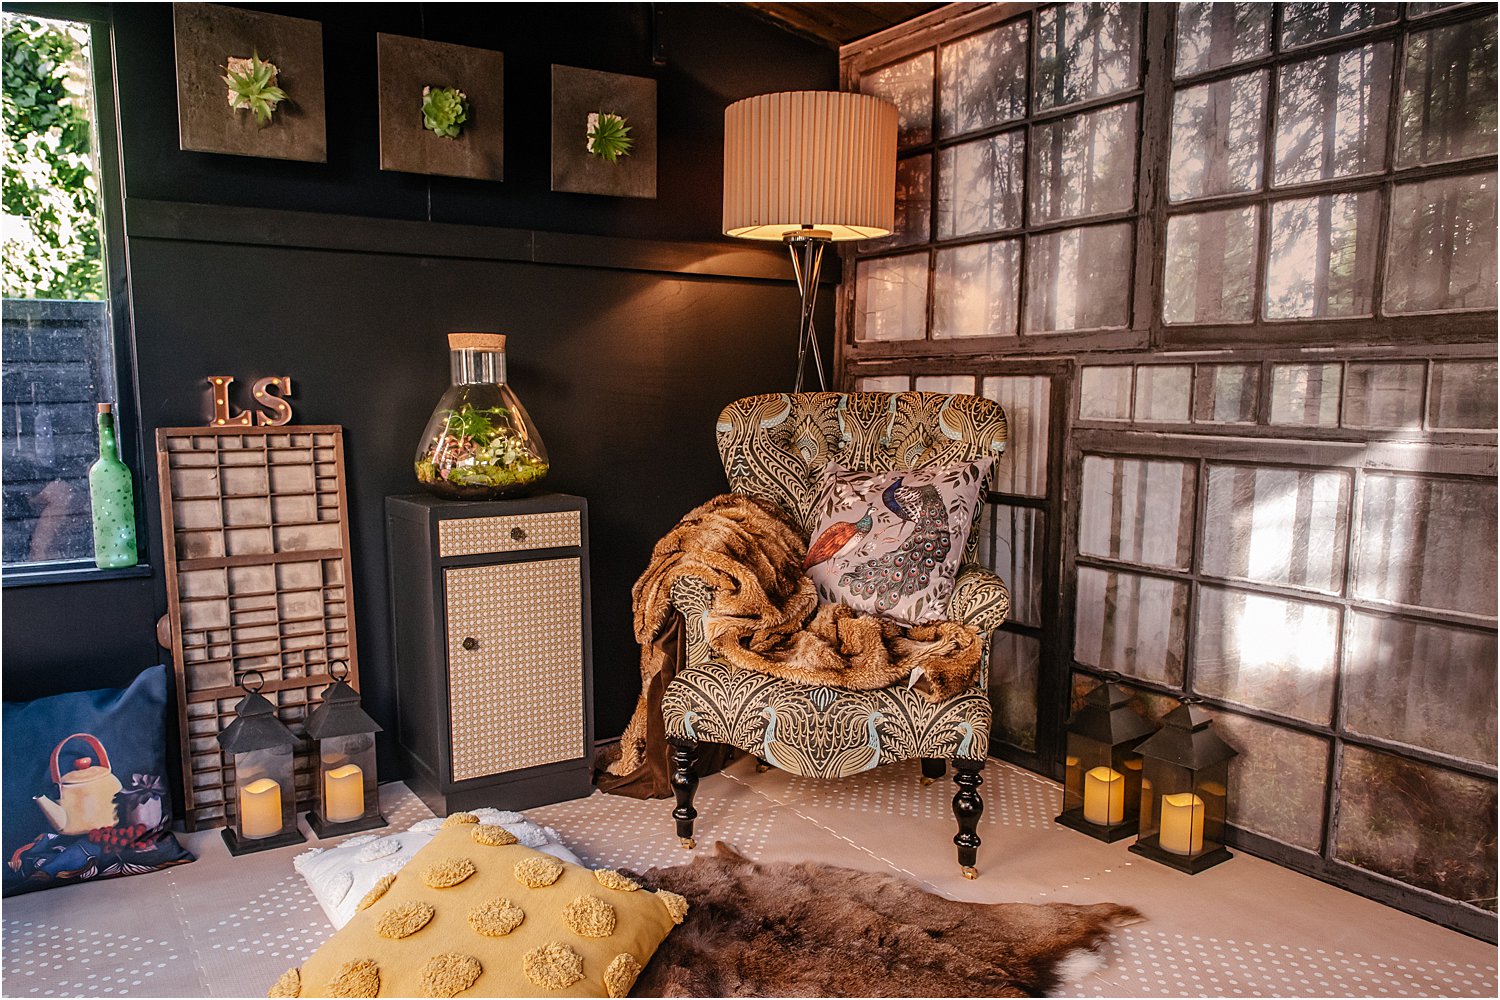
My little old cabinet in the cabin also got the cane webbing touch!
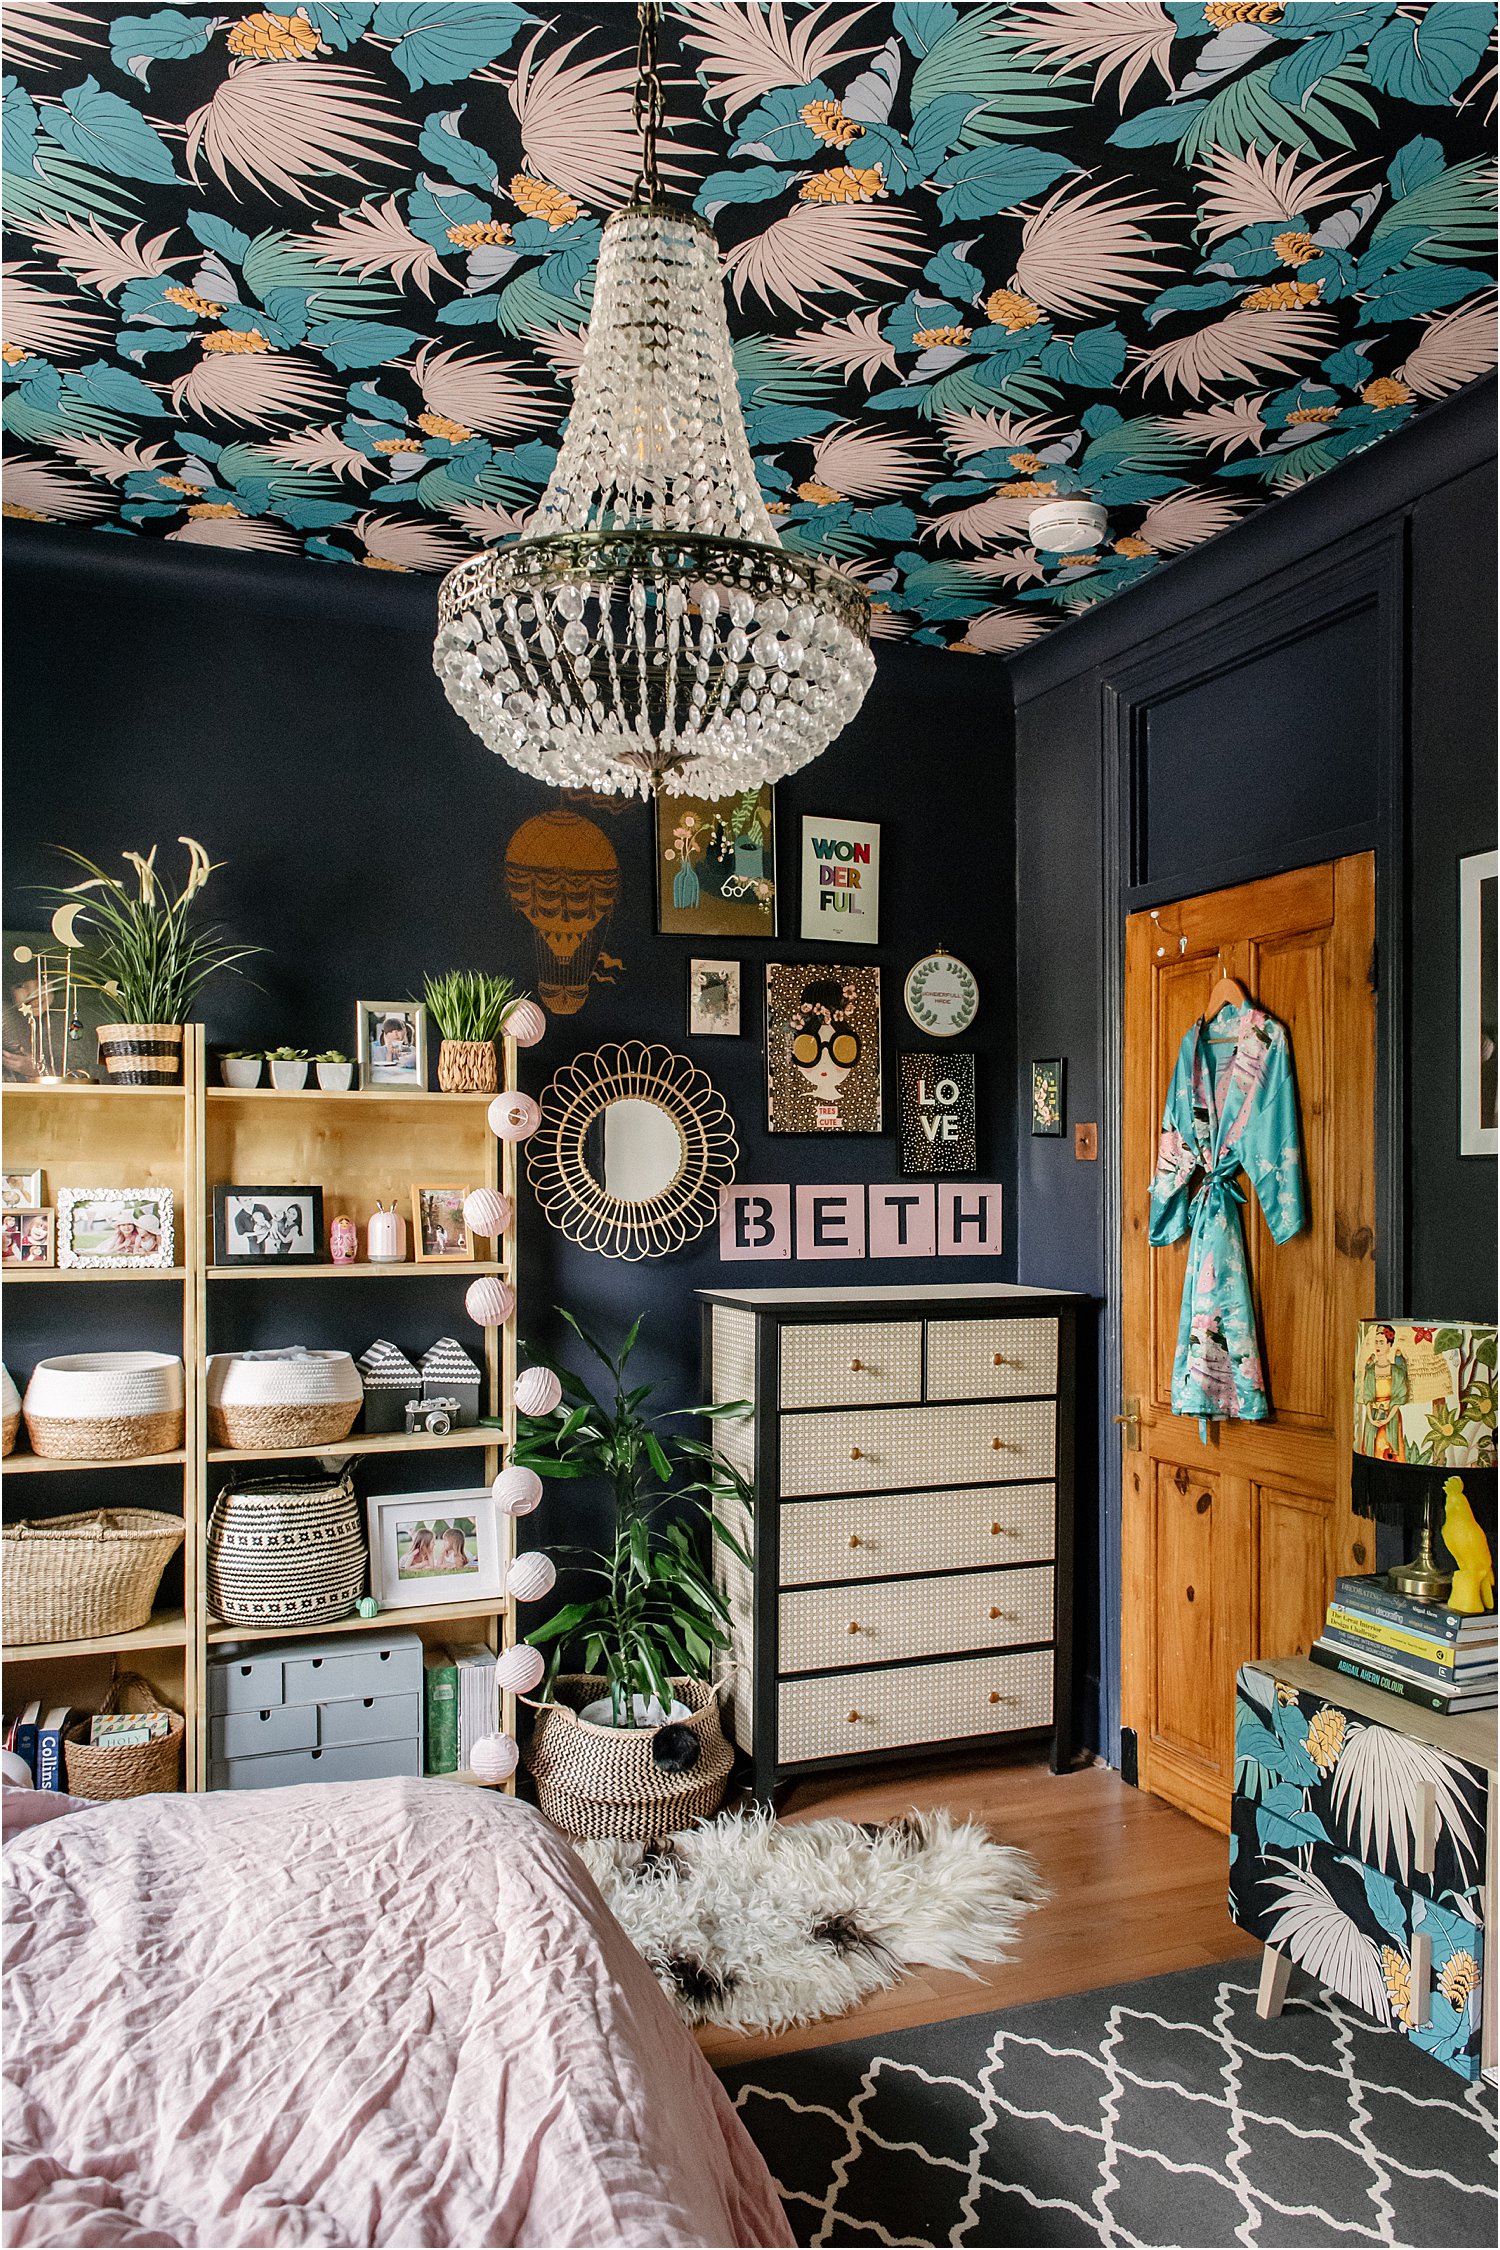
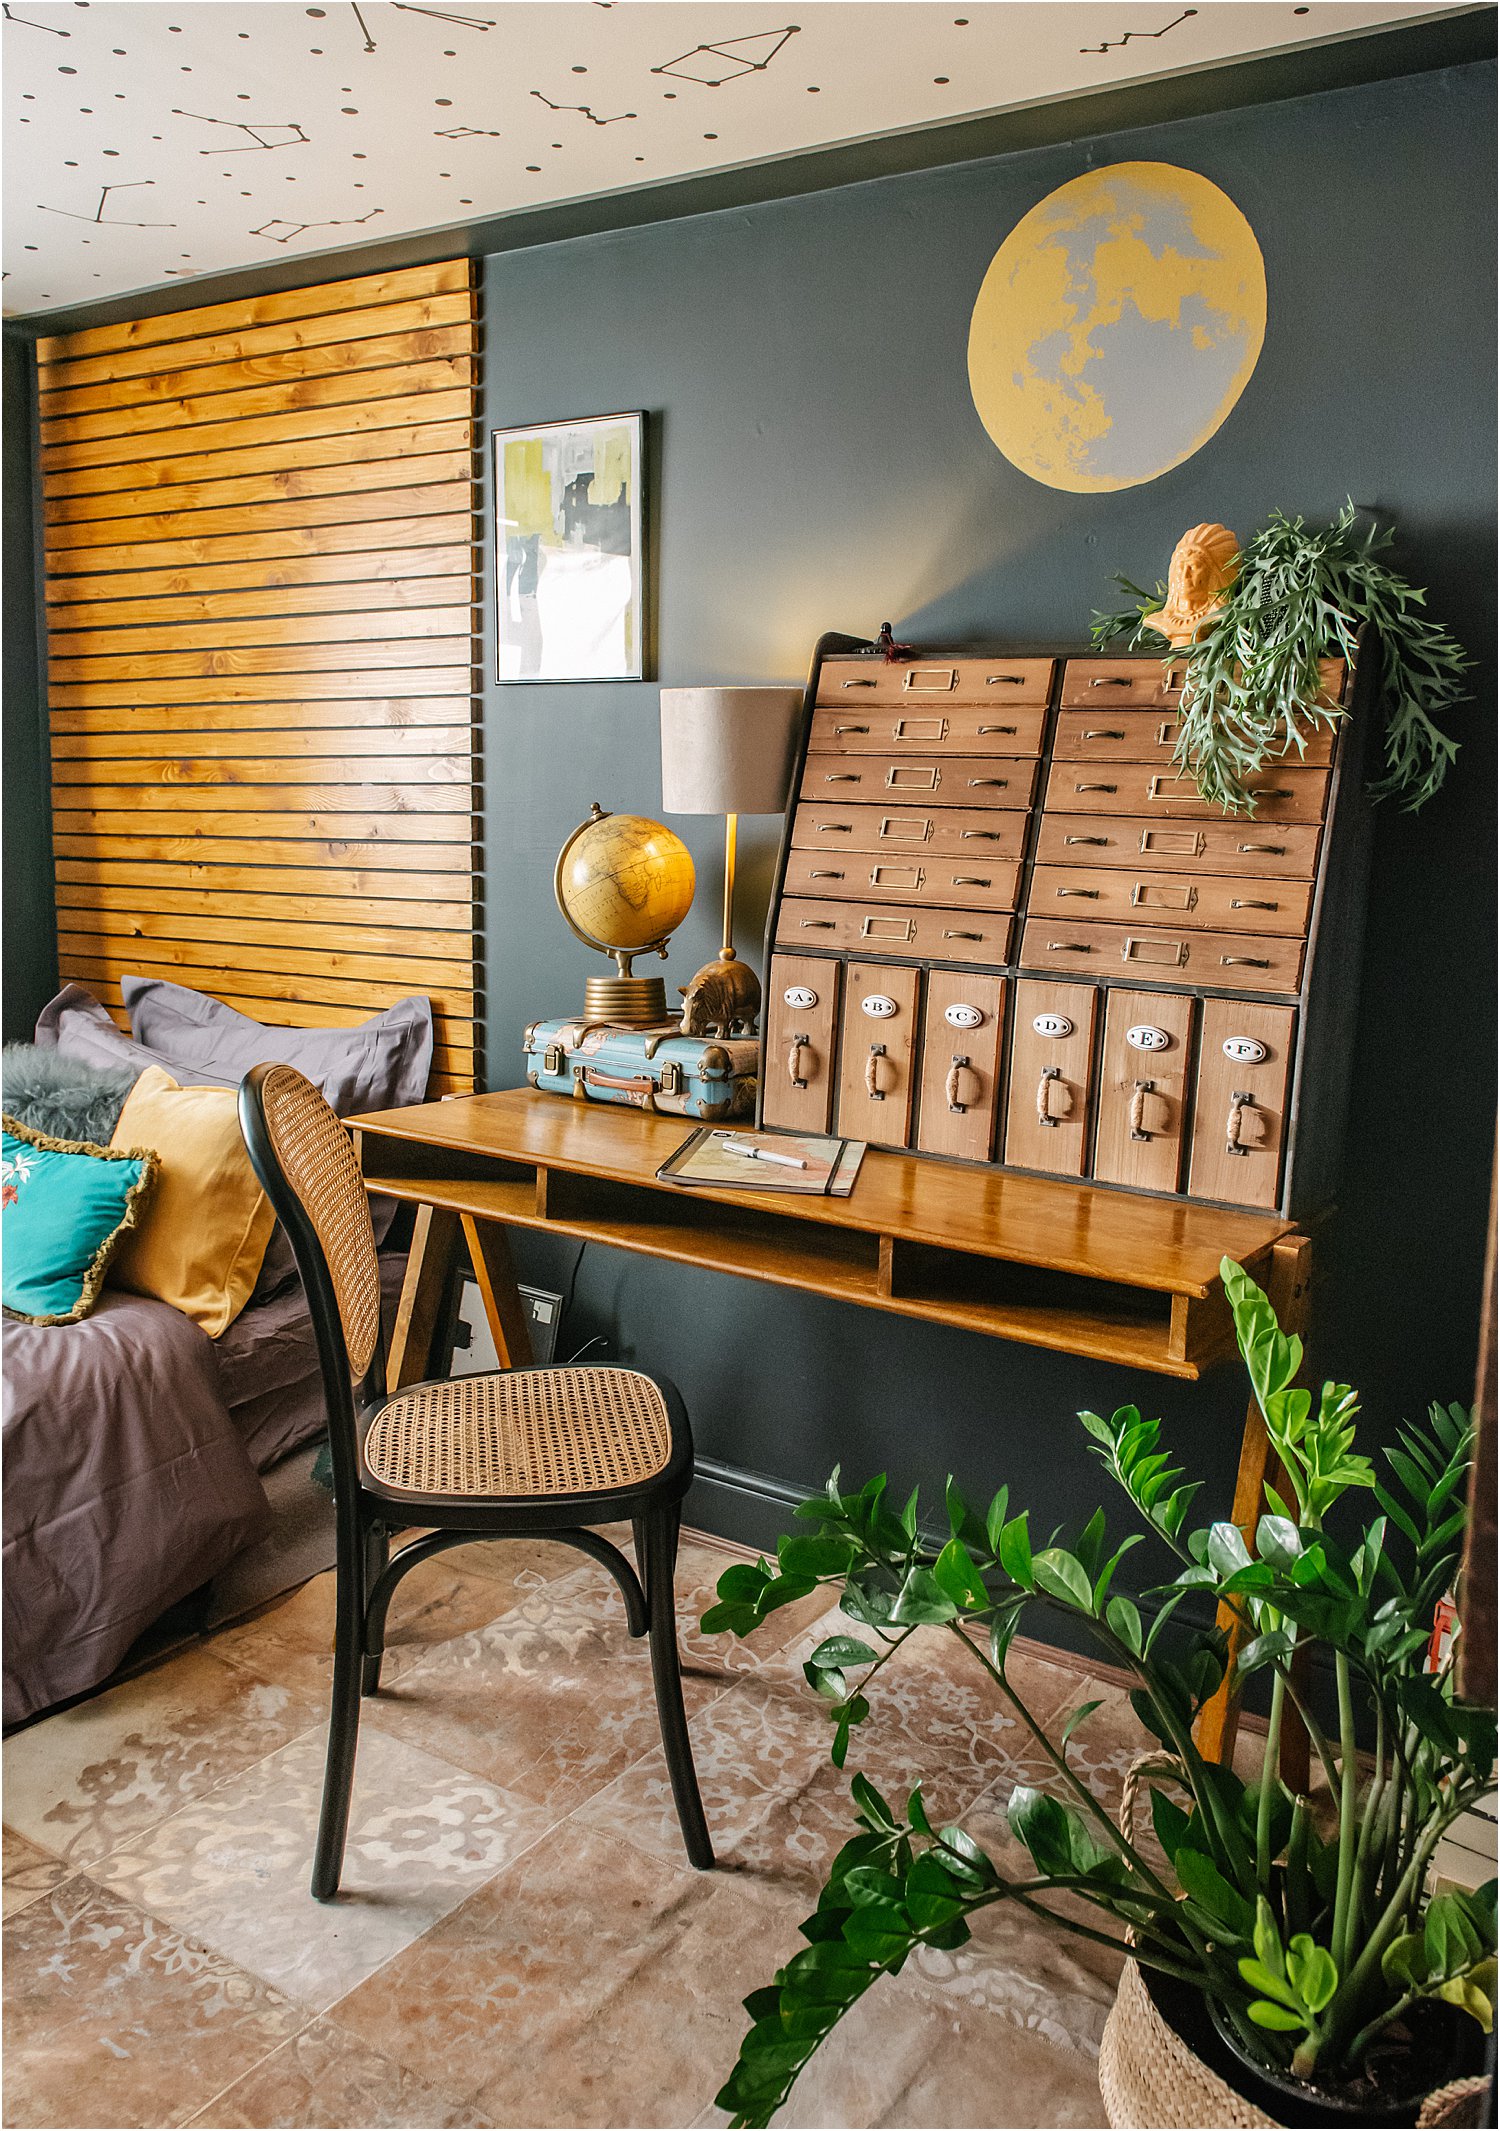
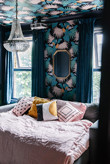
2. Panel walls with wallpaper faux panelling
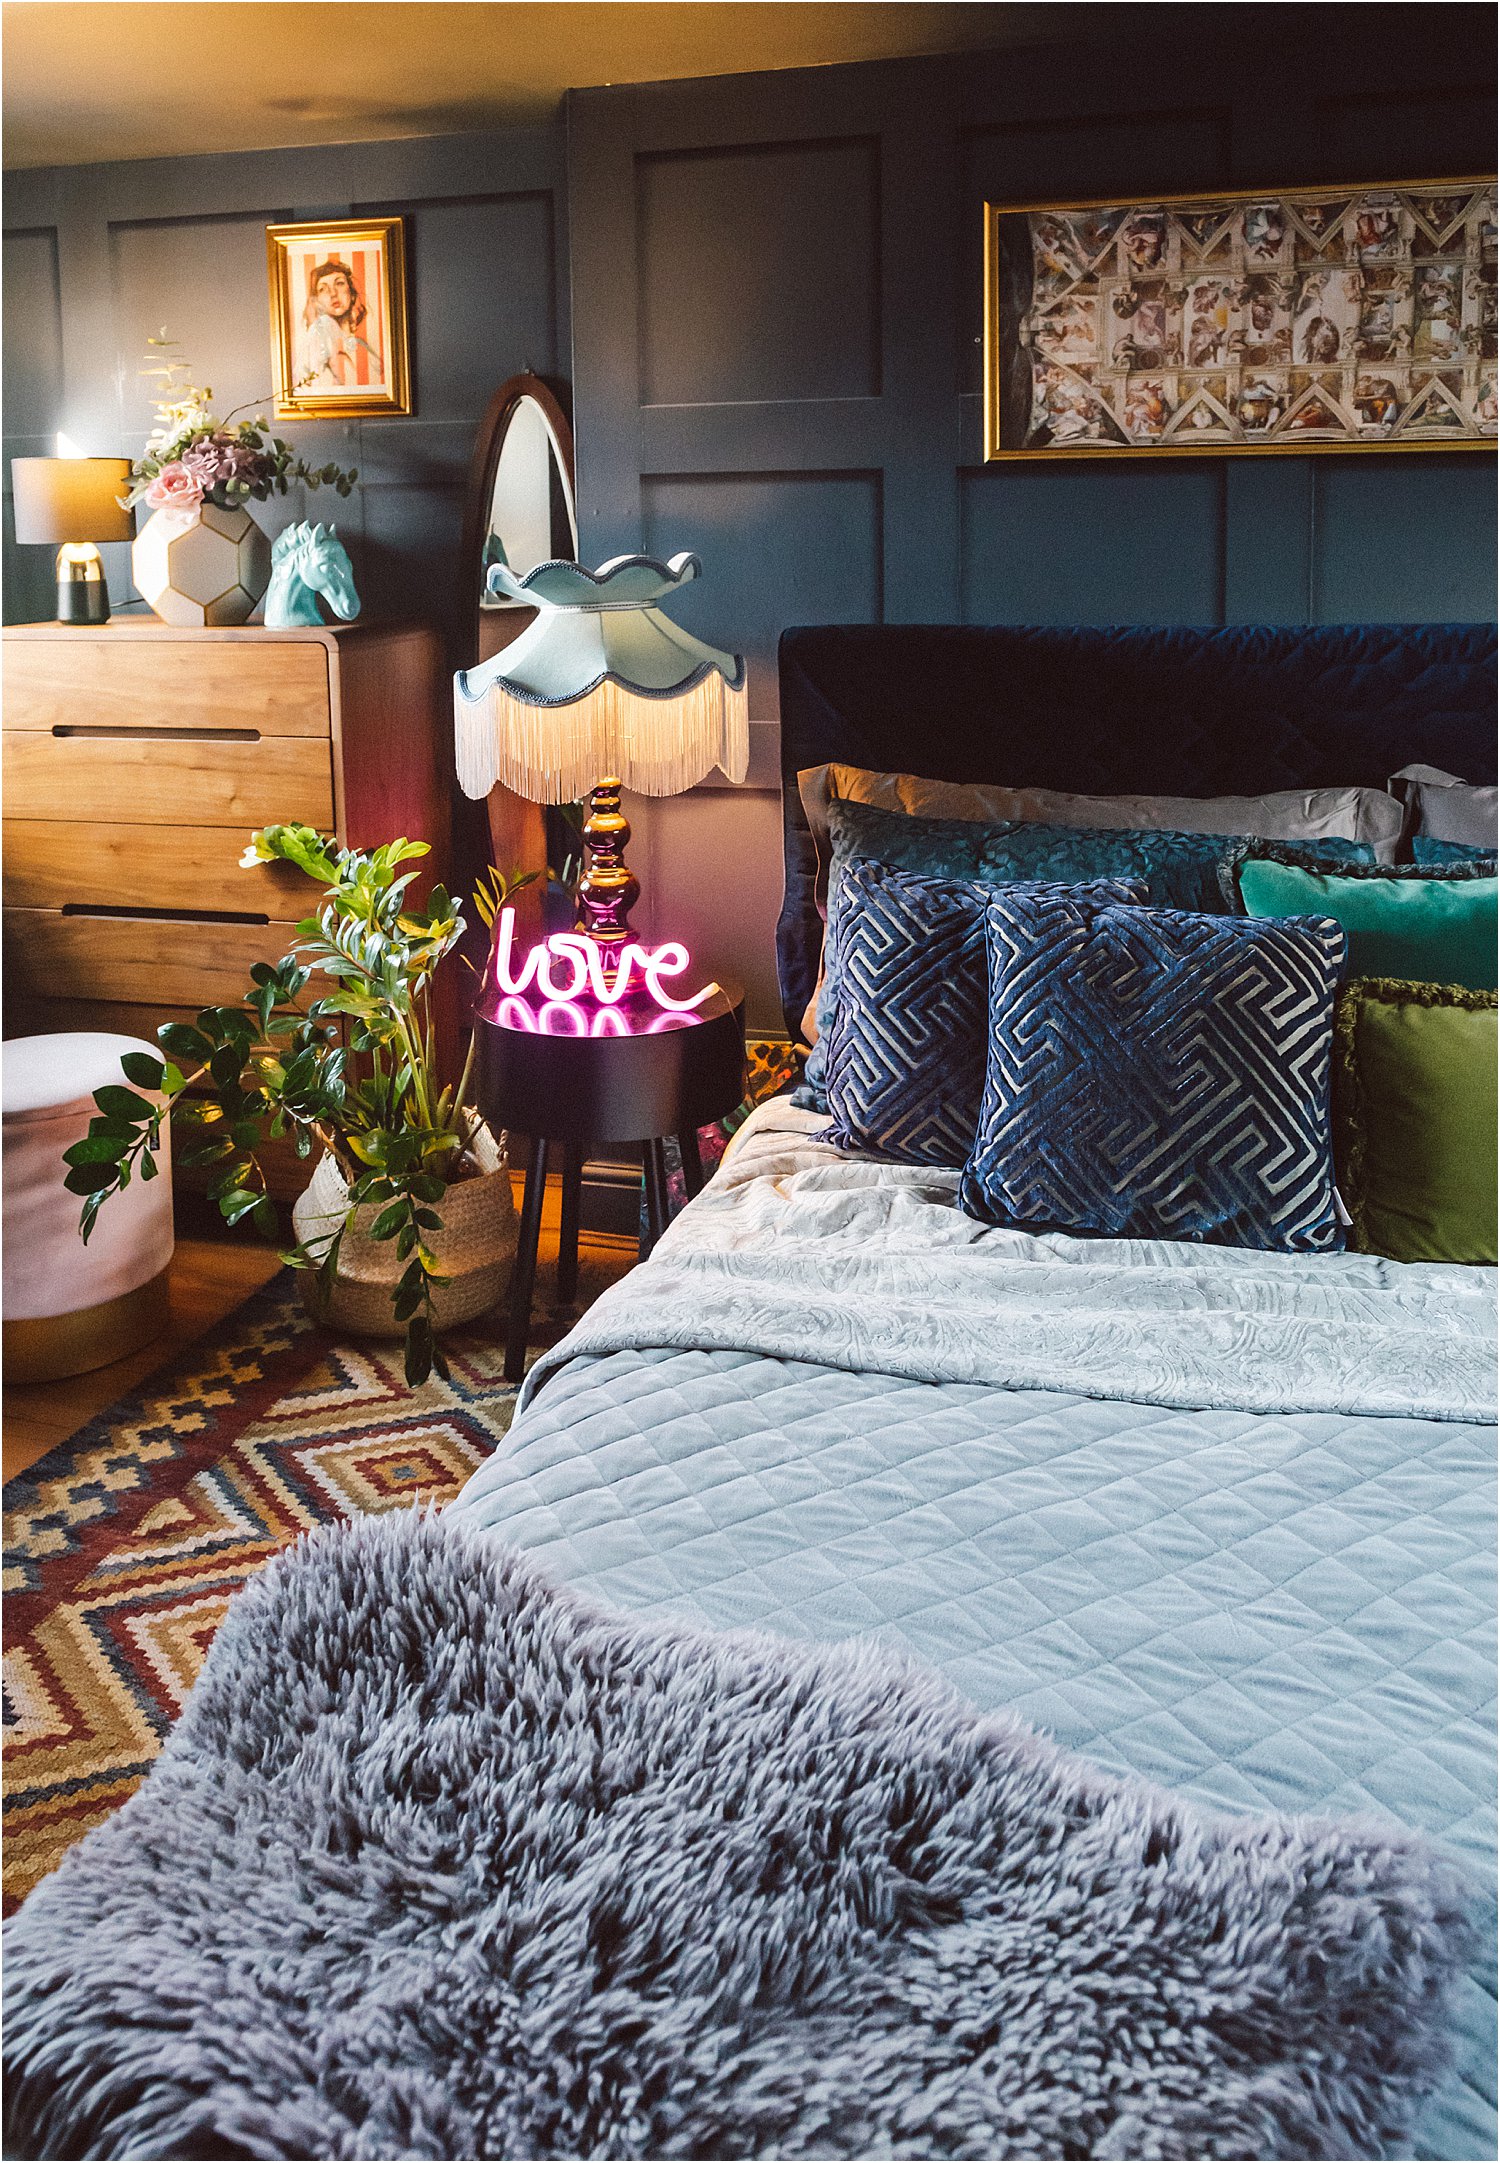
Here in my bedroom, I decided to strip the old jungle theme wallpaper and replace it with this contemporary Wooden Panelling Wallpaper from I Love Wallpaper. I used 3 rolls at £20 each to paper the entire length of this wall.
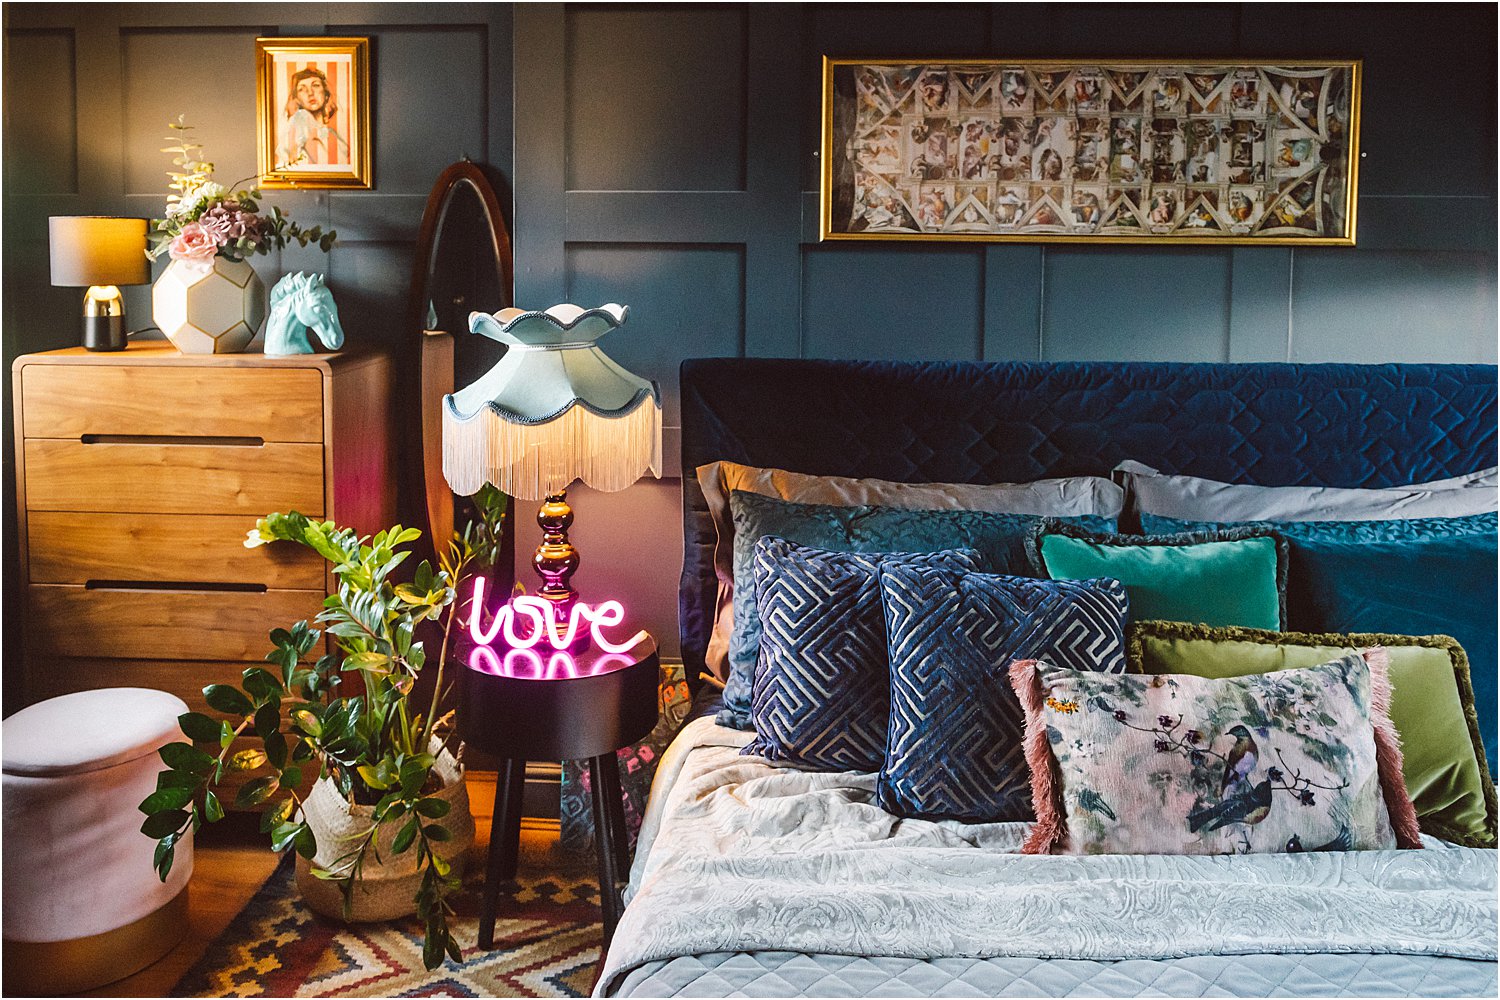
It took me (with some help from my son) 3 hours to paper this entire wall. My top tip is to make sure you plan it so you don’t see half panels on the top edges just like you would if you attached actual wood panels. That way it would look more realistic. This wall above only shows you 2/3s of the entire wall (I can’t show you the rest – it’s messy!)
3. Pallet platform bed
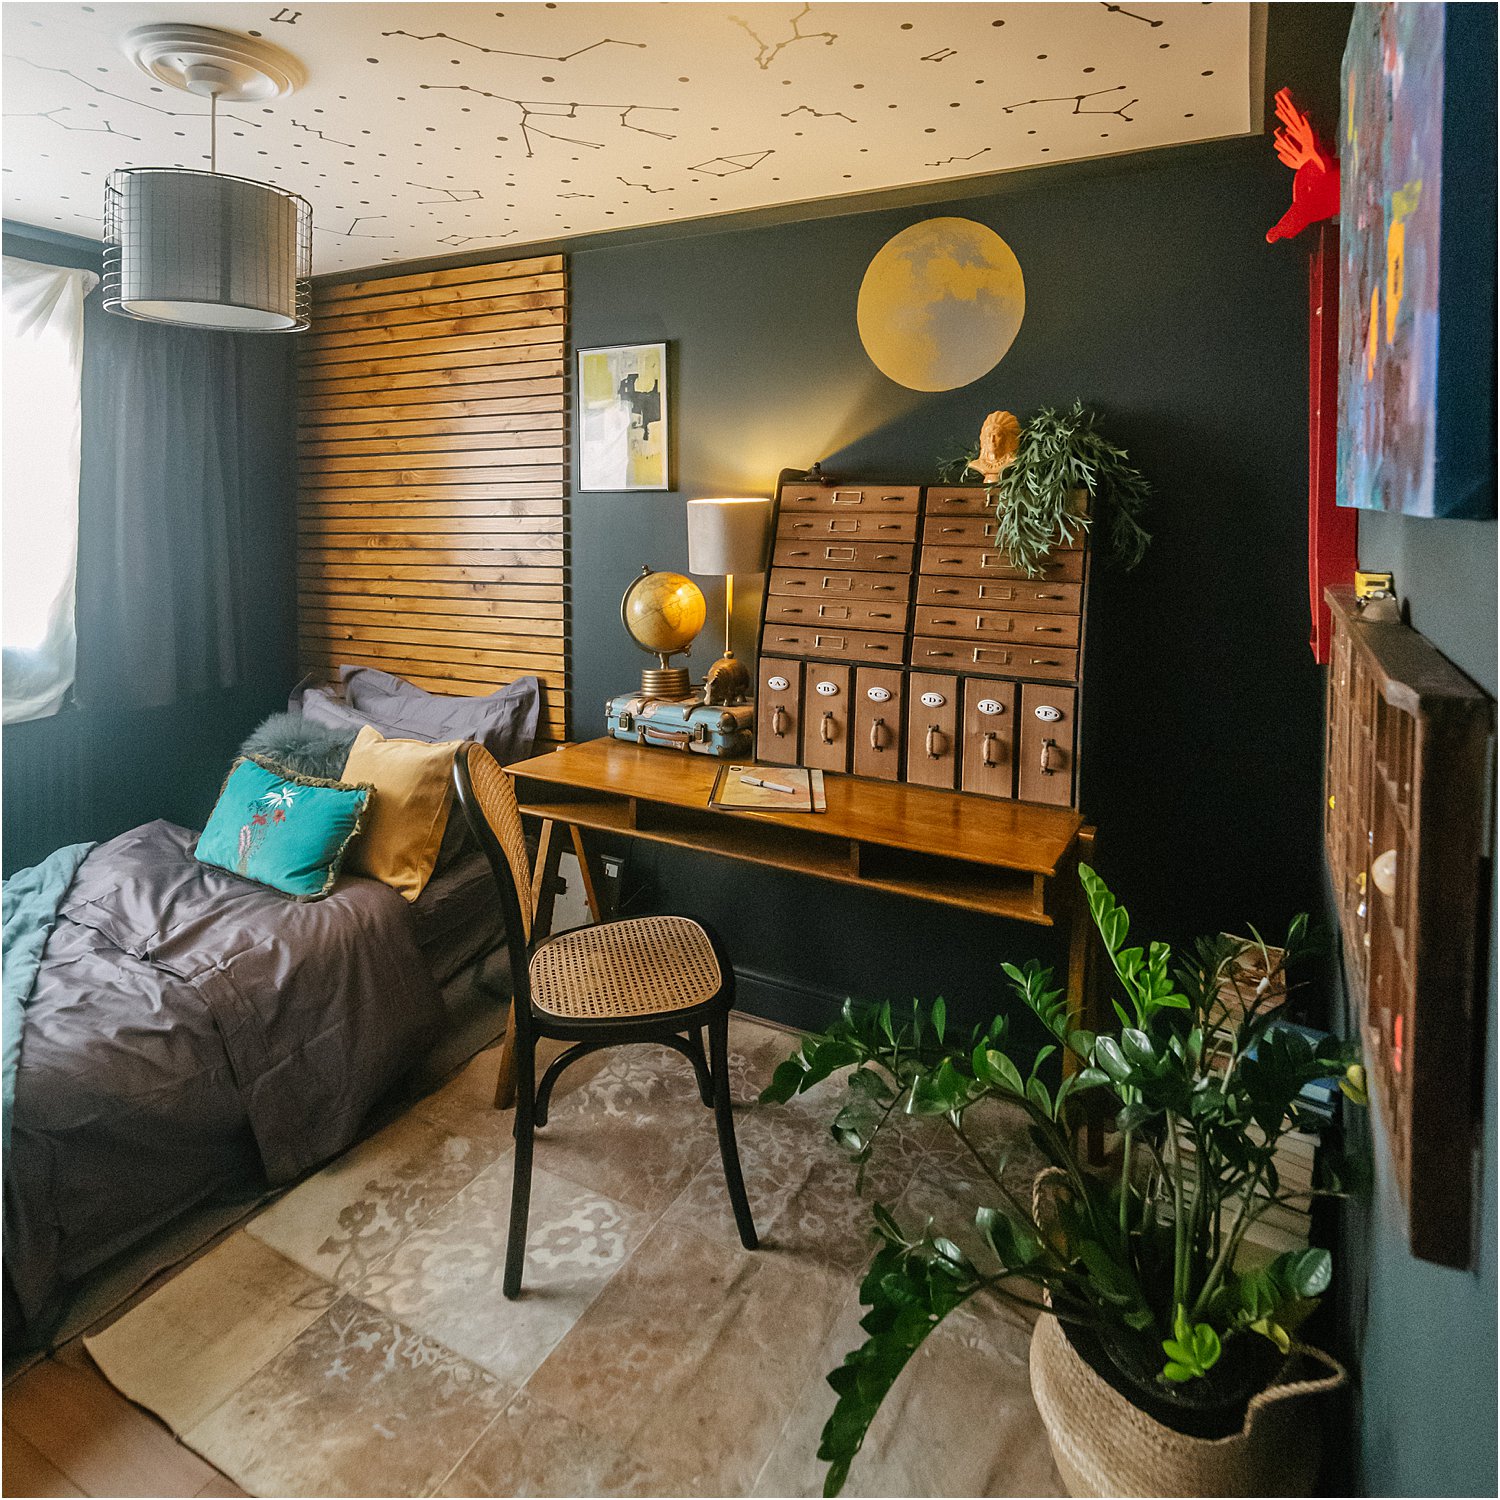
My son’s room got a revamp and became a teen room. It used to be an Ikea room with pops of bright colour. Now that he’s 14, tall and with a very deep voice, it’s time for a more grown-up room.
I swapped the Ikea daybed for a platform bed made of two pallets. This required no skill and best of all, didn’t cost me anything!
I used two pallets of similar size and height and put the old Ikea bed slats on top of them. To keep the slats in place I used no nails. The mattress sits on top of the slats just like on a normal bed.
It’s a low bed but you can raise it with using four pallets instead of two.
4. DIY Headboard / Panelling
To compliment the warm wooden furniture in his room and address the lack of headboard at the same time, I purchased some 2 x 1 timber pieces, stained them and stuck them on the wall with no nails. It “functions” both as a headboard and a decorative wall panelling. Altogether it cost me £65.
I documented the whole process on this link . You can also read a detailed blog on the room revamp from tot to teen.
I’ll also be panelling one wall on my front room using MDF pre-cut panels and no nails for the princely sum of £60 so watch this space!
5. Sticker tiles
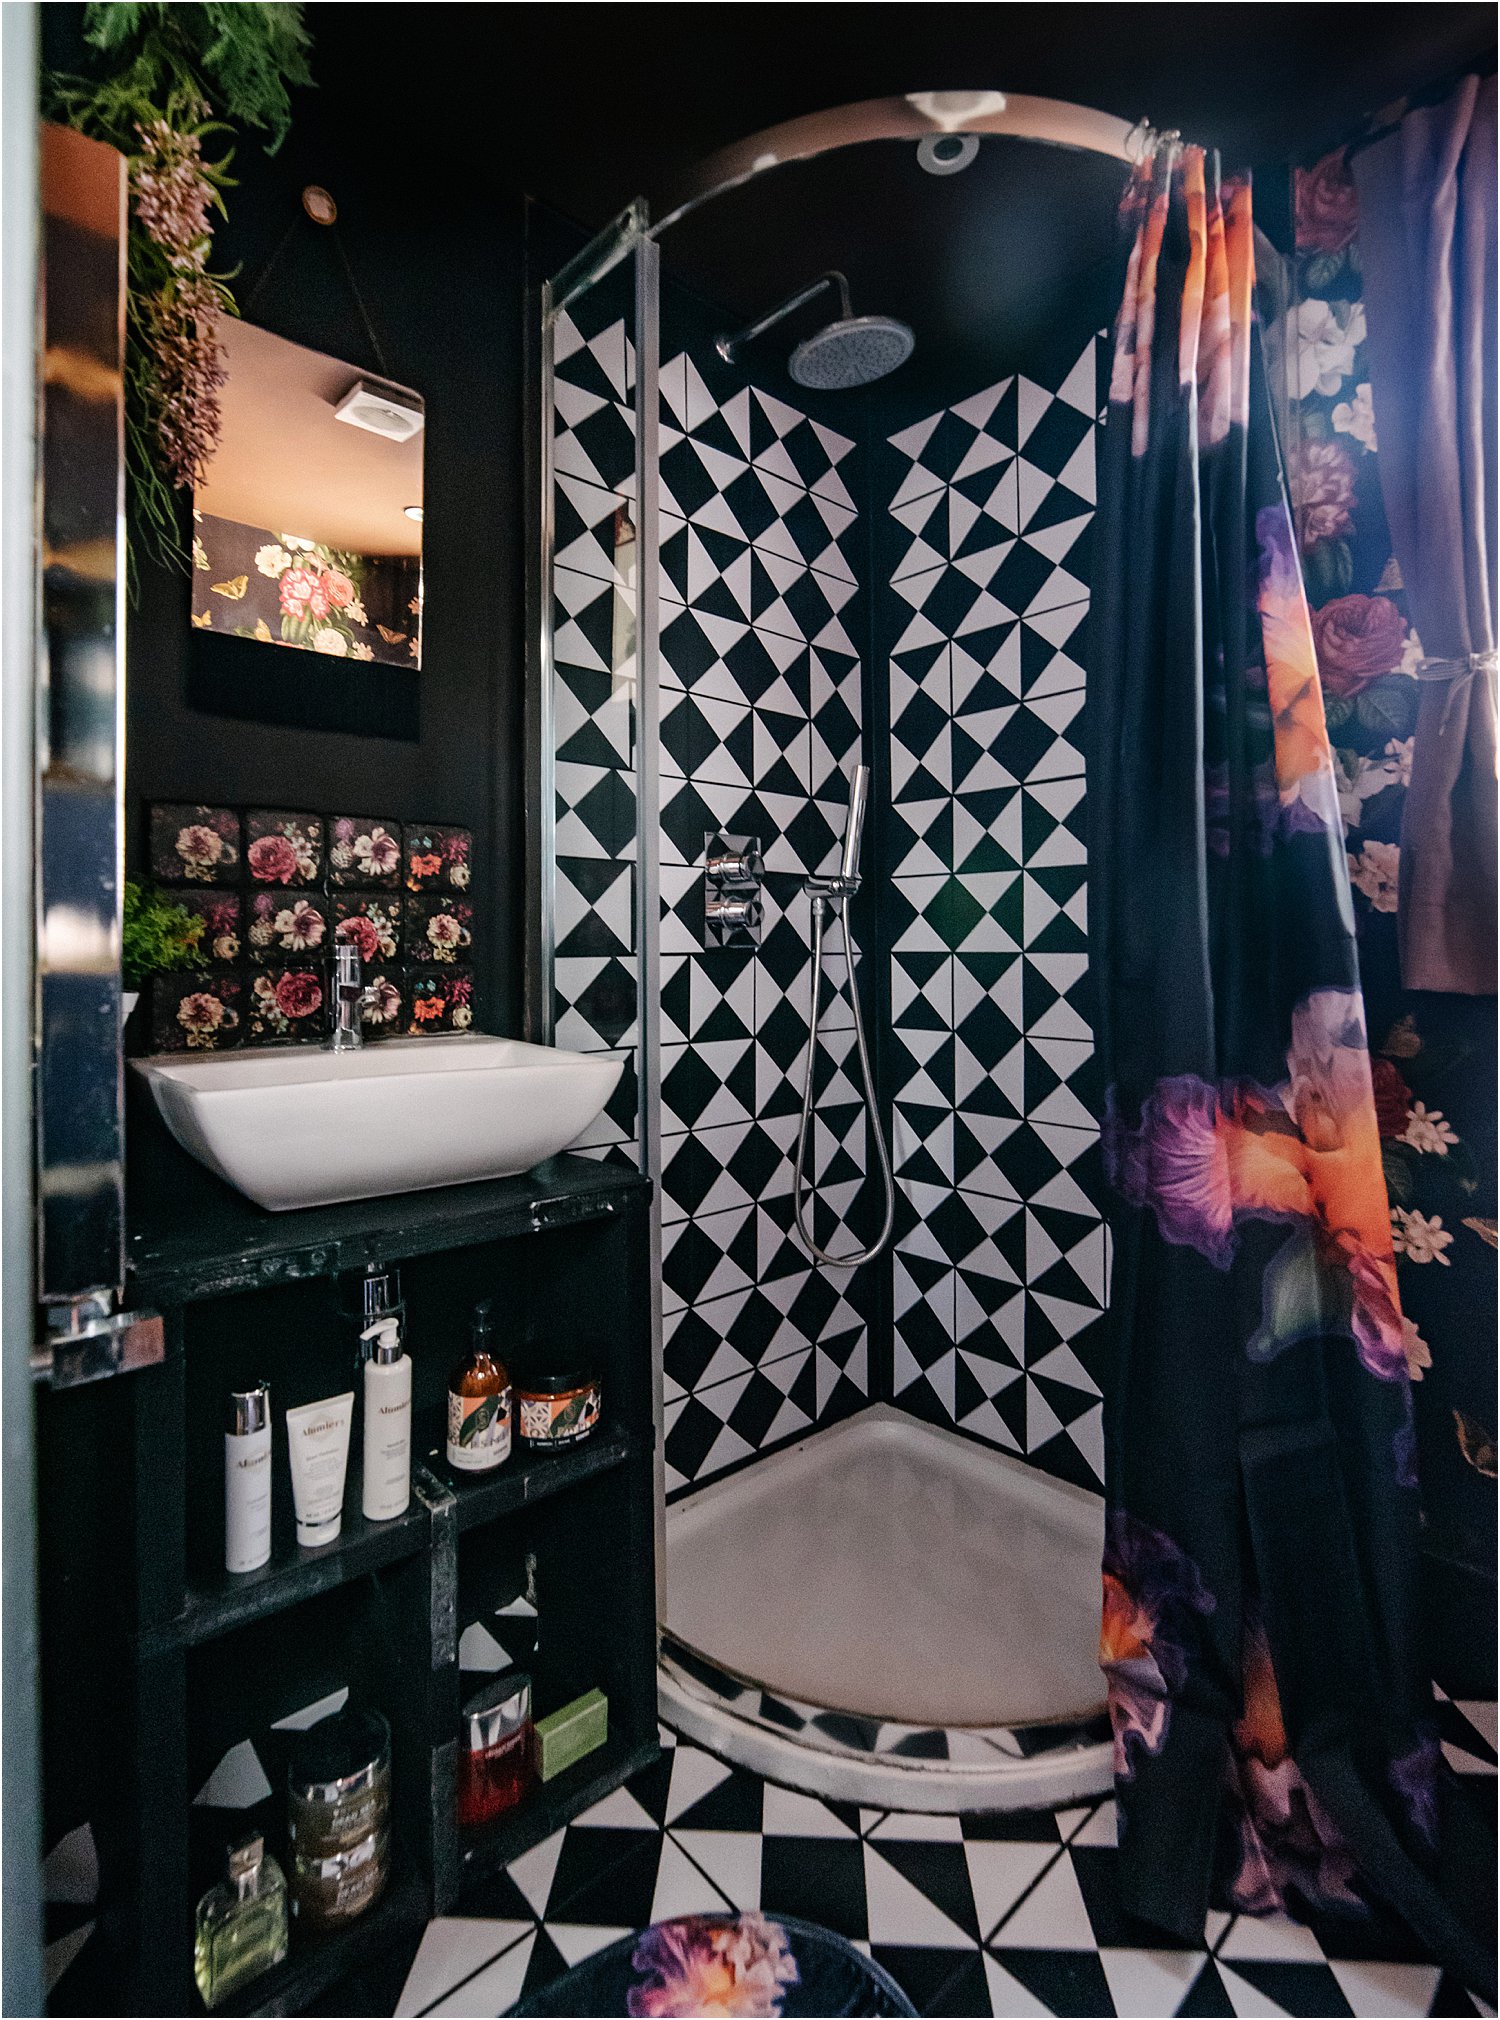
DIY disruptions in the home are not my favourite thing especially when it involves a lot of mess like re-tiling!
The shower area of my shower room is covered with brown tiles. I wanted to bring in contrast without the expense of re-tiling and the mess that comes with it.
First, I cleaned the tiles well with sugar soap. Because I wanted the grout to look black and not brown, I painted the walls with Frenchic Black Jack and left it 24 hours to cure. 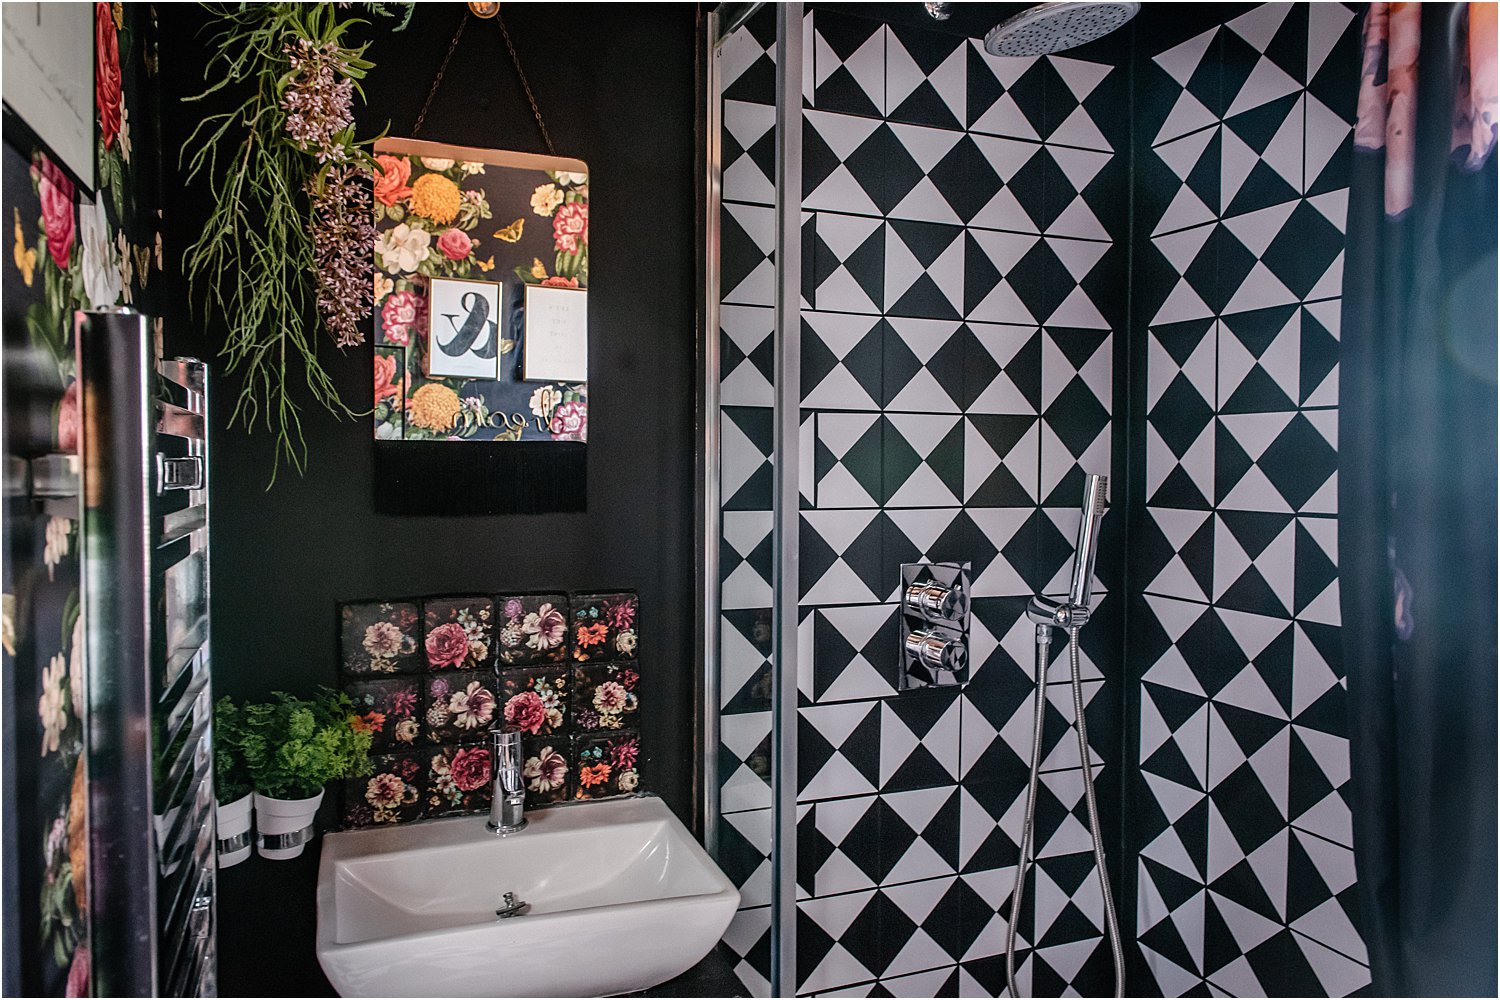
When fully dry, I used these waterproof sticker-tiles instead! They have adhesive backs so you just peel off the back and stick the tiles on. Run a hairdryer through the entire stickered-surface. I think doing this softens and activates the adhesive and makes them stick securely on the tiles. They have held up really well and have withstood water and steam so far! A pack of 10 costs £15 from Moonwall Stickers.
I hope these 5 easy hacks & DIY upcycles to do at Home have given you some ideas and inspiration for easy cost-effective hacks you can do in your own homes!
Don’t forget to download my free resources that will help you design your own interiors and grow your Instagram account! Let’s chat on Instagram and follow me on layered.home for more inspiration.
*This is not a sponsored blogpost but contains previously declared collaborations and ads: Paint – Frenchic Furniture Paint (affiliate), Craig and Rose Paints, Stickers – Moonwall Stickers, Furniture – Rockett St. George, Wallpaper – I love Wallpaper.


Some brilliant ideas here that I would love to try, and great photos – thanks Lily!
Thank you so much Gayle! Glad you found them useful! Can’t wait to see what you do!