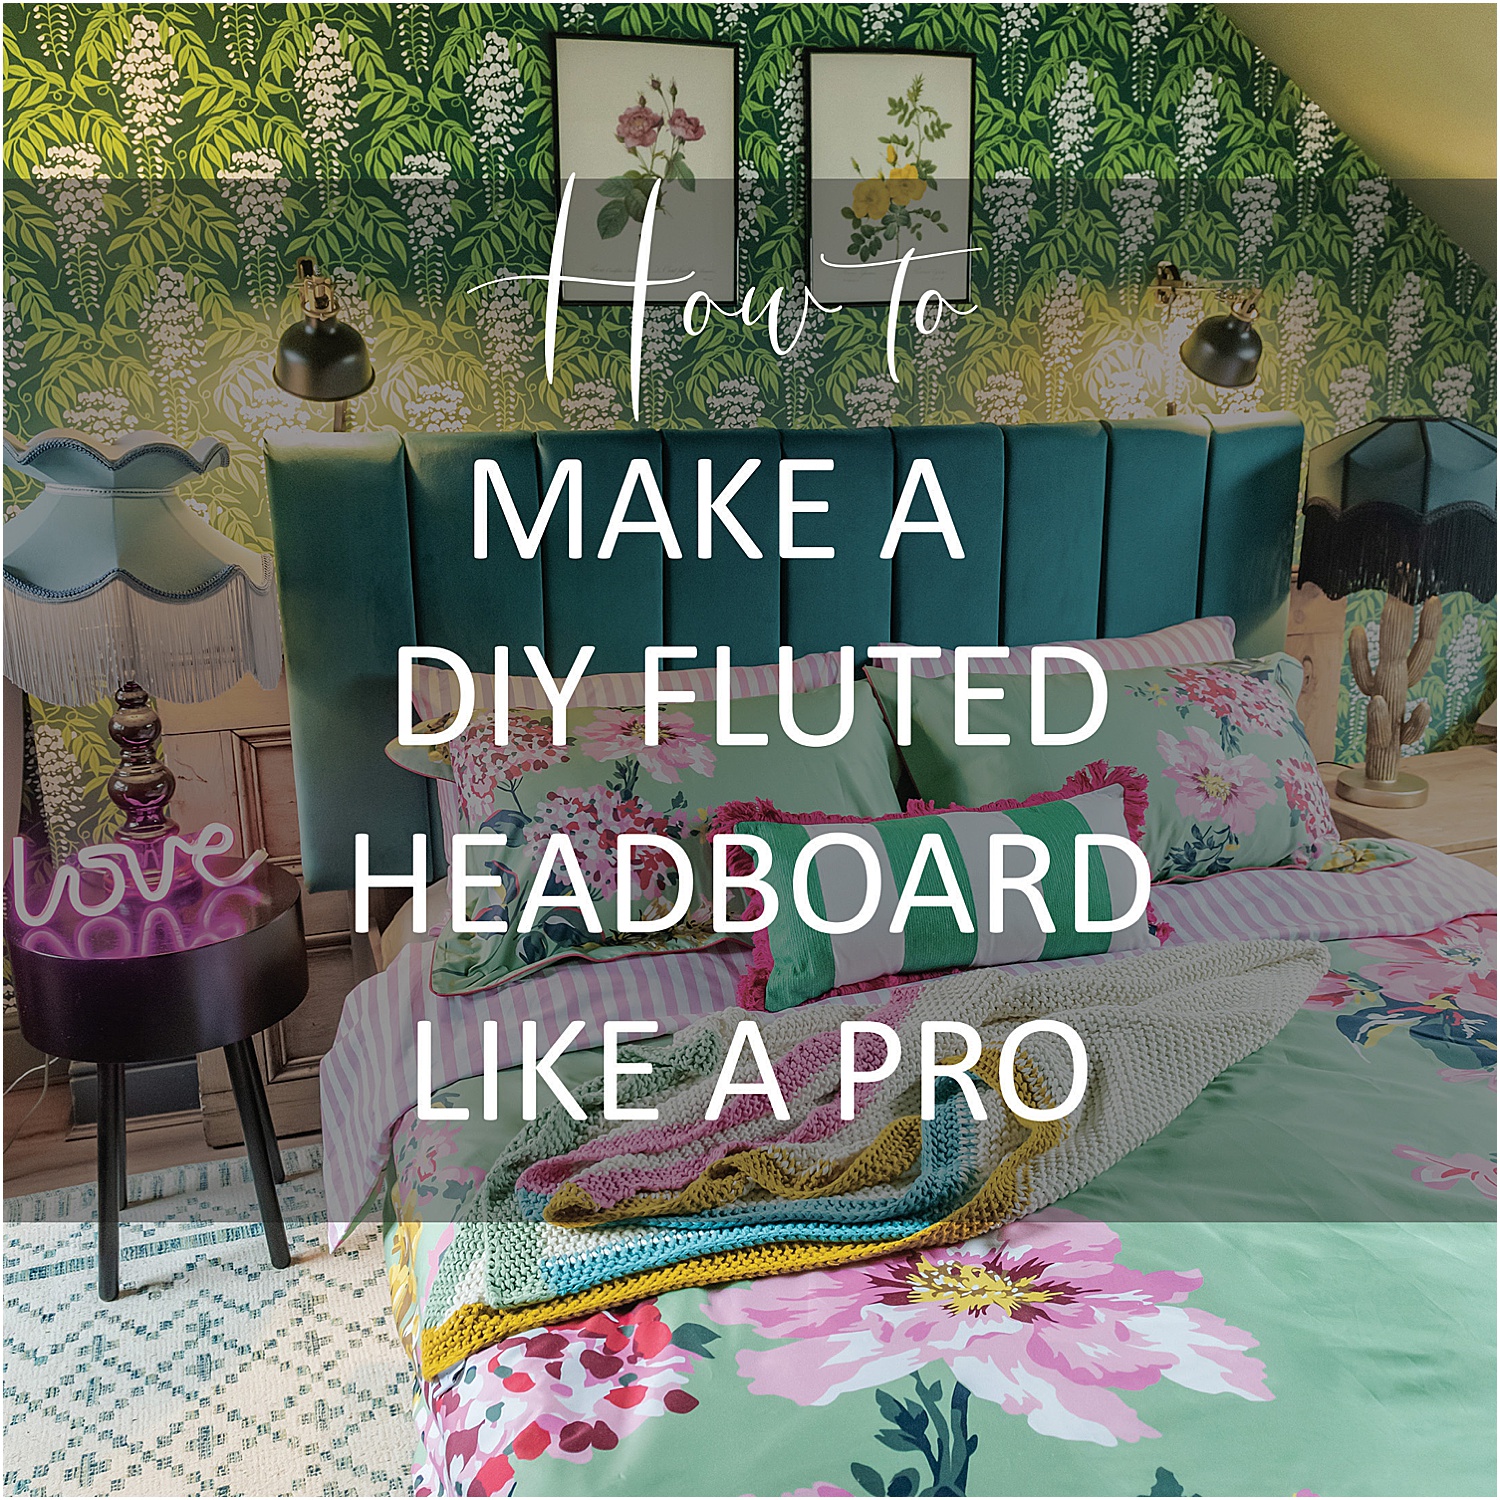
This blogpost has been on my mind for a while: How to make a DIY Fluted Headboard like a pro . Now I’m not claiming to be a pro at this at all. But I have done this three times now and have been so pleased with the results. Actually, it’s not that difficult.But there are a couple of “musts” before you attempt a project like this. Read on.
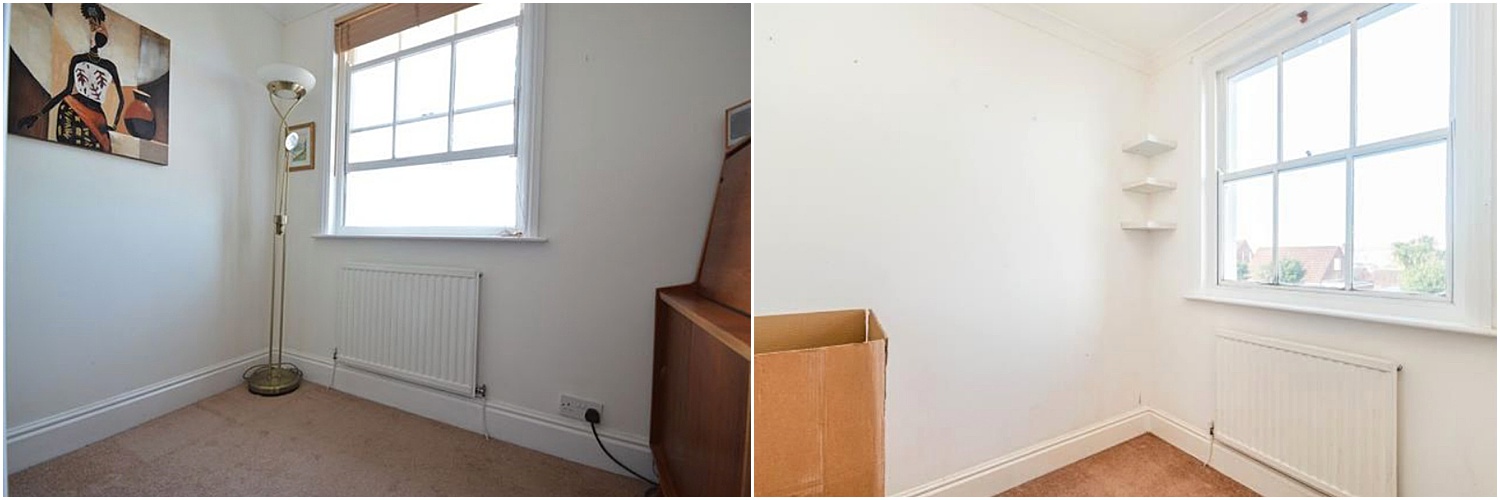
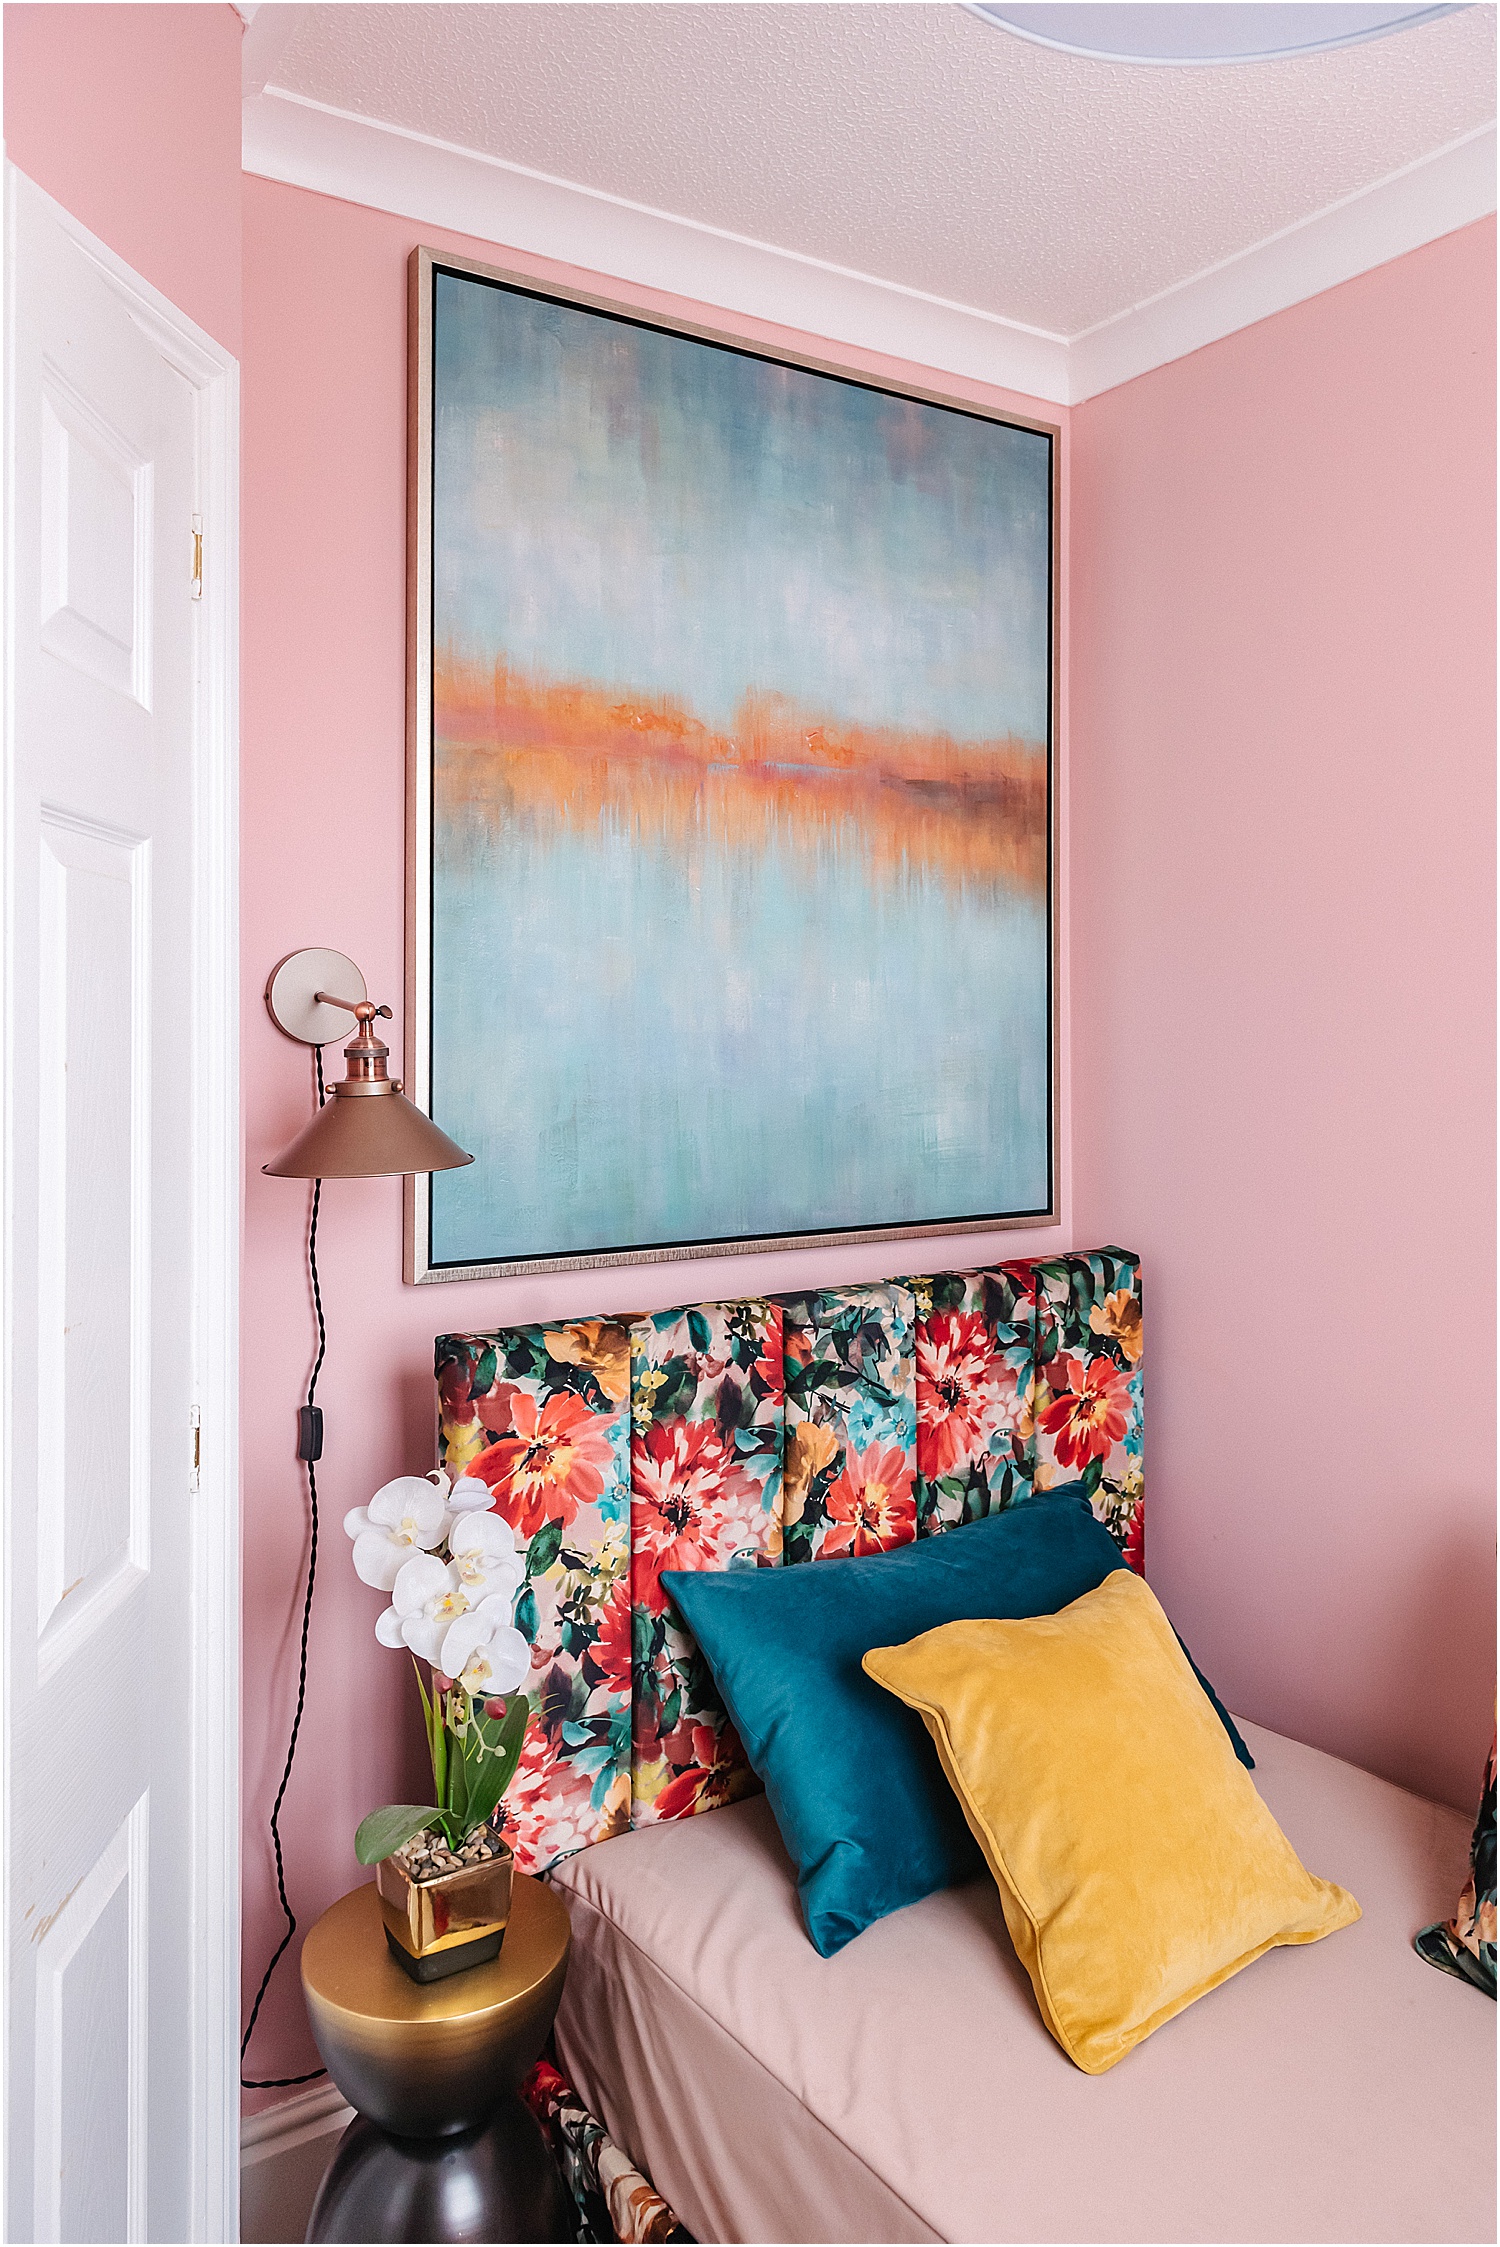
This is the “half” bedroom in my flat. I call it half because it is the tiniest thing – the length is just enough to fit a single bed and the width a dresser. It’s not even square and the door is a bi-fold so you can get inside! As you can see on these photos, this space is crying out for some kind of personality.
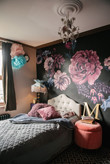
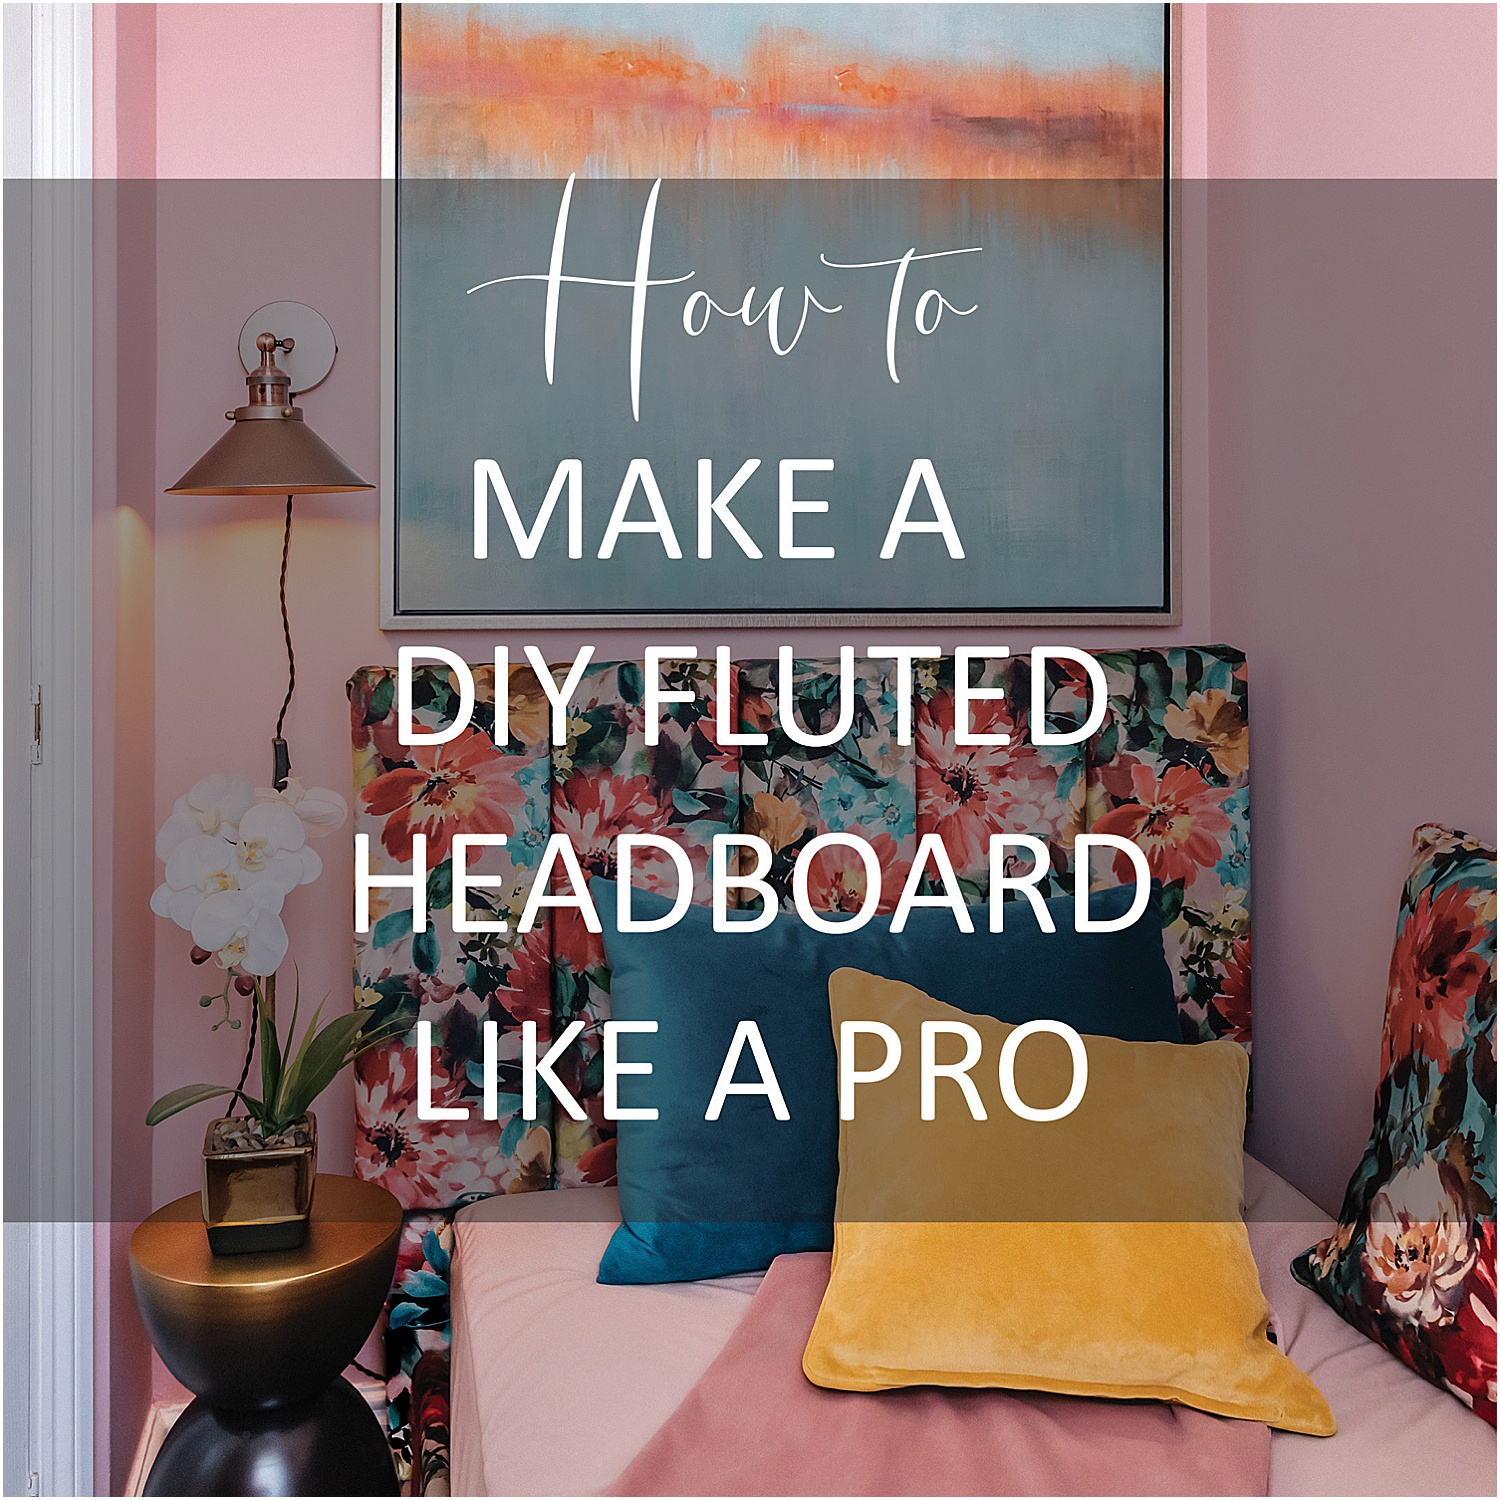
I decided to add colour and pattern without it being overwhelming. I painted the walls in Pink Champagne by Rustoleum and made a headboard for the bed and a boudoir backrest for the seating covered in Clarke and Clarke‘s Tahiti velvet fabric in Rouge.
Here are the steps on how to make a DIY Fluted Headboard like a pro:
But first things first: Plan and measure. Do these two things right and this project will be a breeze.
Decide on how big you want the headboard to be and divide that dimension into however many flutes you want – you can have narrower flutes or wider flutes – it’s really up to you. Then decide on the fabric you want to cover the headboard with. You need to allow extra fabric to cover each flute sides and enough to secure on the back. I’ll show my calculations for this project on the steps below.
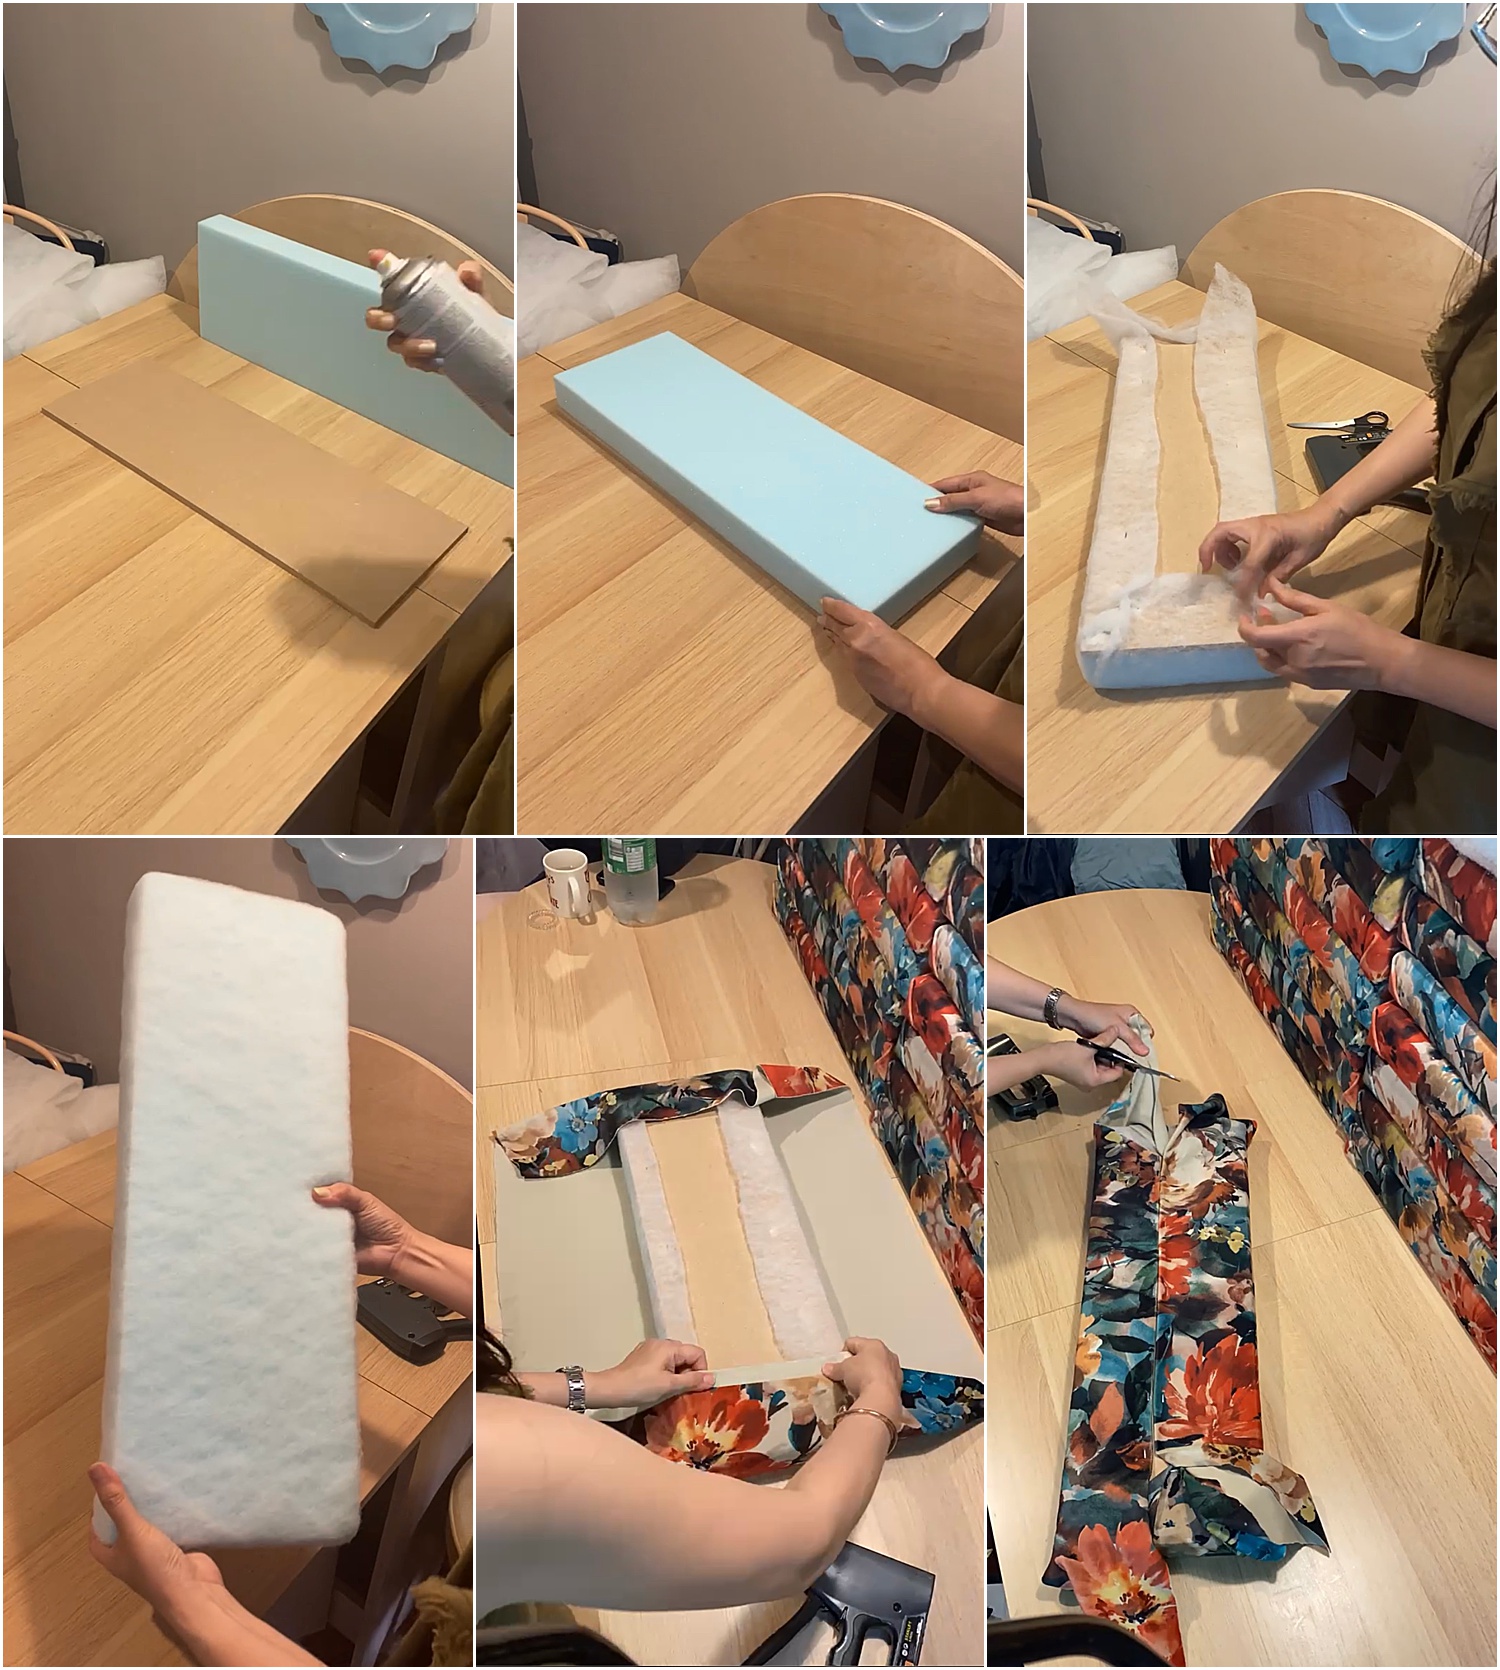
Let’s start counterclockwise from the 6 images above starting with top left.
1. I ordered 9mm MDF at 20cm W x 58cm H. I used 17 pieces for the headboard and boudoir seating altogether. This came to £22.46 for the MDF and £10.58 cutting labour both from Jewson.
2. I also ordered standard upholstery foam at 5cm thickness with the same dimensions and quantity above. The Standard CMF Foam foam came to £62.22 from FCHancoxFoam. Using spray adhesive (craft glue would also do) I stuck each foam onto the MDF.
3. You would need to cover the flute and foam with wadding first before covering with fabric. This is where you need to get your dimensions right when ordering wadding and fabric. You need to allow at least 17cm extra to the height and width on each side. So for my 20cm W x 58cm H x 5.9 cm thick (mdf + foam) flute; I needed at least 37cm W x 75cm H per flute.
This is so you can wrap the sides of the flute and have extra to fold and staple the fabric on the the back. If you want the entire back to be covered (there is no need to), you would need another 5cm or so of extra fabric.
I used 2 oz (75 gsm) weight wadding so it’s pretty thin and easy to use. Just pull and fray around the corners, tearing bulky bits away so it looks nice and flat. I can’t remember the cost but I perhaps around £9.99 from a local haberdasher. Staple using a staple gun at the back neatly.
4. Your flute should now look like this nice and neat and you are now ready for covering with your fabric. Use strong upholstery fabric. My favourite to use is velvet.
If using plain velvet, make sure the pile is all the same way up – run your hand through the velvet and you can see the “bruising” as it would look darker. Just make sure they are all going the same way on all the flutes. I would mark the top back of the flute “top” with a sharpie to help me install it correctly later on. I didn’t have to do this for this printed floral fabric though.
5. You need the same calculation as above for your velvet fabric. I used Clarke and Clarke Tahiti in Rouge for this project. It’s a thick velvet with a Matt finish and very easy to use. If using plain velvet, I would try make sure the corner fold is under the top part of the flute so it’s not visible on the side.
6. Cut off any excess fabric from the corners and staple neatly. For this floral fabric, I just went ahead and folded it neatly on the side as you really can’t tell with the pattern especially when butted up against each other. It was quicker and neater but would not do it for plain fabric.
Now the flutes are ready to install!
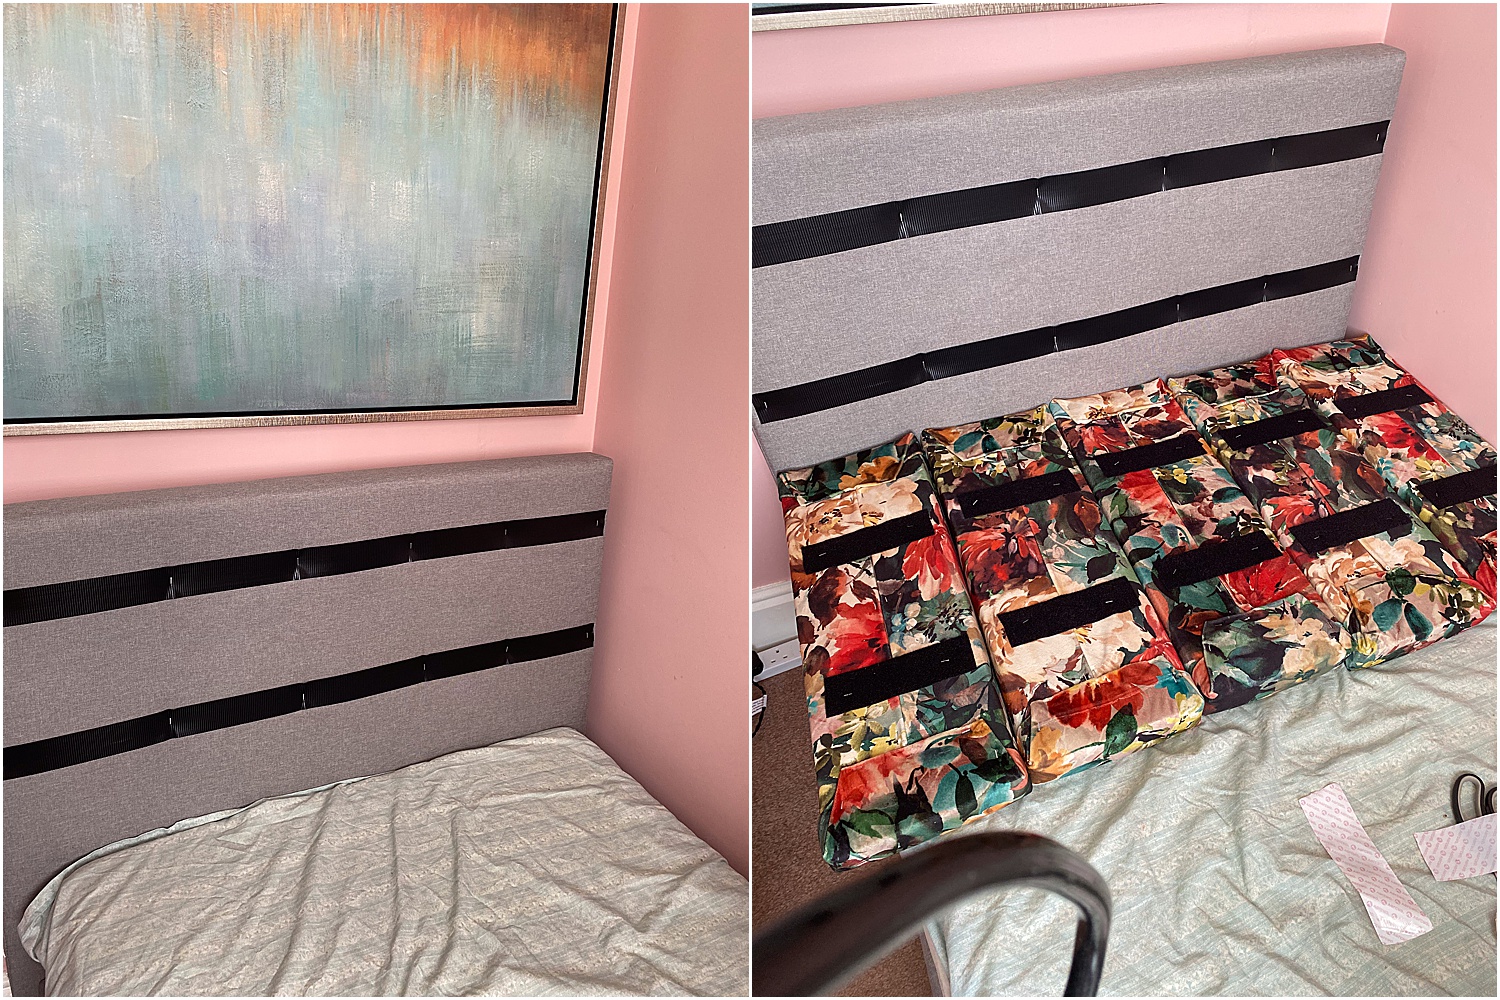
For the headboard, because the existing headboard was already solid underneath the upholstery, all I had to do was staple one side of heavy duty self-adhesive Velcro in two rows. I stapled the opposite side of the velcro on the back of the flutes making sure they will be aligned when stuck together. It really was a simple as that!
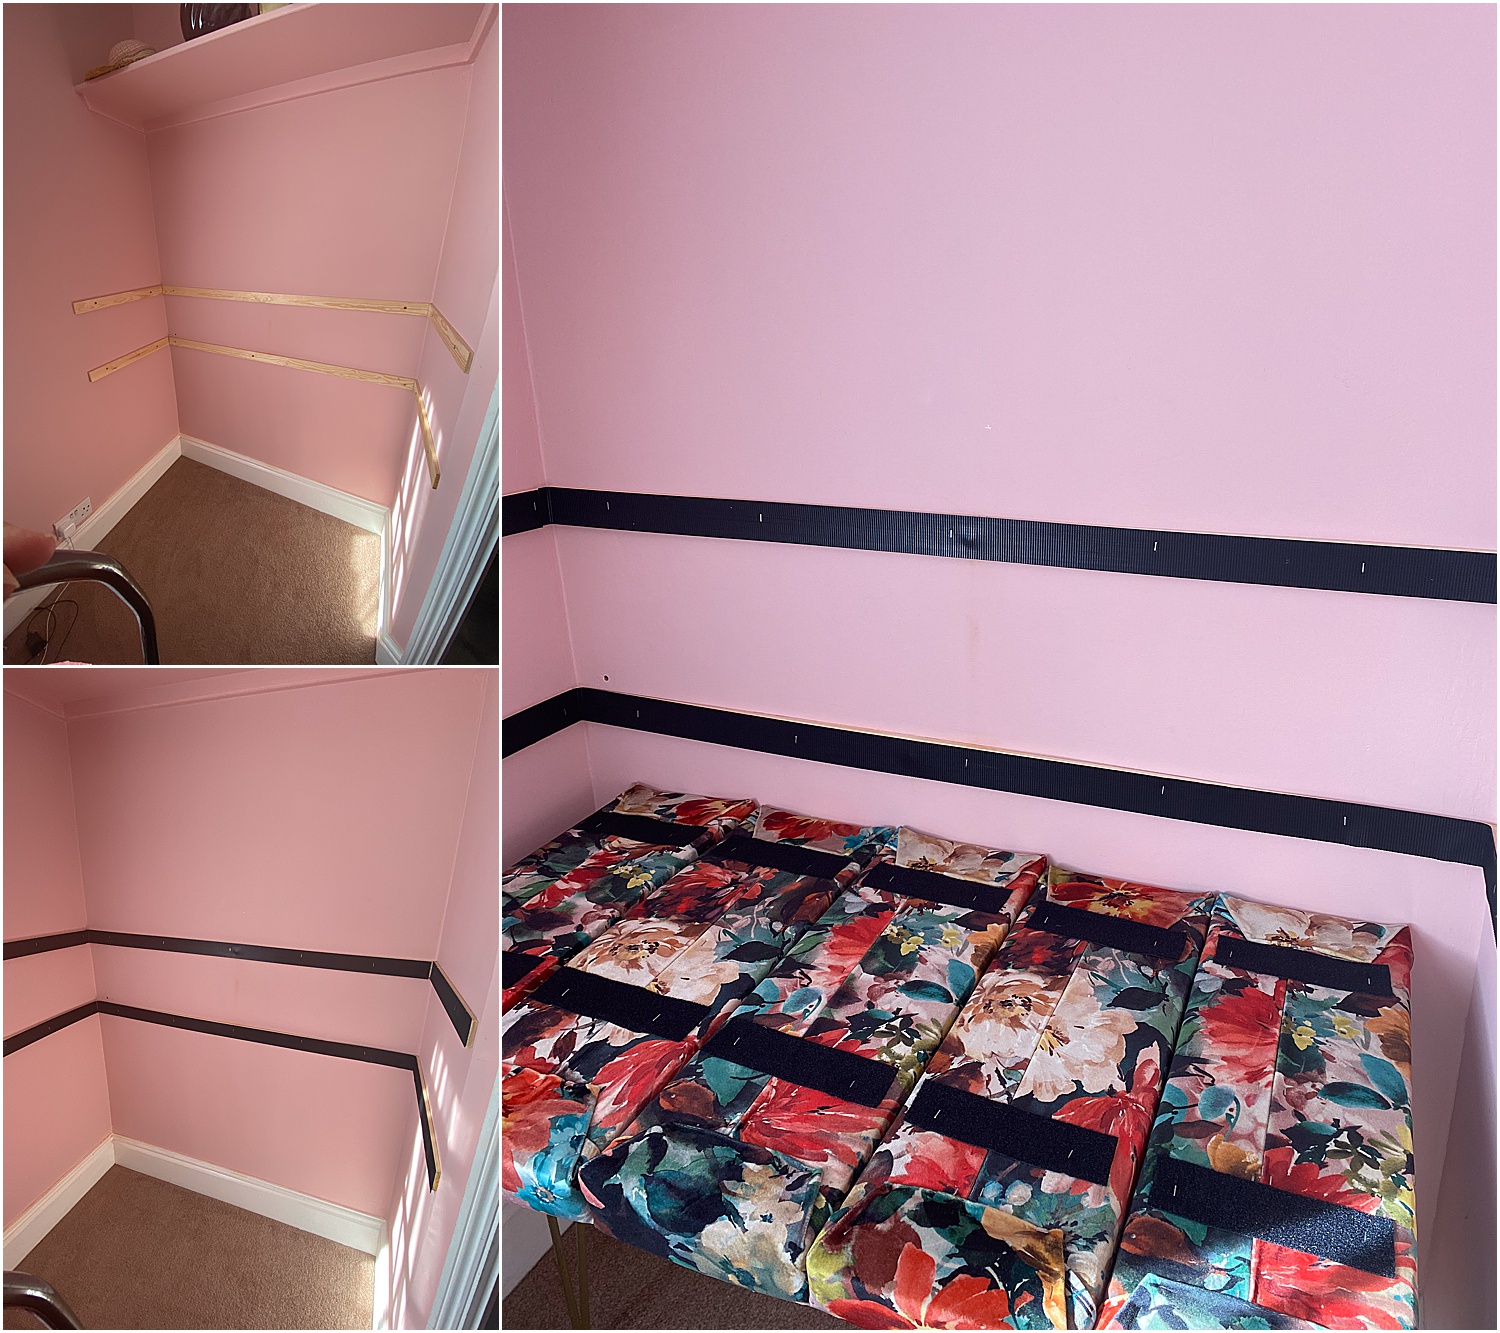
For the backrest on the wall, this is a little more tricky as it was just a wall without any wooden MDF surface to attach the flutes too. I used strips of batten instead as you can see here. The battens are screwed securely on the wall with rawplugs and then the Velcro stapled on the battens using the same procedure as the headboard.
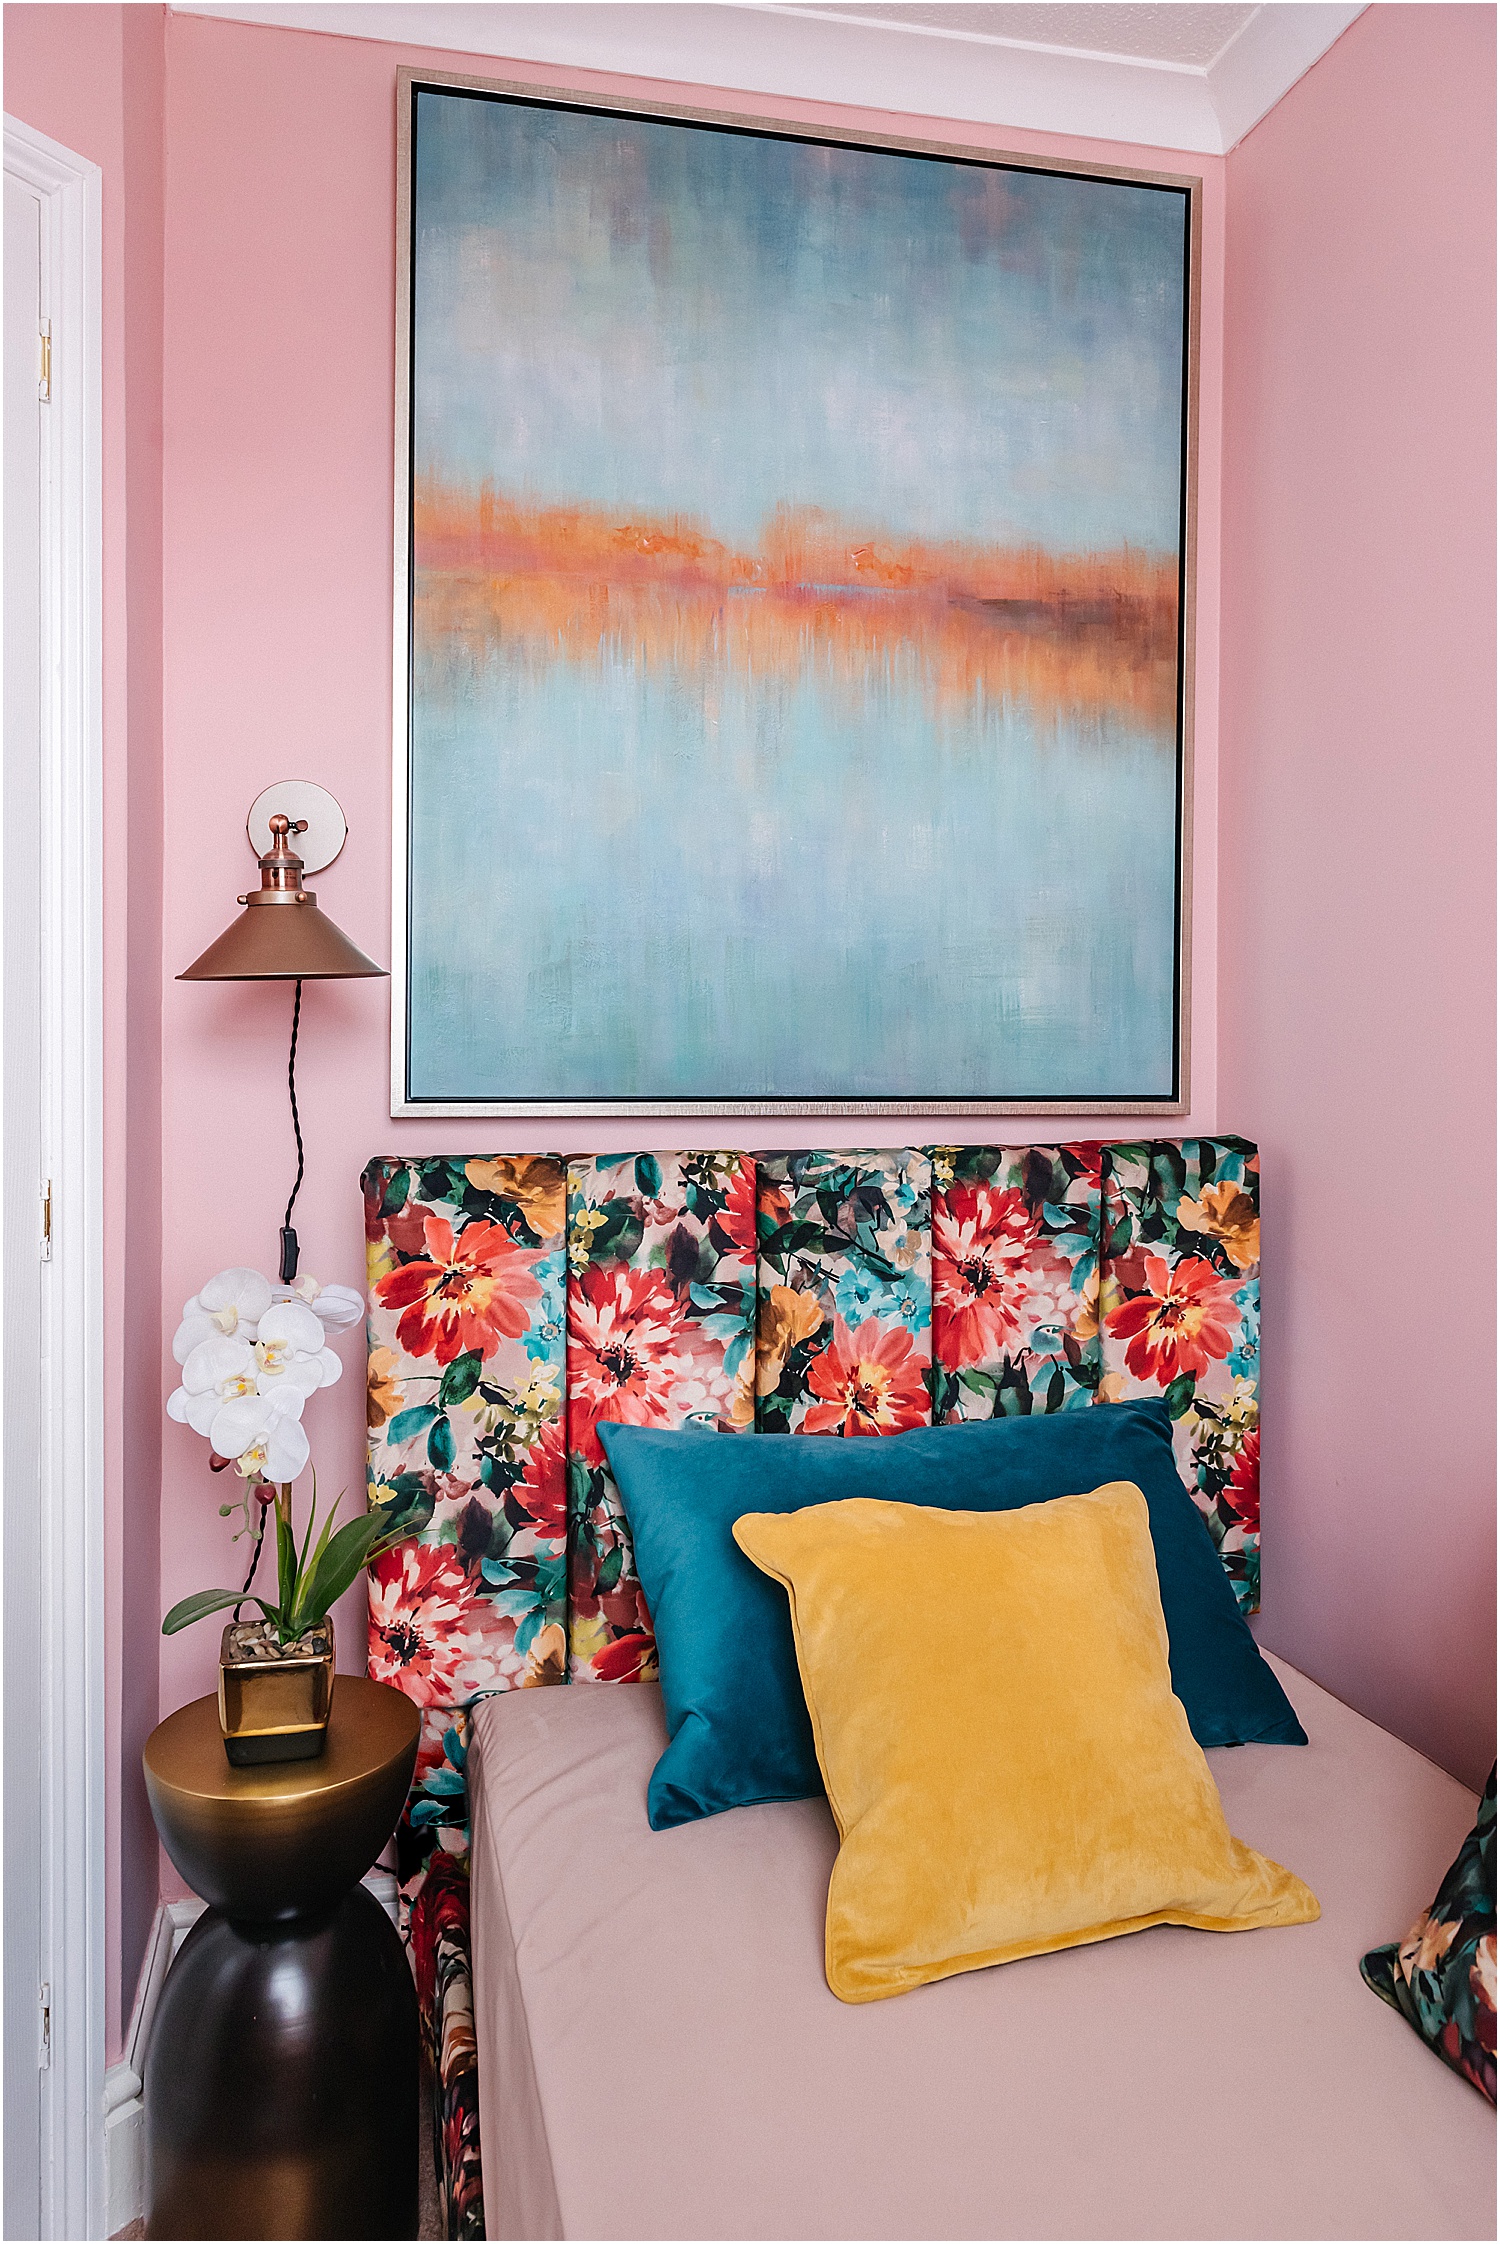
My DIY Fluted Headboard and Boudoir Backrest
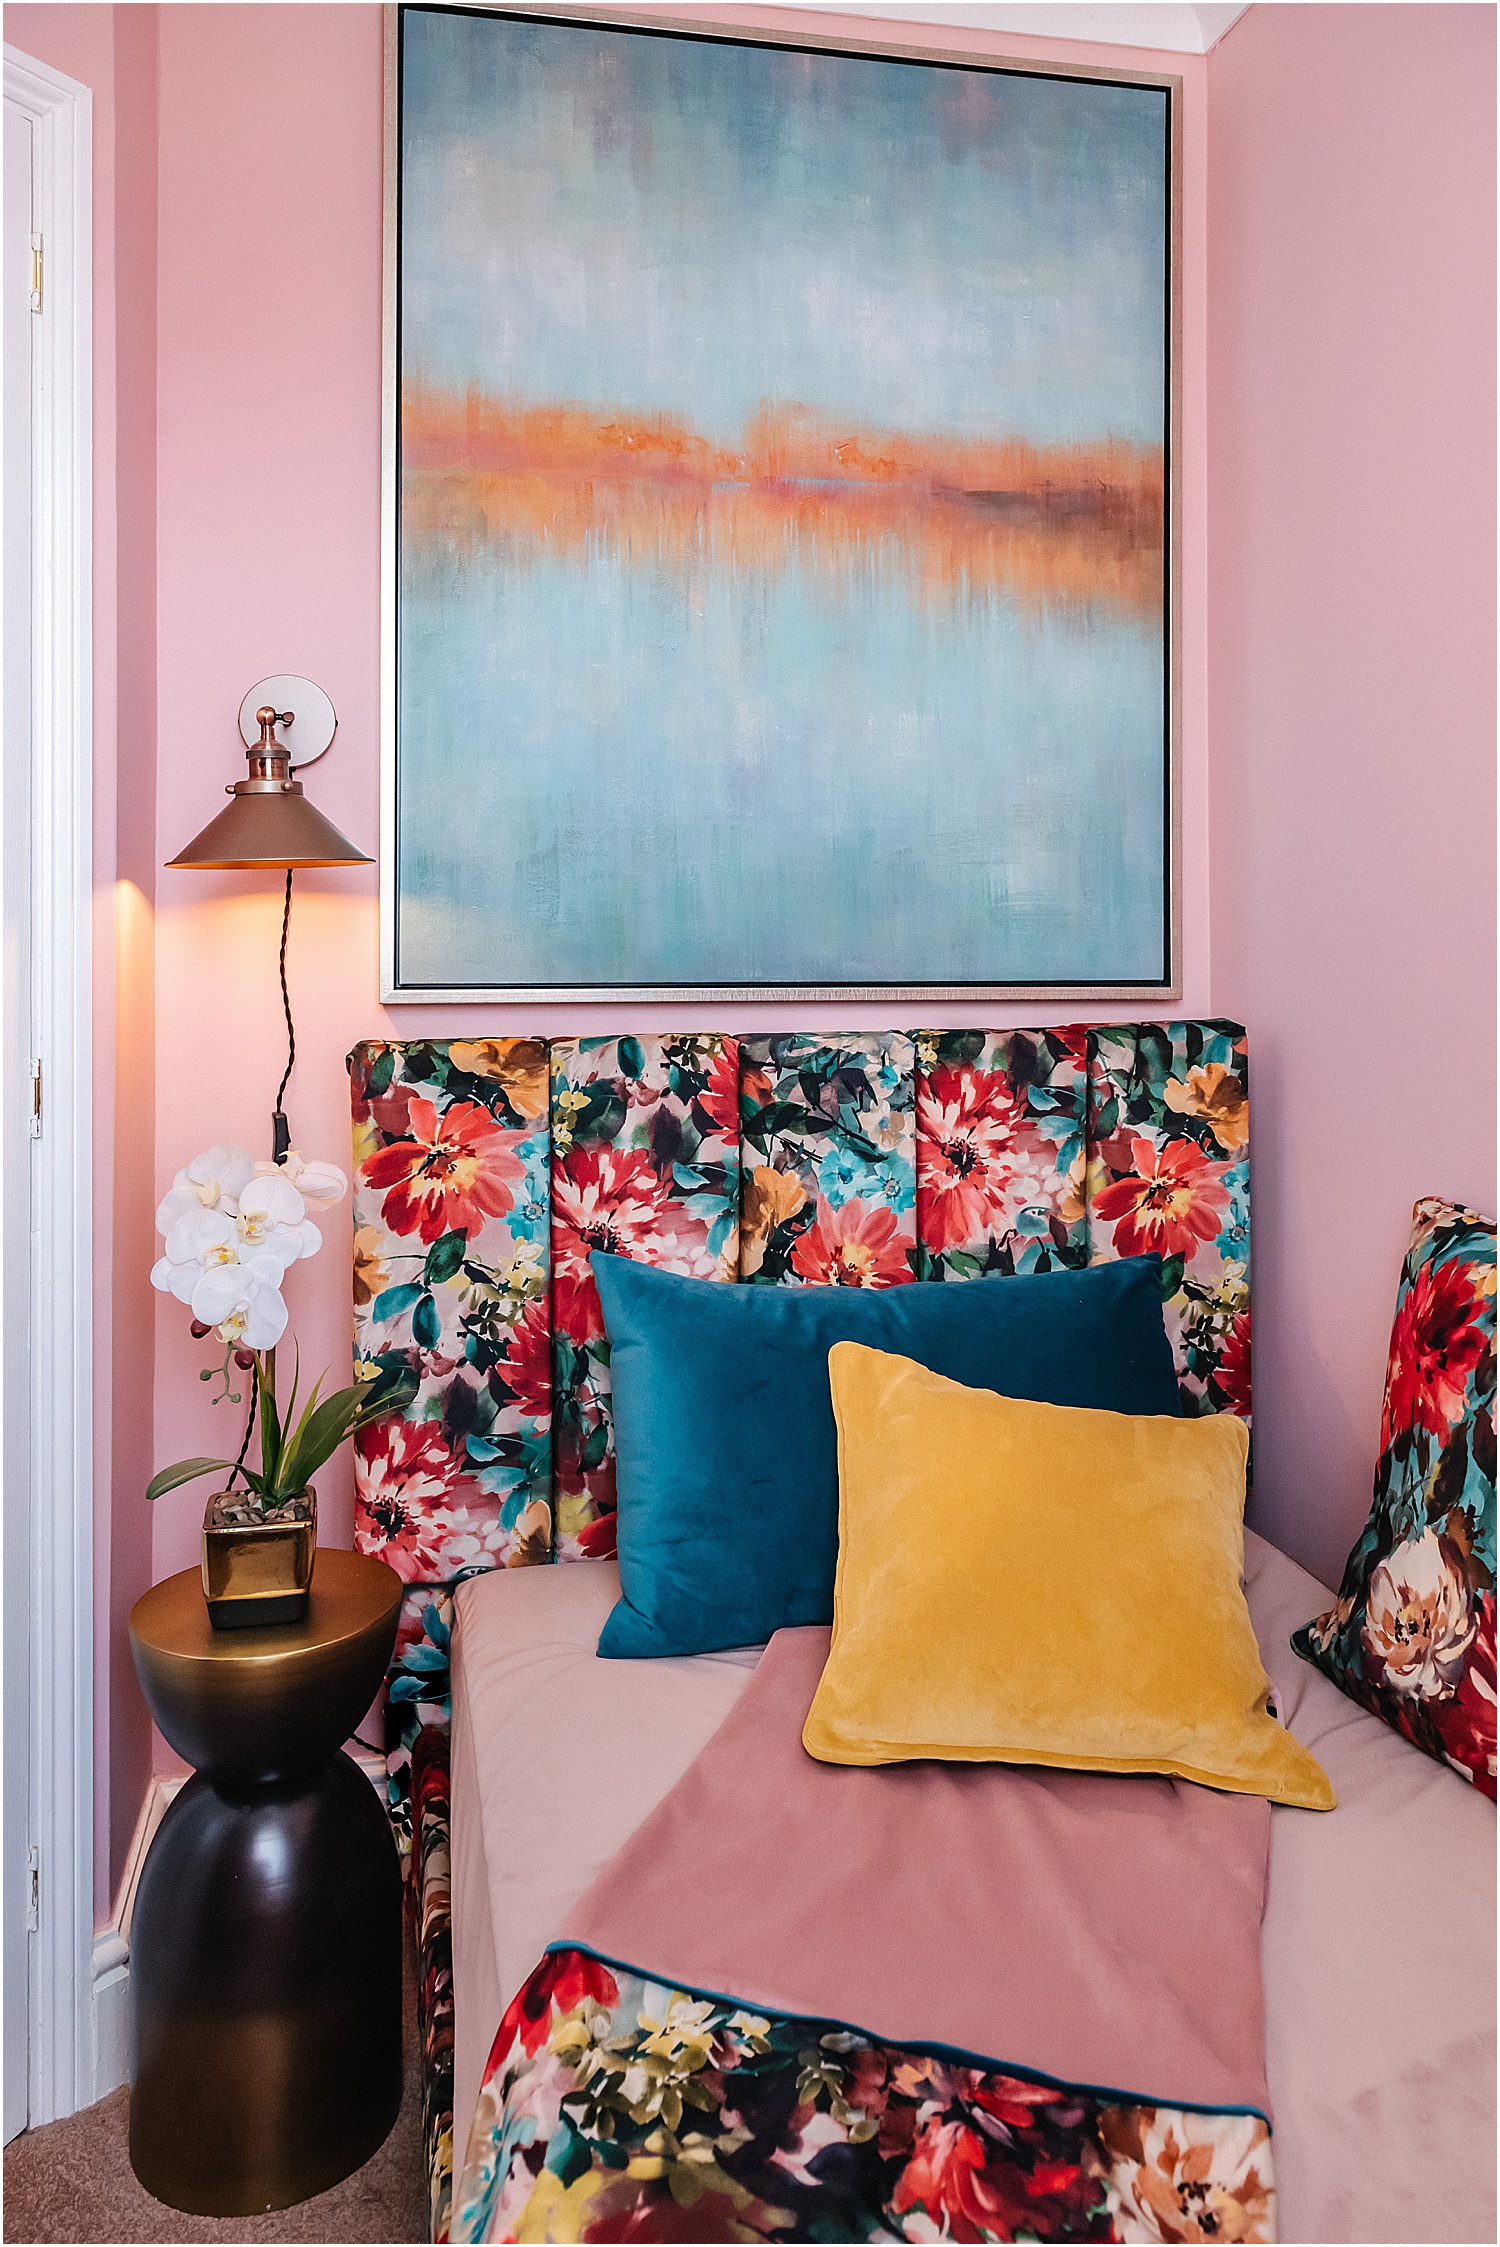
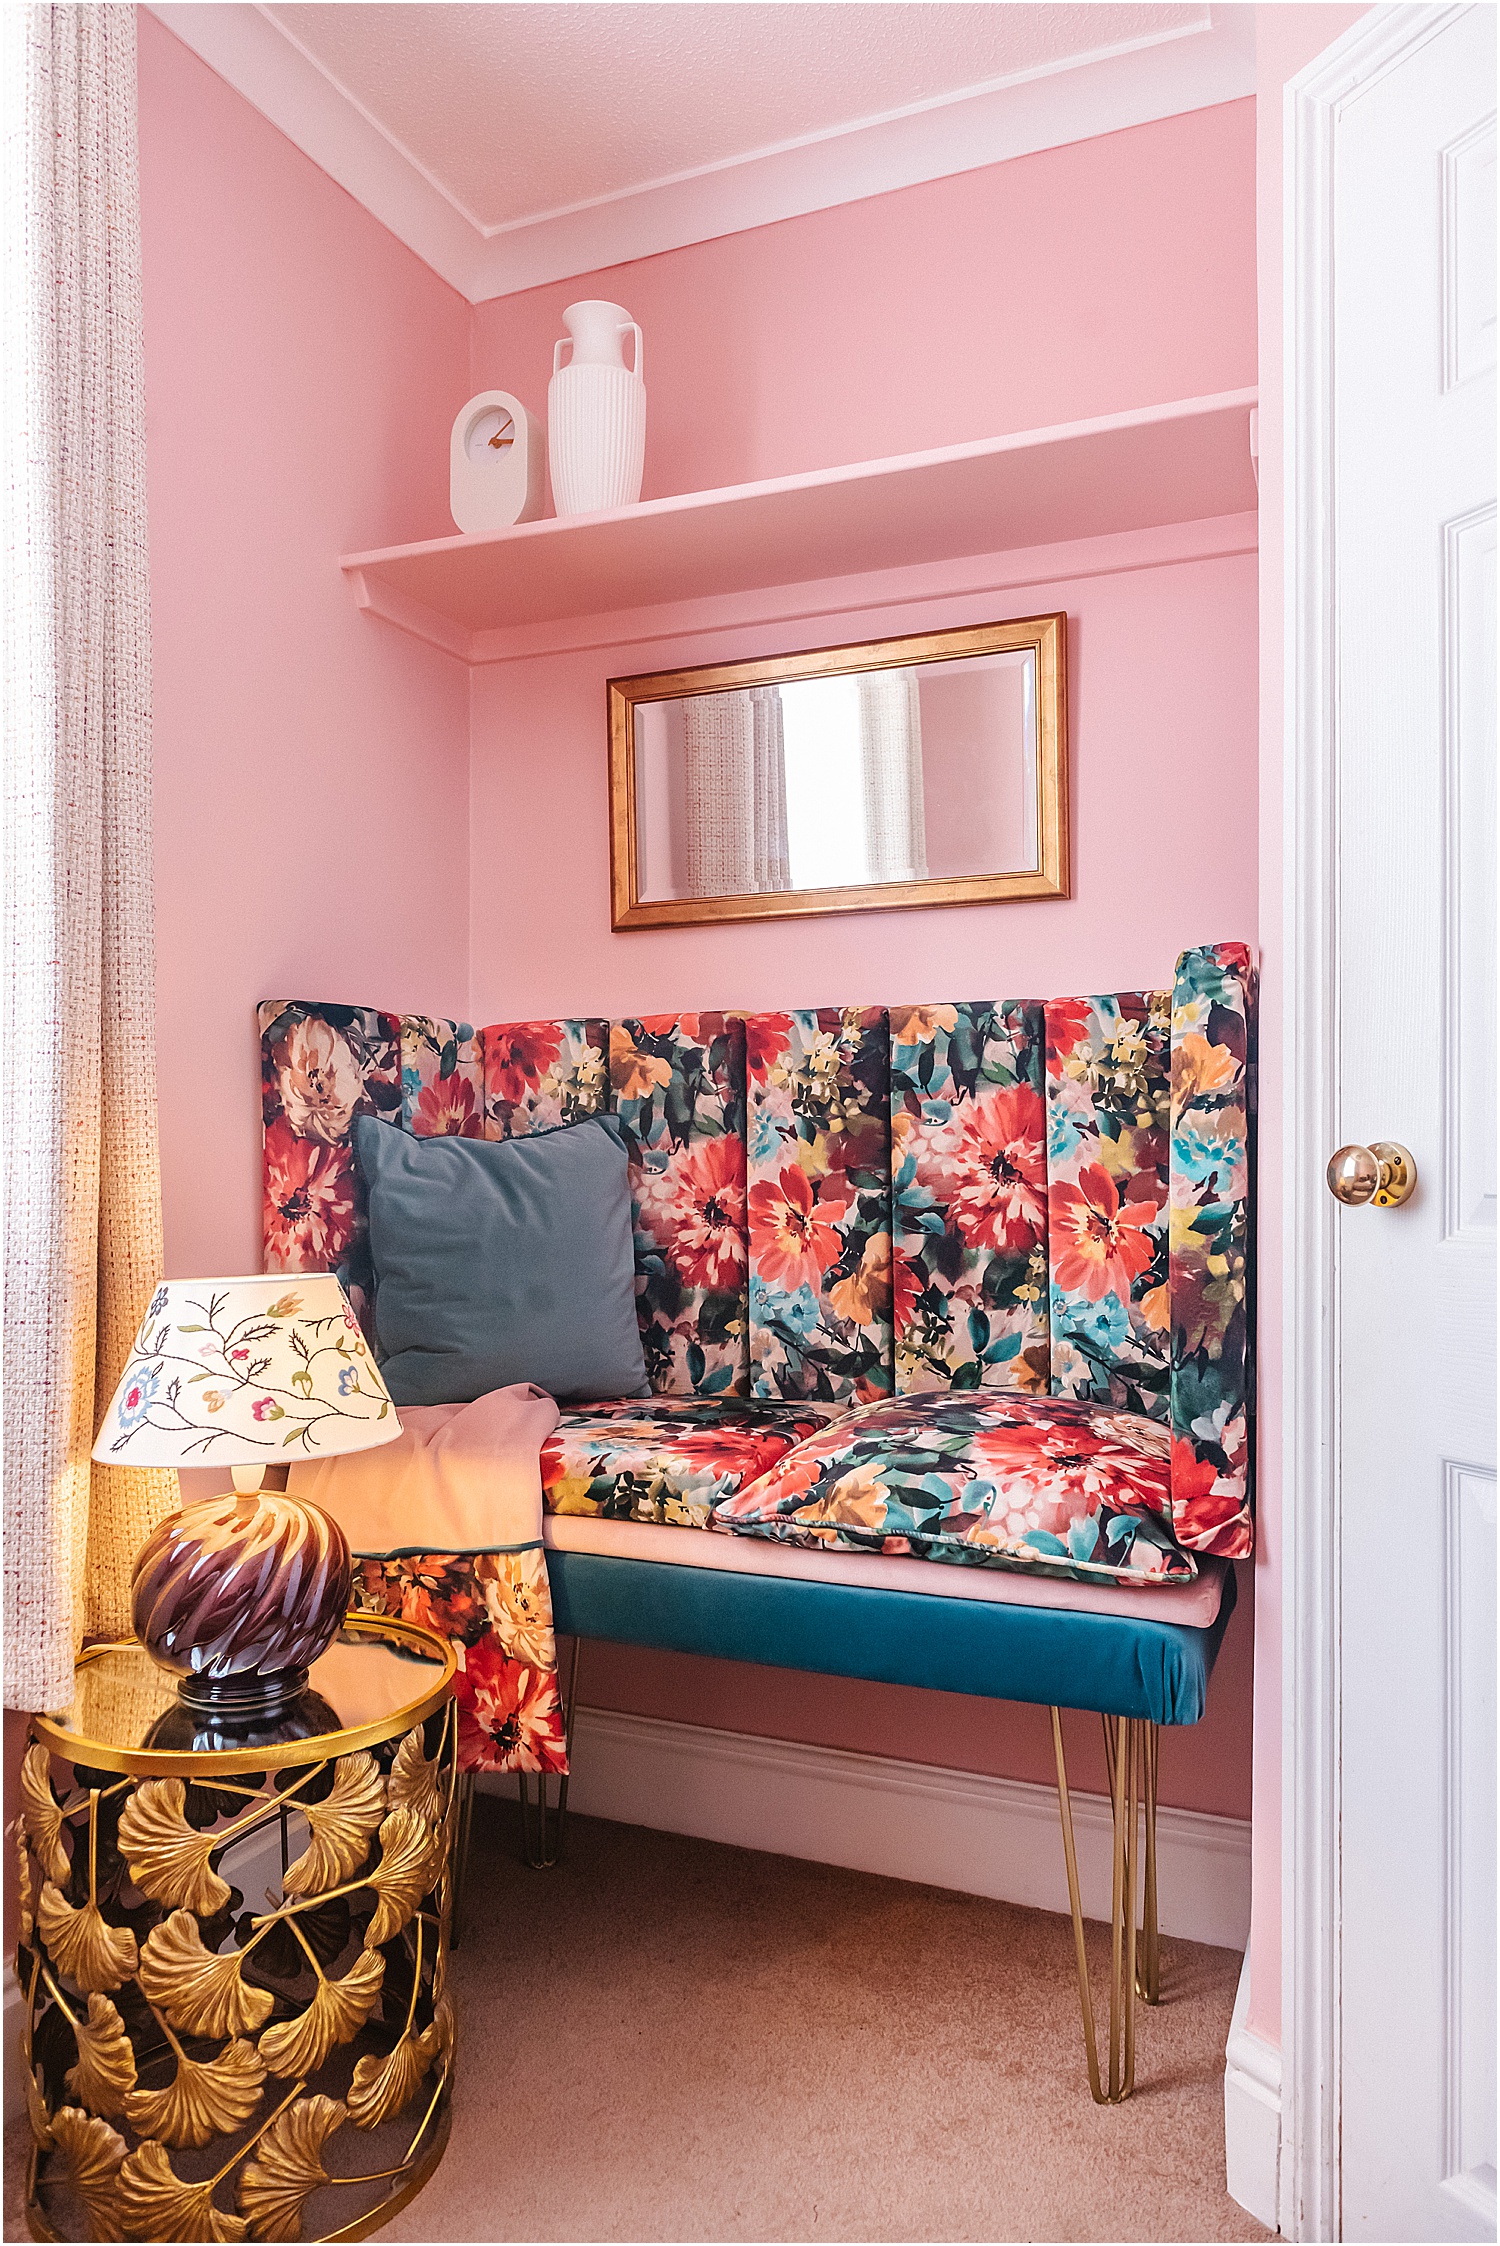
And voila! I have my own bespoke headboard (above) and matching boudoir seating (below) with fluted backrest! Here’s a short video that shows you a 360 view of this tiny room.
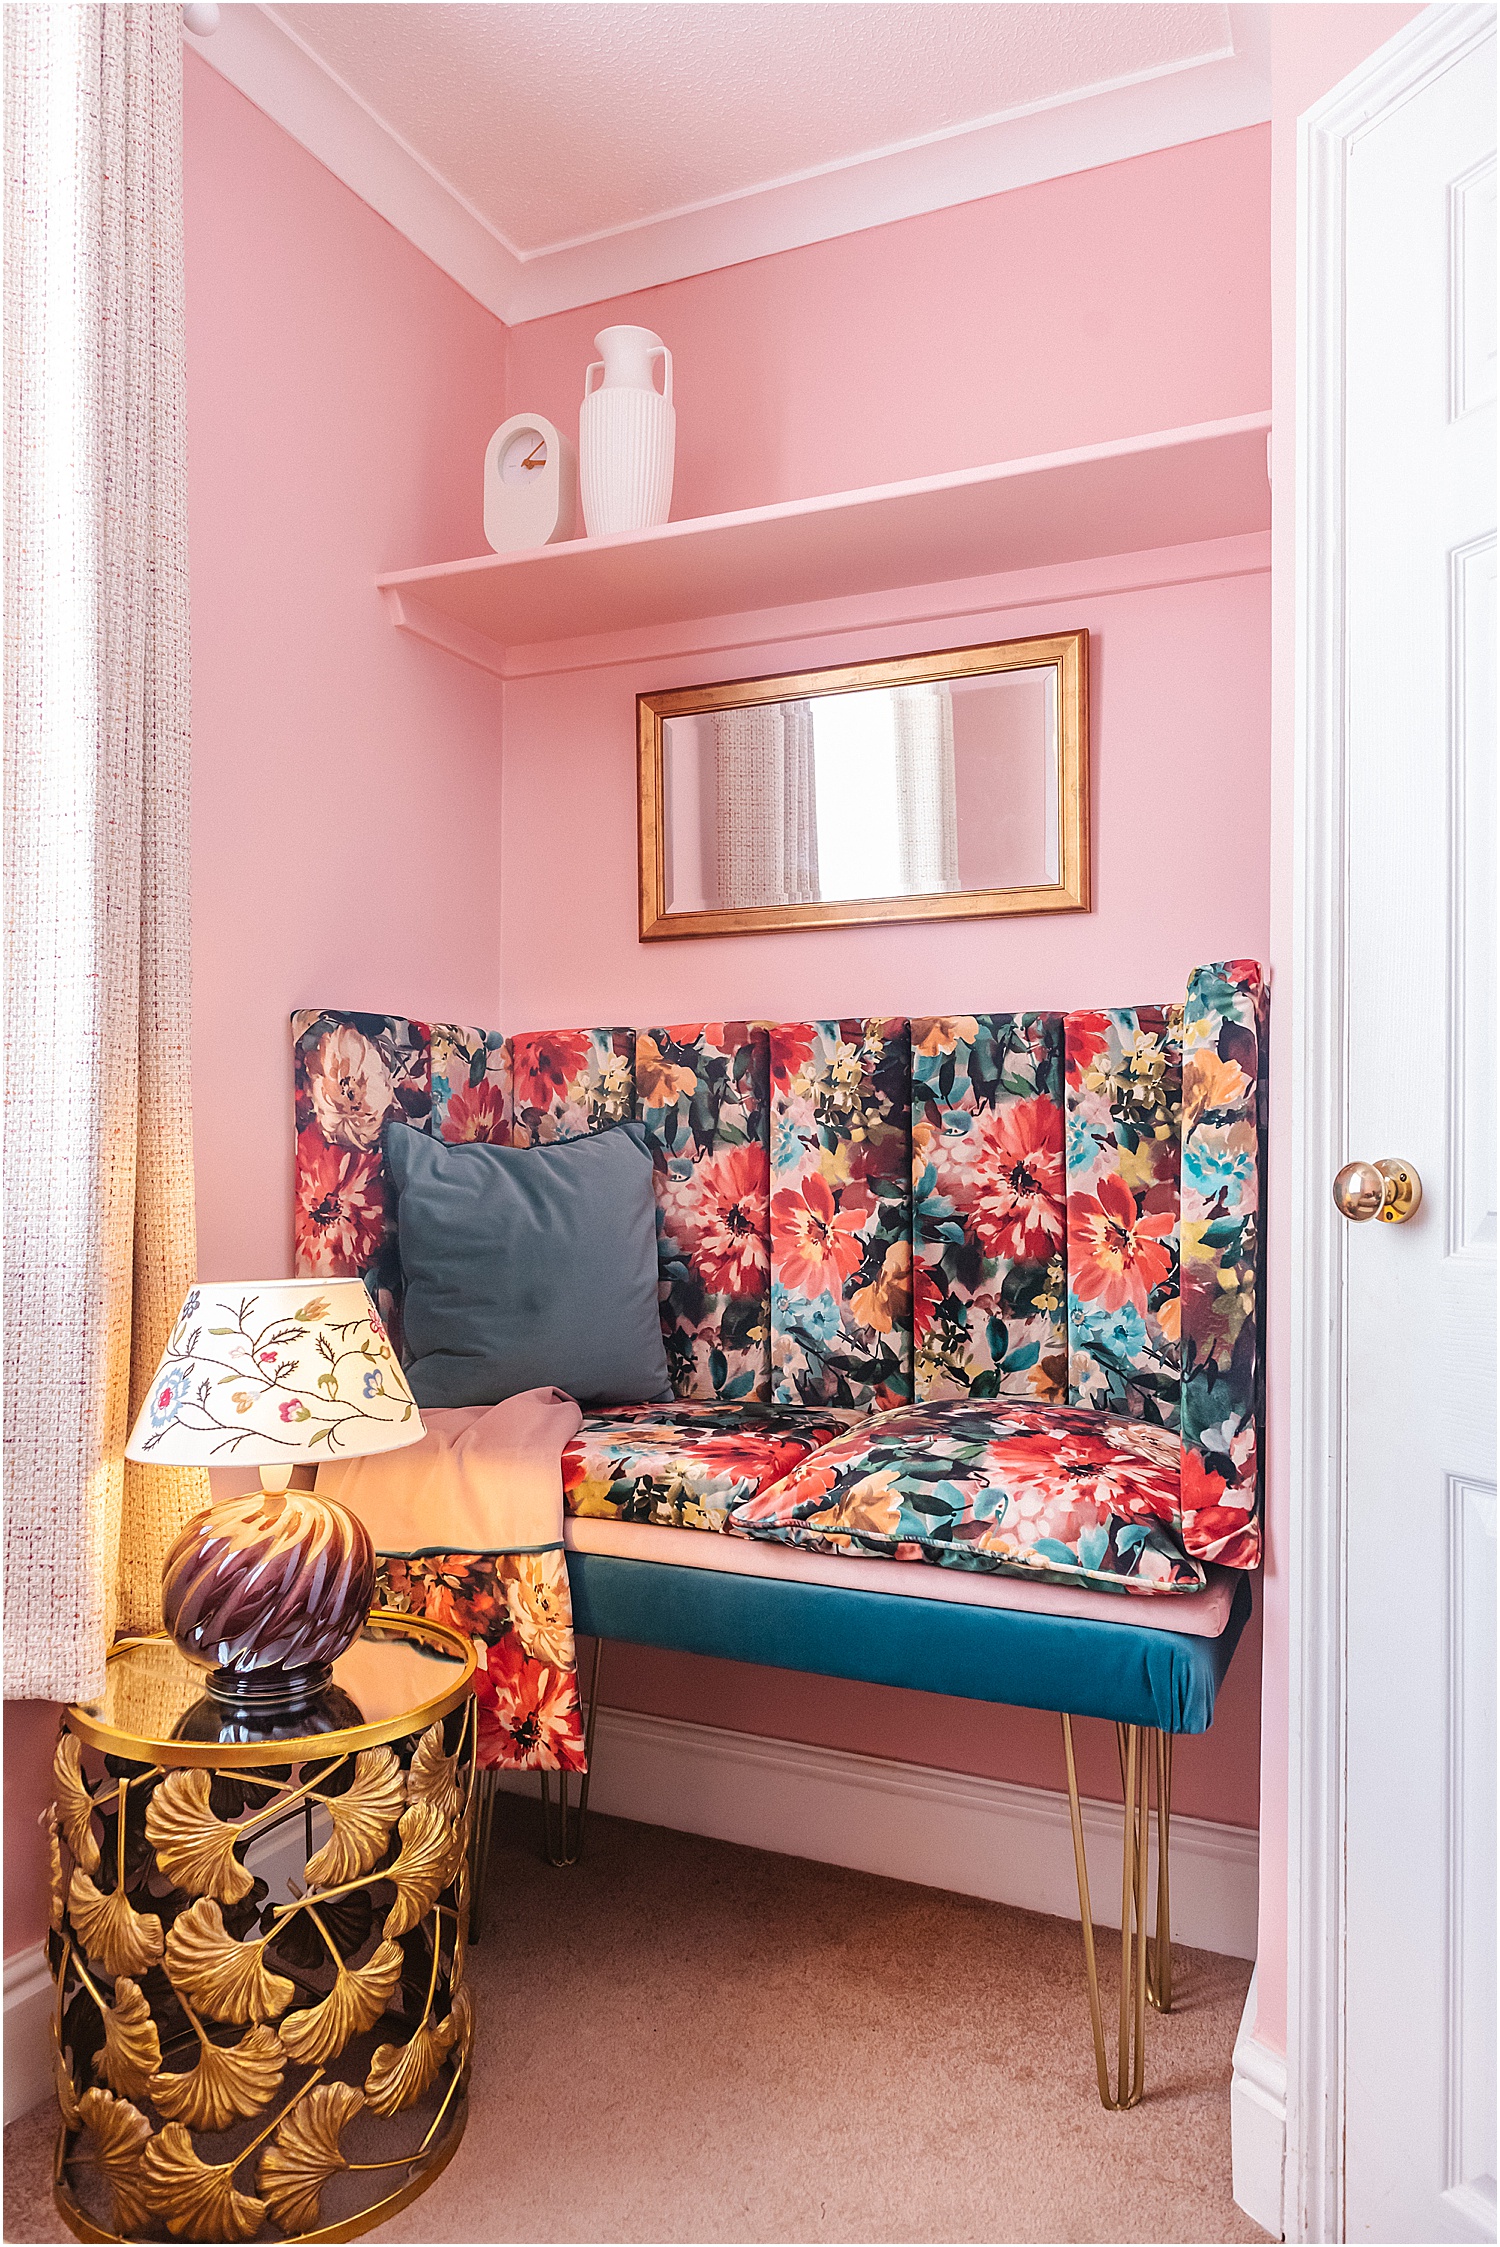
I also made the bench you can see here using the same process as the flutes, only with a much bigger MDF and the same goes with the foam and the entire process. I covered it with Clarke and Clarke Alvar fabric which is soft and has a velvet texture. I pleated the corners on the bench as it looked better than folded.
I also used some old metal legs I had lying about in the cellar from a previous project. They had gone rusty so I washed them and painted straight on the rust with Hammerite rust paint in gold.
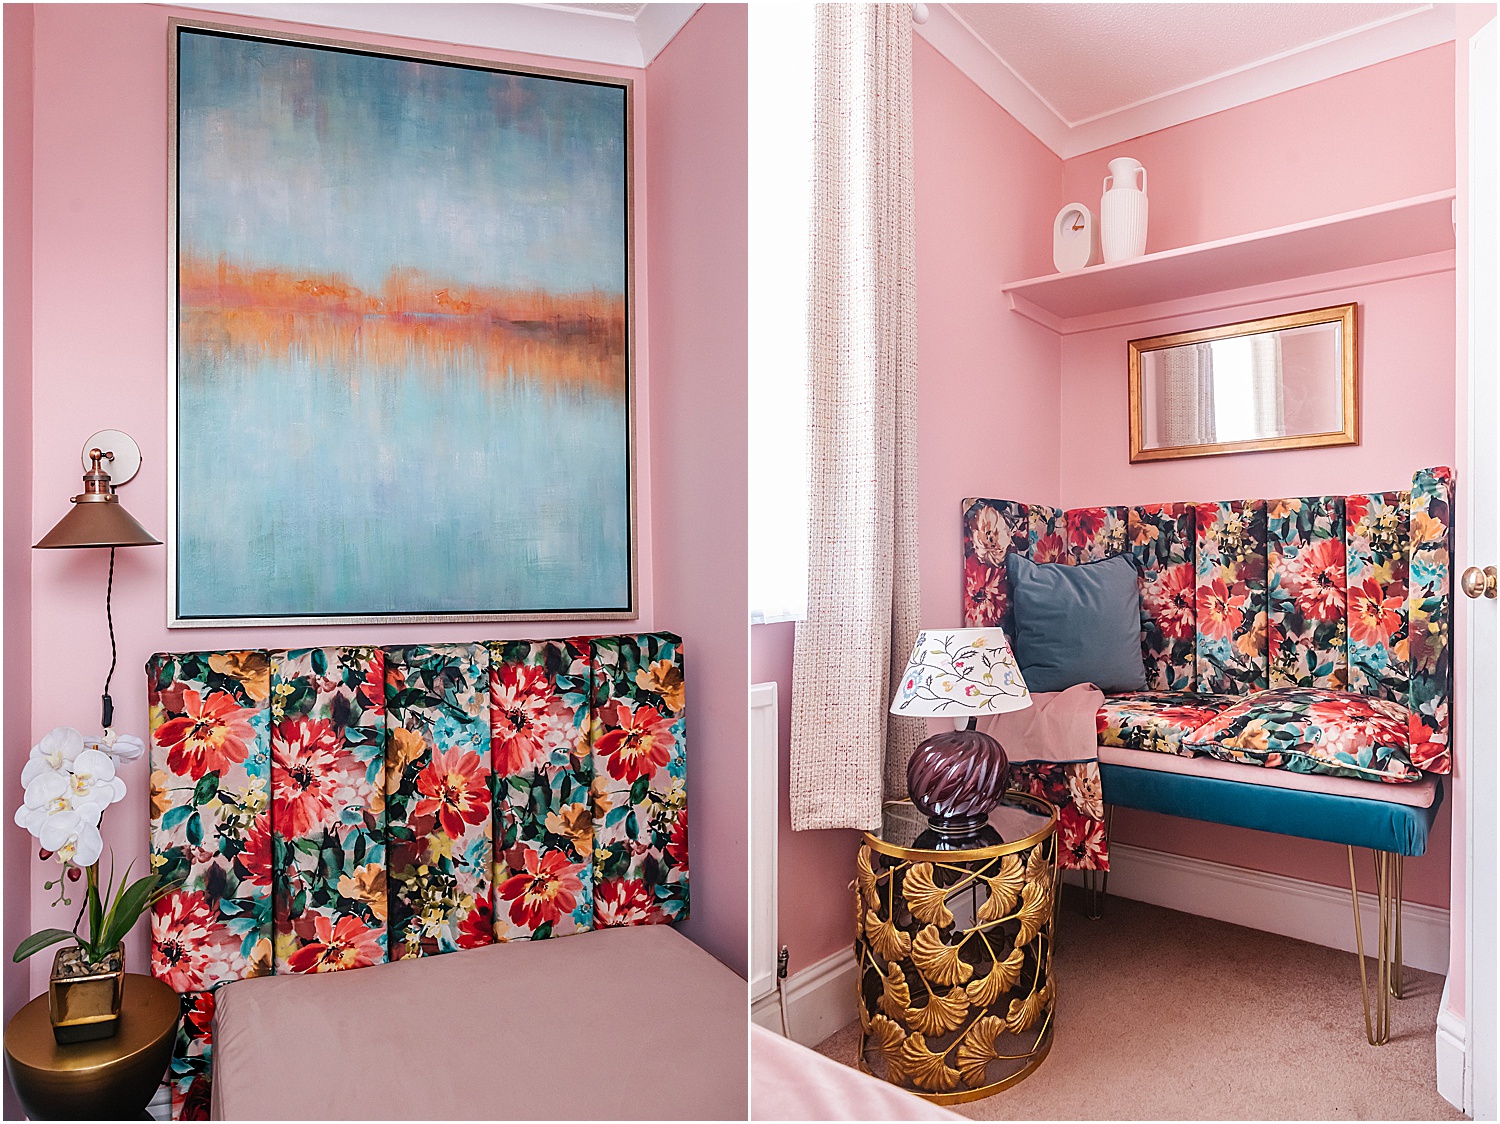
Here’s my tiny pink bedroom now packed with personality without being overbearing. It actually feels so lovely and peaceful sitting in here surrounded and embraced by happy colours. It feels so good in here that I have been inspired to write this blogpost on How to make a DIY Fluted Headboard like a pro!
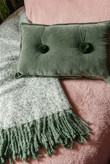
I had some left over Clarke and Clarke Alvar fabric and Tahiti samples in various colourways which I had made into cushions and a little accent throw.
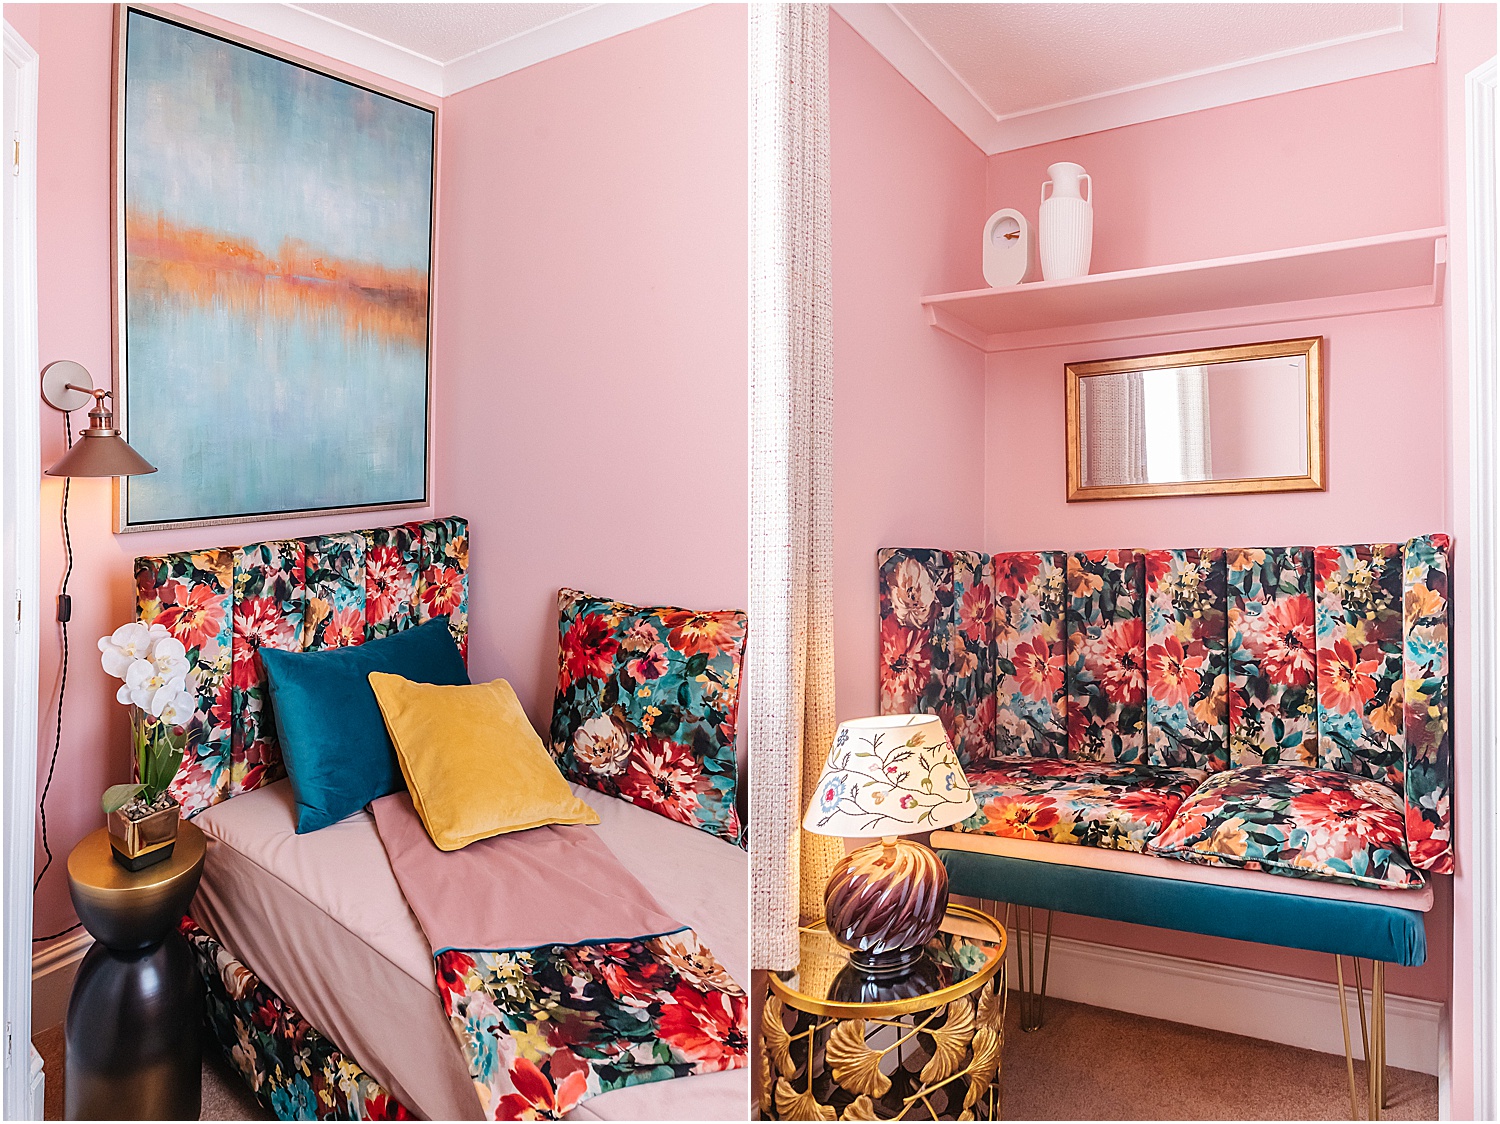
The DIY fluted headboard
The DIY fluted boudoir backrest
This blogpost is not part of a paid collaboration. However, for this room project, I have used products from previous paid collaborations with the following brands: Clarke and Clarke fabrics, Voyage Maison for the painting featured on here, and Rustoleum paint left-over from a previous collaboration, Sultan ombre side table from Made.com, Gold mirror side table from Audenza.
Other products featured here to style my fluted headboard are Dunelm – plug-in wall light, Argos ceiling shade, faux orchid from TKMaxx and other items from charity shops.
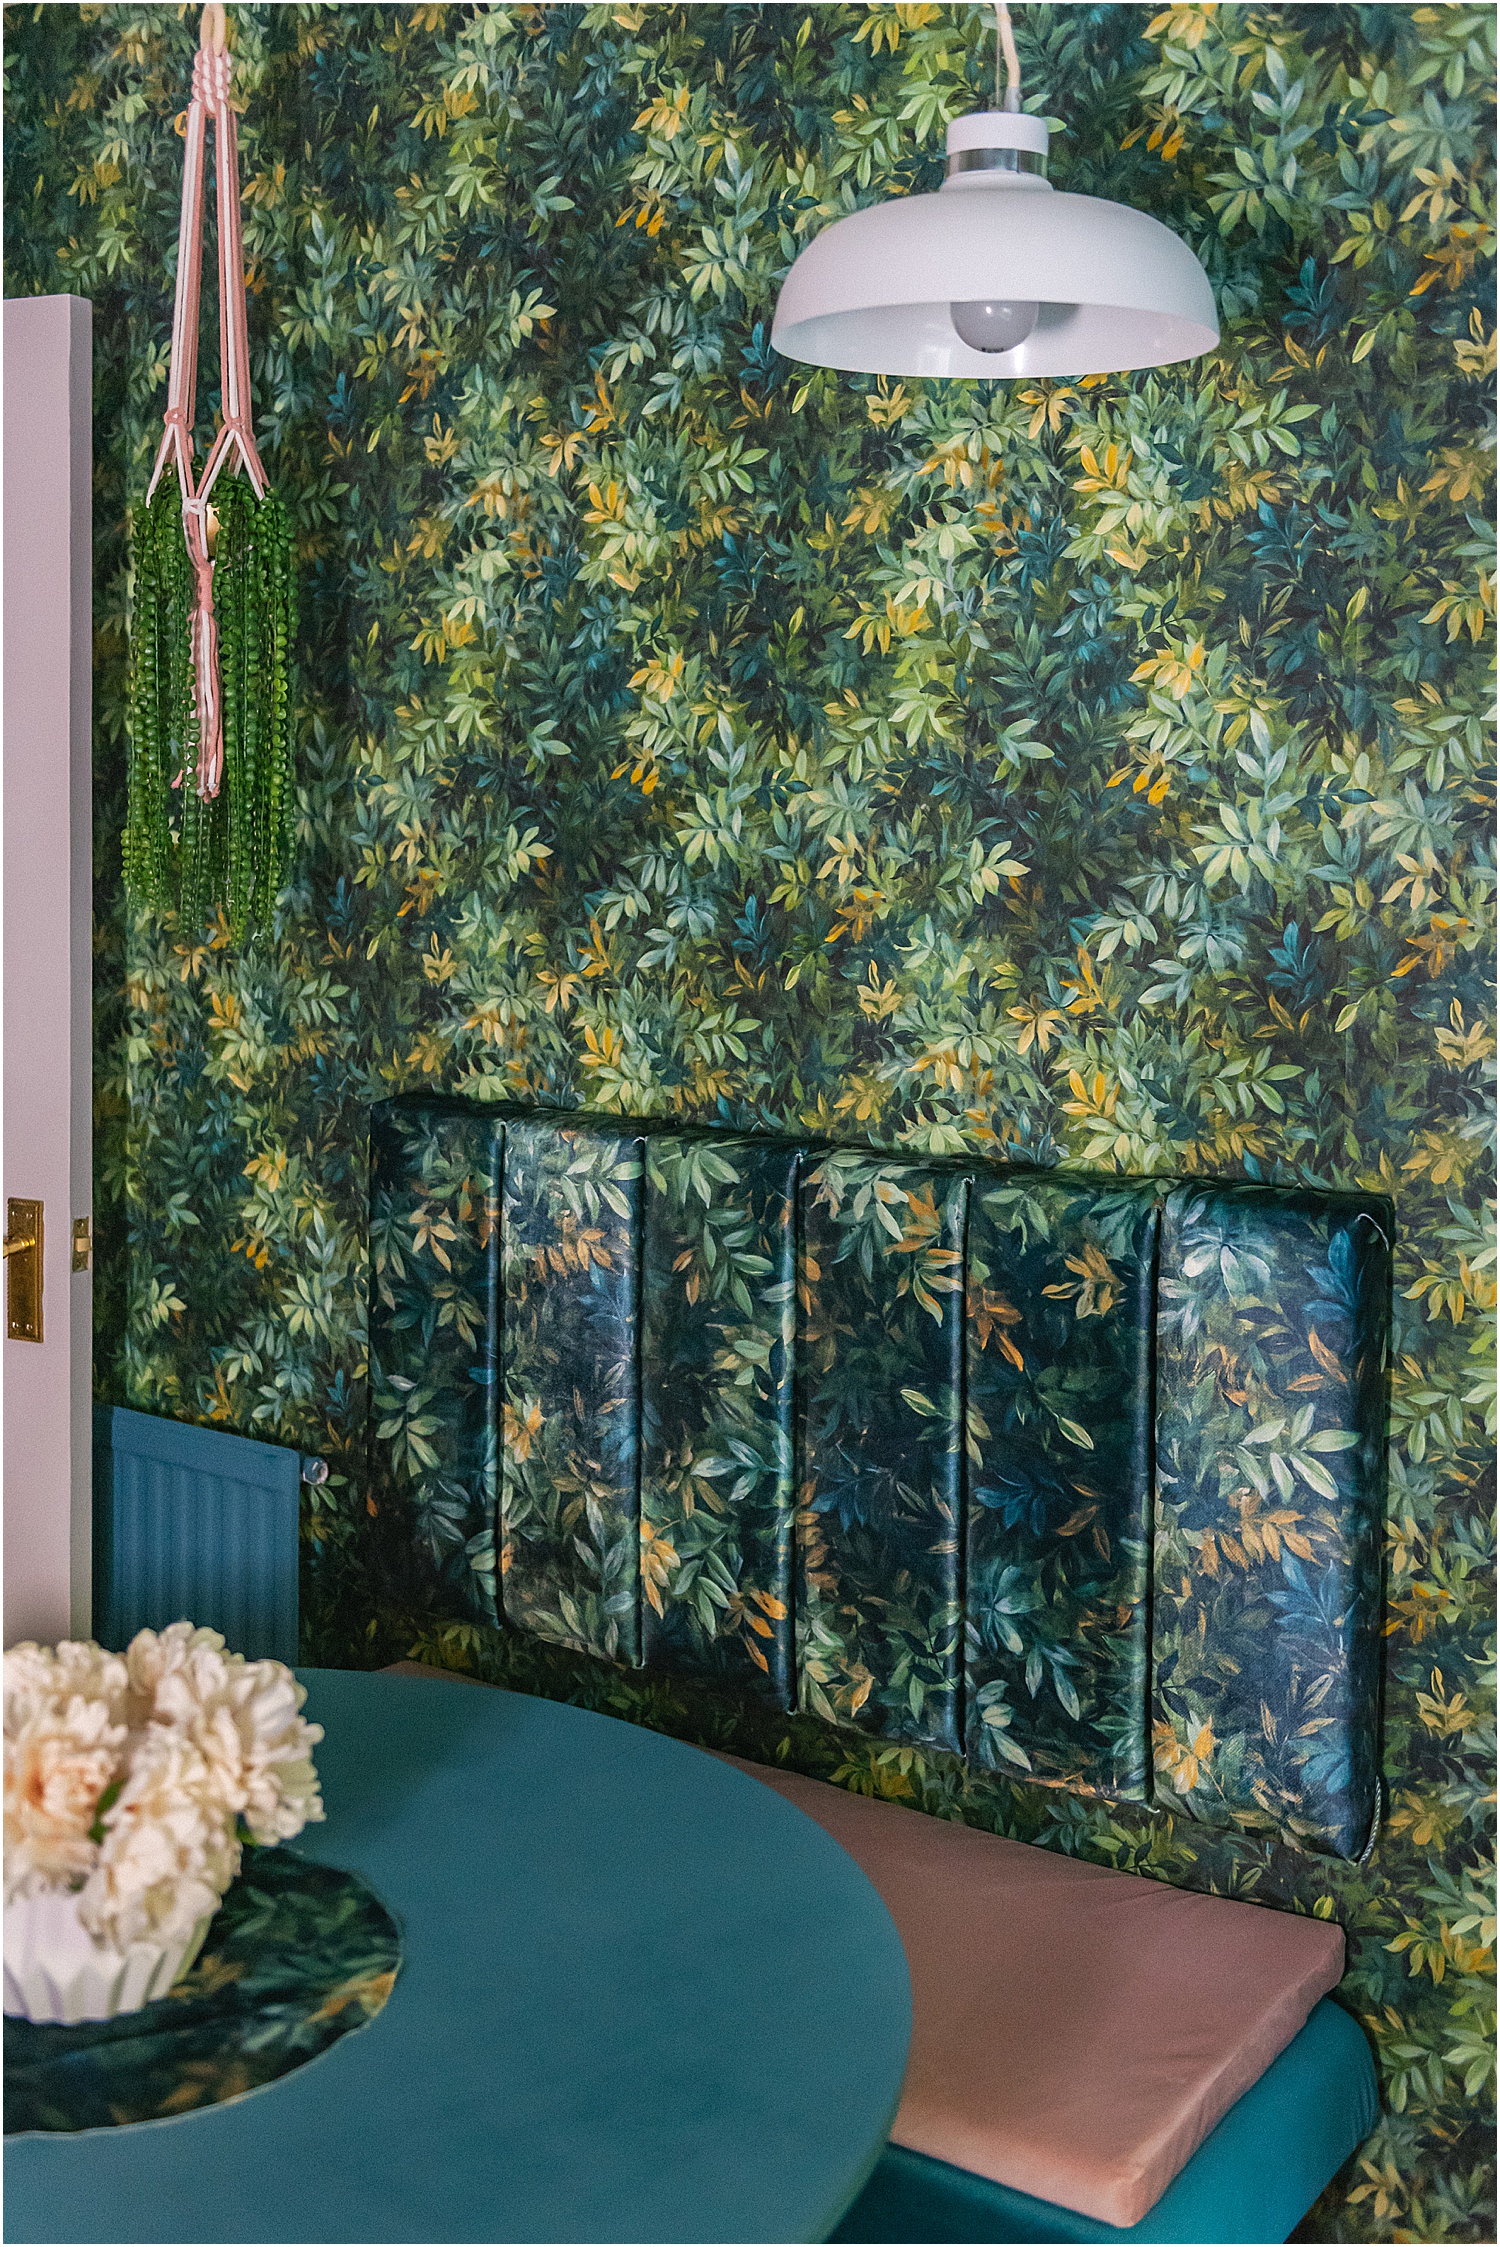
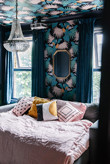
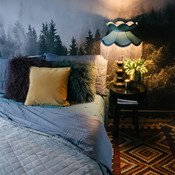
I mentioned that I have made these headboards three times. This is another seating backrest in my flat kitchen using Clarke and Clarke’s Congo Forest fabric. More on this space to come.
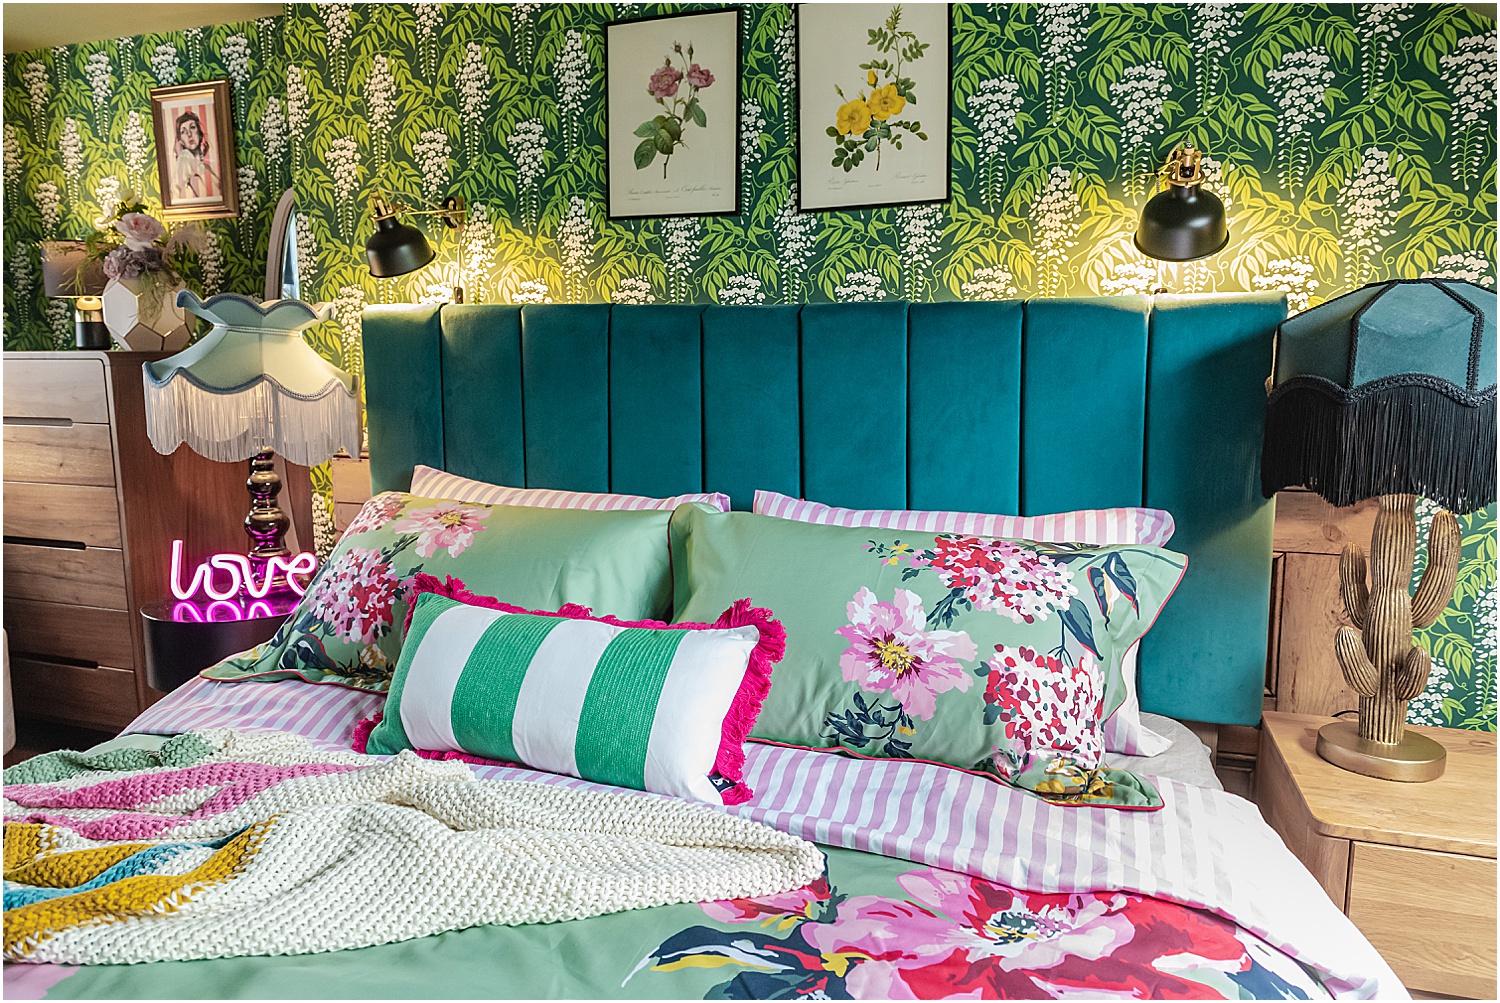
This headboard in my bedroom covered in Clarke and Clarke’s Alvar fabric was my very first attempt at this project. A couple of years on and it still looks great and has stayed in place. I am very proud of this project.
How to make a DIY Fluted Headboard like a pro took me months to plan, think about, research, watch videos and asked advice from my pro friend Julie who runs a professional upholstery business Milo and Bertie Upholstery and all that planning paid off! Give Julie a shout if you would rather have something made by a real pro!

I hope you enjoyed this post on how to make a DIY fluted headboard like a pro and found it helpful. If you have any questions, message me on Instagram and I’d be happy to help if I can. Don’t forget to download my free resources that will help you design your own interiors and grow your Instagram account! Let’s chat on Instagram Layered.Home and together get inspired!
By the way, if you’re wondering where my amazing floral and stripe Hydrangea bedding is from that’s featured in my green bedroom, it’s from Bedeck by Joules. Use LILY15 for 15% off the entire Bedeck website.